2105552MNAE | RMC-100 |
73
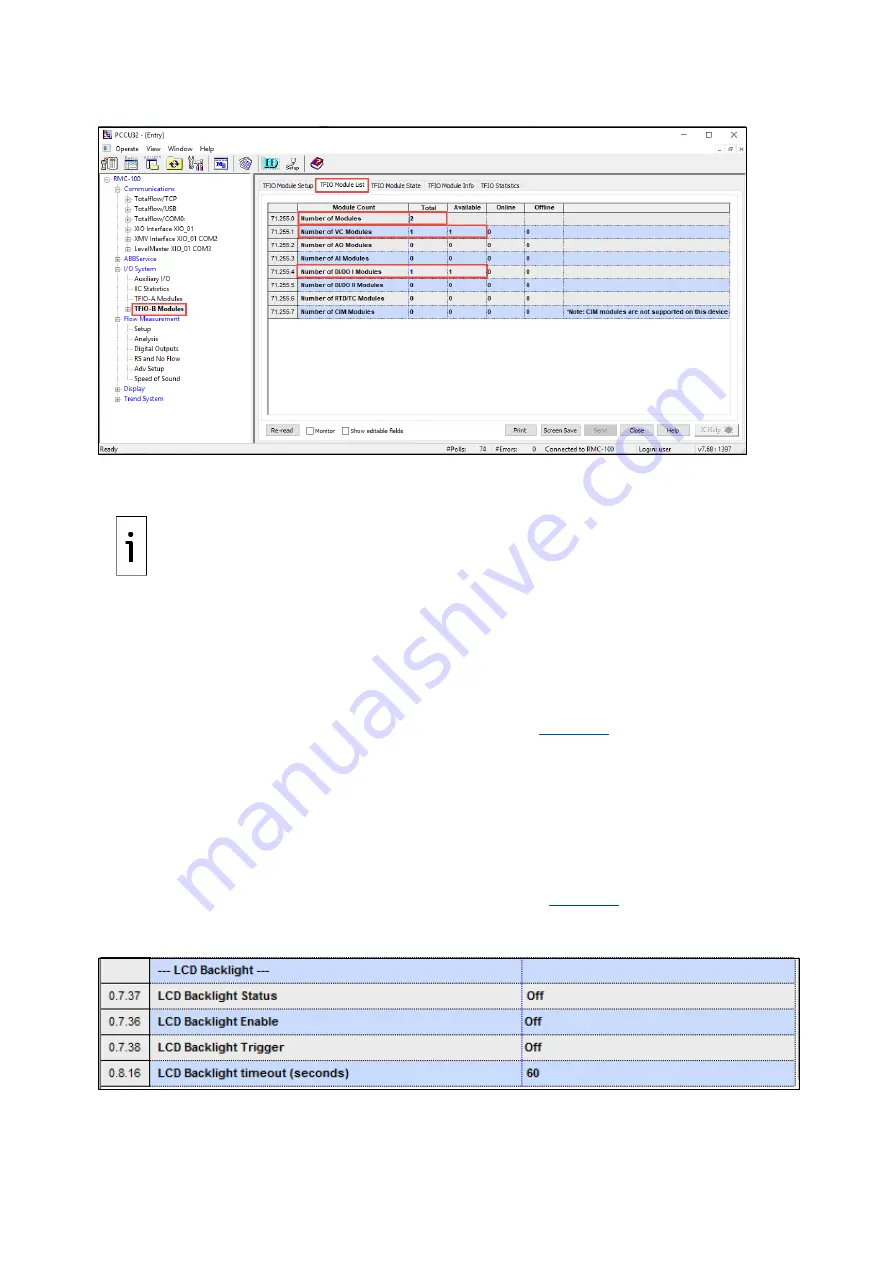
Figure 4-37: TFIO-B Module List
10.
For specific module setup, expand either TFIO-A Modules or TFIO-B Modules on the navigation
tree and select the desired modules for further configuration.
IMPORTANT NOTE:
Click
Help
on specific TFIO module screens for additional information and
parameter description. The I/O Interface has online topics that explain configuration options
available on the PCCU screens.
5
Advanced setup
Customize the RMC to meet individual site needs. Complete these steps in PCCU Expert view. Click
View
on the PCCU32 menu and select
Expert
from the drop-down list.
5.1
Configure the LCD backlight
The RMC LCD backlight is configurable. Change default settings (
) on the Station Setup tab:
–
Select one or more triggers that enable the backlight.
–
Select the trigger that turns the backlight on.
–
Define the number of seconds per timeout. The backlight remains on for display activity during
the timeout period.
LCD Backlight Status is a read-only field that shows whether the backlight is off or on. The backlight is
always off if it is disabled.
To set up the backlight:
1.
On the Station Setup screen, scroll down to LCD Backlight (
). Click
Help
for
additional information about the Station Setup tab.
Figure 5-1: LCD backlight default settings
2.
Select Off or On from the LCD Backlight Enable drop-down list.
3.
Select an option from the LCD Backlight Trigger drop-down list: On, Off, Always On, On for
Local Connections, or On for Push Buttons.


