General safety in installation, start-up and maintenance
These instructions are for all personnel who do work on the drive.
WARNING!
Obey these instructions. If you ignore them, injury or death, or damage to the
equipment can occur.
•
Keep the drive in its package until you install it. After unpacking, protect the drive
from dust, debris and moisture.
•
Use the required personal protective equipment: safety shoes with metal toe cap,
safety glasses, protective gloves and long sleeves, etc. Some parts have sharp
edges.
•
Lift a heavy drive with a lifting device. Use the designated lifting points. See the
dimension drawings.
•
Incorrect lifting can cause danger or damage. Obey the local laws and regulations
applicable to lifting, such as requirements for planning the lift, for capacity and
condition of lifting equipment, and for training of personnel.
•
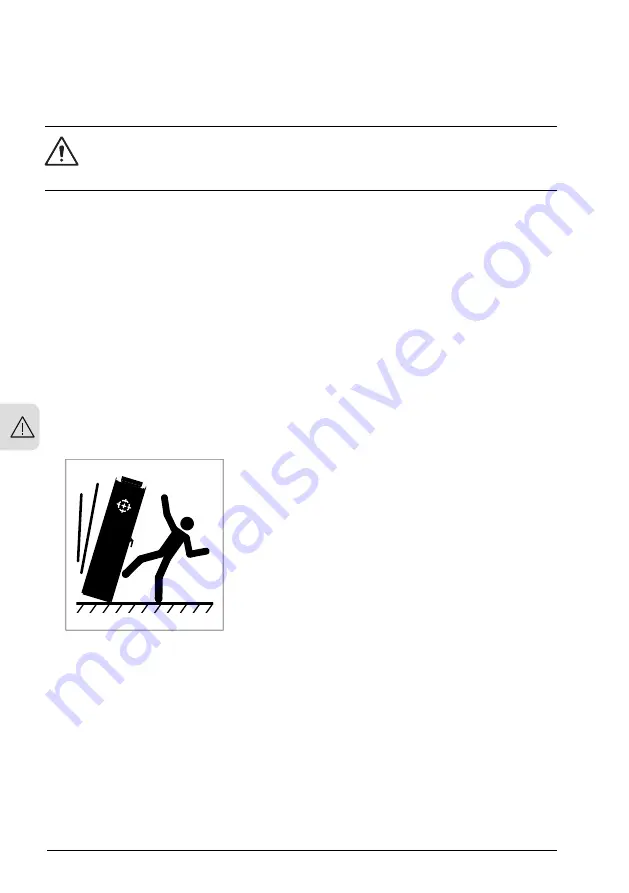
Attach the drive cabinet to the floor to prevent it from toppling over. The cabinet has
a high center of gravity. When you pull out heavy components or power modules,
there is a risk of overturning. Attach the cabinet also to the wall when necessary.
•
Do not stand or walk on the cabinet roof. Make sure that nothing presses against
the roof, side or back plates or door. Do not store anything on the roof while the
drive is in operation.
•
Do not use the module extraction/installation ramp with plinth heights which exceeds
the maximum allowed height. See the technical data.
•
Attach the module extraction/installation ramp carefully.
•
Make sure that the module does not topple over when you move it on the floor: Open
the support legs by pressing each leg a little down and turning it aside (1, 2).
Whenever possible attach the module also with chains. Do not tilt the drive module.
18 Safety instructions
3
Summary of Contents for ACQ580-07
Page 1: ... ABB DRIVES FOR WATER ACQ580 07 Hardware manual ...
Page 2: ......
Page 4: ......
Page 8: ...4 Update notice ...
Page 20: ...16 ...
Page 26: ...Measuring points of frames R6 to R9 are shown below PE L1 L2 L3 22 Safety instructions ...
Page 32: ...28 ...
Page 38: ...34 ...
Page 66: ...62 ...
Page 69: ...Mechanical installation 65 ...
Page 73: ... Mechanical installation 69 ...
Page 75: ...Declaration of Conformity Mechanical installation 71 ...
Page 108: ...104 ...
Page 133: ...Electrical installation 129 ...
Page 142: ...138 ...
Page 156: ...152 ...
Page 162: ...158 ...
Page 171: ...Maintenance 167 ...
Page 177: ...3 4 Maintenance 173 ...
Page 184: ...14 13 15 16 17 Remove the flange 180 Maintenance ...
Page 187: ...3 4 5 6 Remove the mounting plate Maintenance 183 ...
Page 189: ...8 Disconnect the drive module output busbars M12 70 N m 52 lbf ft 7 8 Maintenance 185 ...
Page 193: ...4 5 3 6 Remove the mounting plate Maintenance 189 ...
Page 195: ...8 Disconnect the drive module output busbars M12 70 N m 52 lbf ft 7 8 Maintenance 191 ...
Page 218: ...Frame R6 Input and motor cable terminal dimensions option F289 DET A 214 Technical data ...
Page 233: ...Frame R9 Input and motor cable terminal dimensions option F289 Technical data 229 ...
Page 257: ...13 Dimension drawings Example dimension drawings are shown below Dimension drawings 253 ...
Page 258: ...Frames R6 and R7 IP21 UL Type 1 254 Dimension drawings ...
Page 259: ...Frames R6 and R7 B054 IP42 UL Type 1 Filtered Dimension drawings 255 ...
Page 260: ...Frames R6 and R7 B055 IP54 UL Type 12 256 Dimension drawings ...
Page 261: ...Frames R6 and R7 H351 and H353 top entry and exit Dimension drawings 257 ...
Page 262: ...Frames R6 and R7 F289 258 Dimension drawings ...
Page 263: ...Frames R6 and R7 F289 H351 H353 Dimension drawings 259 ...
Page 264: ...Frames R8 and R9 IP21 UL Type 1 260 Dimension drawings ...
Page 265: ...Frames R8 and R9 B054 IP42 UL Type 1 Filtered Dimension drawings 261 ...
Page 266: ...Frames R8 and R9 B055 IP54 UL Type 12 262 Dimension drawings ...
Page 267: ...Frames R8 and R9 H351 and H353 top entry and exit Dimension drawings 263 ...
Page 268: ...Frames R8 and R9 F289 264 Dimension drawings ...
Page 269: ...Frames R8 and R9 F289 H351 H353 Dimension drawings 265 ...
Page 295: ... Declaration of conformity The Safe torque off function 291 ...
Page 296: ...292 ...
Page 302: ...298 ...
Page 309: ...CMOD 01 multifunction extension module external 24 V AC DC and digital I O 305 ...
Page 310: ...306 ...
Page 316: ...312 CMOD 02 multifunction extension module external 24 V AC DC and isolated PTC interface ...
Page 322: ...318 ...


