Instruction manual SGS
51
is
SGS 80 t/m 120 - CO
2
adjustment (partial load)
Note
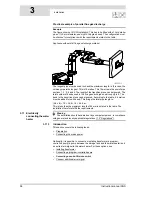
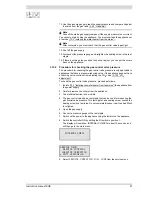
Turning to the left (anticlockwise) means more less (lower CO
2
level) and
turning to the right (clockwise) means more gas (higher CO
2
level).
Note
After conversion, you must check that the gas control valve is gastight.
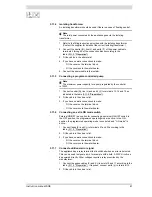
23. Remove the CO
2
measurement probe from the measurement nipple of the
flue gas outlet pipe.
24. Put the cap back on the measurement nipple of the flue gas outlet pipe.
25. Shut off the gas supply.
26. Replace the covers.
3.13.4
Switching pressure measurement
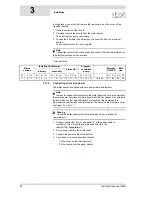
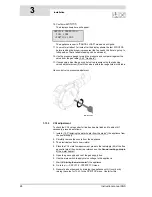
To measure the switching pressure, proceed as follows:
1. Isolate (10.3 "Isolating the water heater from the mains") the appliance from
the power supply.
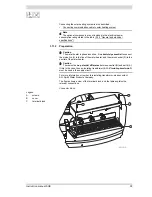
2. Carefully remove the covers from the appliance.
3. The electrical section is now visible.
4. Remove the black caps from the measurement point of the pressure switch.
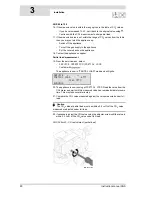
5. Connect the + of the pressure gauge to the H of the measurement point of
the pressure switch.
6. Connect the - of the pressure gauge to the L of the measurement point of
the pressure switch.
7. Zero the pressure gauge.
8. Start (9 "Starting the water heater") the appliance.
9. The appliance will now run the heating cycle (9.3 "The appliance's heating
cycle").
IMD-1097b R0
Summary of Contents for SGS - 100
Page 7: ...4 Instruction manual SGS gis...
Page 11: ...Contents 8 Instruction manual SGS...
Page 23: ...Working principle of the water heater 20 Instruction manual SGS 2 gis...
Page 37: ...Installation types 34 Instruction manual SGS Installation 3...
Page 57: ...Conversion to a different gas category 54 Instruction manual SGS 4 is...
Page 65: ...Draining 62 Instruction manual SGS 6 gis...
Page 71: ...Status of the water heater 68 Instruction manual SGS 8 gis...
Page 75: ...Shutting down 72 Instruction manual SGS 10 gis...
Page 103: ...Service interval 100 Instruction manual SGS 14 is...
Page 112: ...Instruction manual SGS 109 is...
Page 119: ...Instruction manual SGS 116...


