50
3D Systems, Inc
.
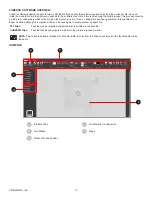
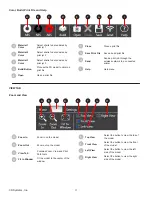
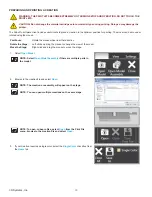
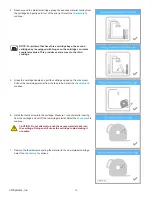
4 . Move the model into the preferred position on the stage .
NOTE: You can specify the distance you want to move the model by
inputing values in the Move X or Move Y fields and then selecting
Move X
or
Move Y
.
NOTE:
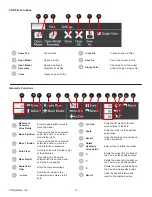
Auto Place
allows the software to place the model in an
optimum position .
NOTE: Selecting
Move Model
allows you to click and drag the model
around the stage .
5 . If necessary, scale and rotate the model by entering the values and selecting the
corresponding buttons .
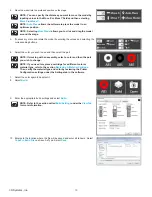
6 . Select the color you wish to use and then select the part .
NOTE: If working with an assembly, select a color and then the part
you wish to change .
NOTE: If you need to replace a cartridge for a different color or
material type, refer to the section
Replacing A Material Cartridge
.
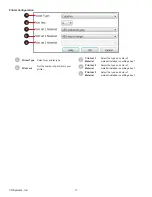
Then, verify the material type and color by reviewing the Printer
Configuration settings under the Settings tab in the software.
7 . Select the color again to deselect it .
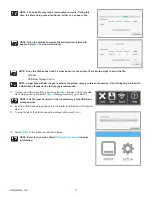
8 . Select
Build
.
9 . Enter the appropriate build settings and select
Build
.
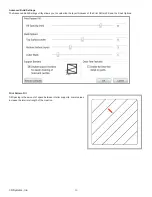
NOTE: Refer to the section called
Build Settings
under the
View Tab
for more information .
10 .
Browse to the location where the file will be saved and enter a file name. Select
CubePro Build Files
as Save As Type . Select
Save
.

