


4.
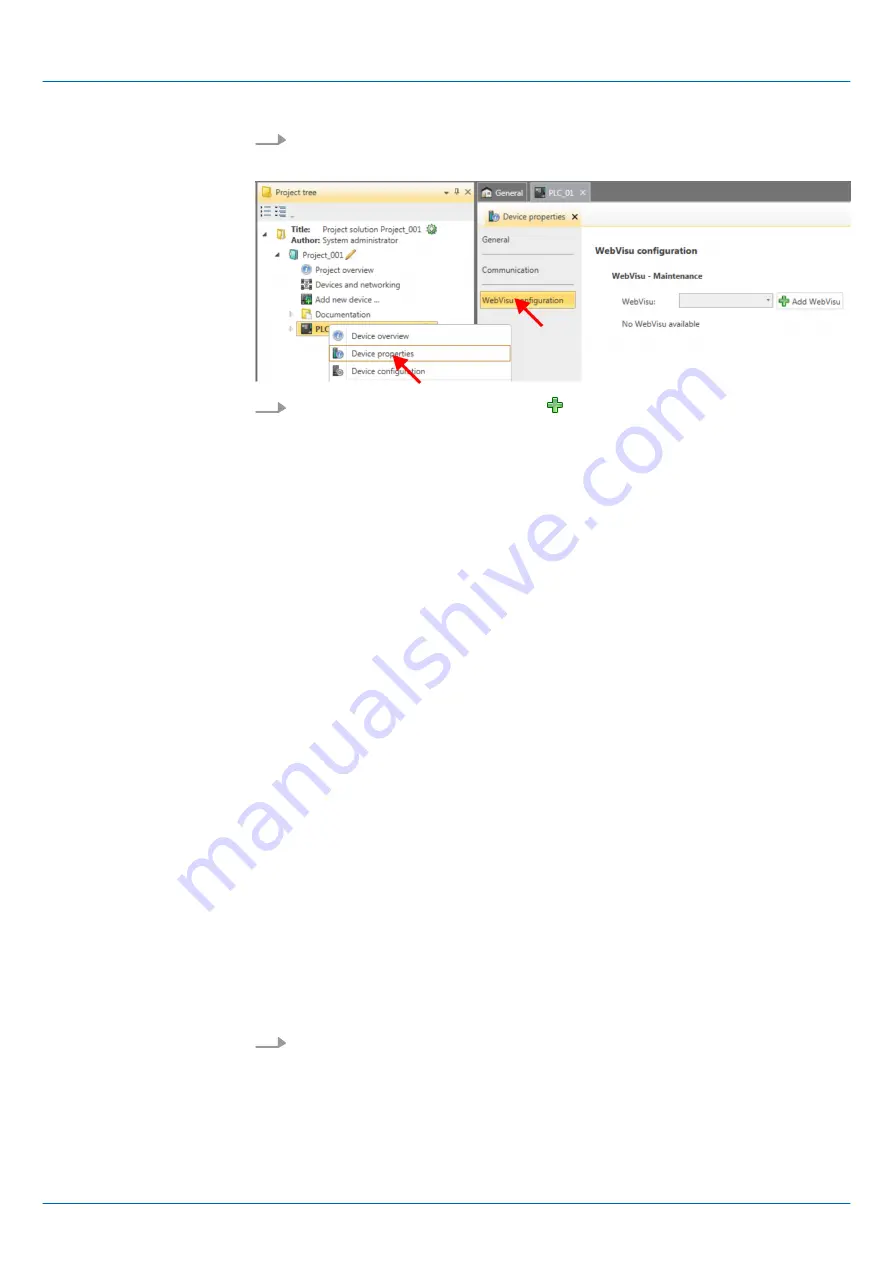
Here click at
‘WebVisu configuration’
ð
In this settings window, you can create a
WebVisu
project for your CPU.
5.
To create a
WebVisu
project, click at [ Add
WebVisu
].
ð
A new WebVisu project is created and listed in the
‘Project tree’
. At
‘WebVisu -
general configurations’
and
‘WebVisu - SSL configurations’
, you can make fur-
ther settings.
WebVisu - general configurations
n
Port number
–
Enter the port number under which the
WebVisu
should be accessible.
–
Port number
: 8080 (default): The
WebVisu
can be accessed via the IP address
and port 8080. The
Device web page
can be accessed via the IP address and
port 80.
–
Port number
: 80: The
WebVisu
can be accessed via the IP address and port 80.
The
Device web page
can be accessed via the IP address and port 8080.
n
Polling interval (ms)
–
Enter here the interval for the cyclical refresh of the web content.
n
Execution device
–
Select
‘CPU’
as device on which this
WebVisu
project is to be executed.
–
WebVisu
projects for Ethernet CPs are not supported by this CPU.
WebVisu - SSL configurations
n
Enabling encoding
–
When enabled, you have SSL-encrypted access to your
WebVisu
.
n
Disable HTTP
–
When activated, the access happens via HTTPS.
n
SSL port number
–
SSL port number 443 (default): The secure access to the
WebVisu
takes place
via the IP address and port 443. The
Device web page
can be accessed via the
IP address of the CPU and port 8080.
n
Original path of the certificate used
–
Here you can upload a security certificate.
–
Only security certificates in PEM format are supported.
Click in the
‘Project tree’
at
WebVisu
Project and select
‘Context menu
è
Delete WebVisu’
.
ð
The
WebVisu
project is removed from the configuration.
Delete WebVisu
VIPA System MICRO
Configuration with VIPA SPEED7 Studio
Deployment Web visualization > WebVisu editor
HB400 | CPU | M13-CCF0000 | en | 18-50
251


