


ENG
5-21
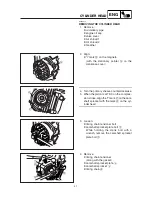
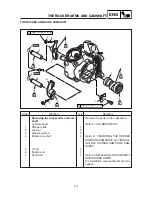
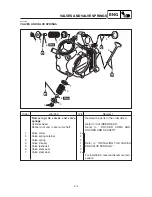
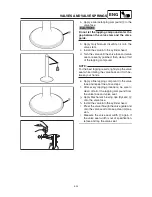
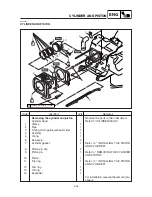
3. Remove:
8
valve cotter
1
8
valve spring retainer
2
8
valve spring
3
8
valve stem seal
4
8
lower spring seat
5
8
valve
6
NOTE:
Identify the position of each part very carefully
so that it can be reinstalled in its original place.
VALVES AND VALVE SPRINGS
EAS00239
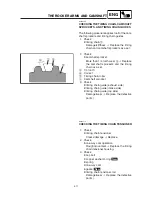
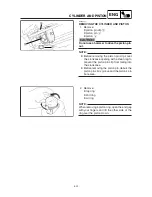
CHECKING THE VALVES AND VALV E
GUIDES
The following procedure applies to all of the
valves and valve guides.
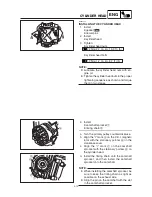
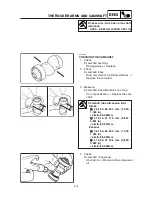
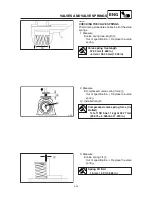
1. Measure:
8
valve-stem-to-valve-guide clearance
Valve-stem-to-valve-guide clearance =
Valve guide inside diameter
a
-
Valve stem diameter
b
Out of specification
J
Replace the valve
guide.
Valve-stem-to-valve-guide clearance
Intake
0.010 ~ 0.037 mm(0.0004~0.0015 in)
<Limit>: 0.08 mm(0.003 in)
Exhaust
0.025 ~ 0.057 mm(0.001~0.002 in)
<Limit>: 0.10 mm(0.004 in)
a
b
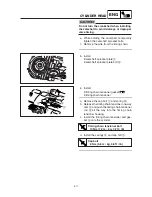
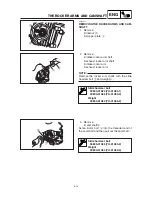
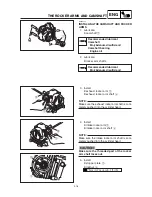
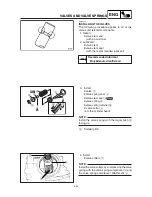
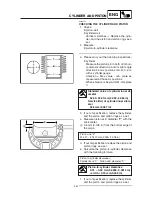
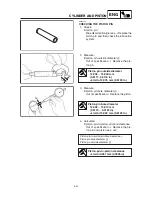
2. Replace:
8
valve guide
NOTE:
To ease valve guide removal and installation,
and to maintain the correct fit, heat the cylinder
head to 100°C (212°F) in an oven.
*****************************************************
a. Remove the valve guide with the valve guide
remover
1
.
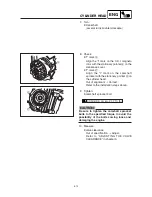
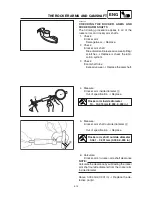
b. Install the new valve guide with the valve
guide installer
2
and valve guide remover
1
.
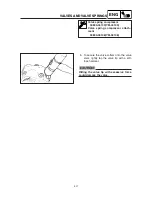
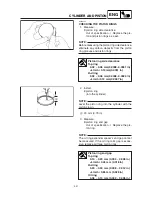
c. After installing the valve guide, bore the
valve guide with the valve guide reamer
3
to obtain the proper valve-stem-to-valve-
guide clearance.
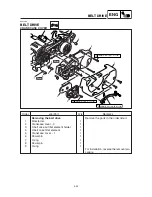
6
5
3
4
2
1