E-
48
Disc Divide
You can divide a disc into two at the selected point.
1.
Select and confirm “Disc Divide” in step 5 for “DISC
EDITING” on page 46.
The following message appears on the display.
The number of the disc to be divided flashes.
2.
Select the disc to be divided by rotating the MULTI
JOG knob (pr/– on the remote control).
3.
Press the MULTI JOG knob (ENTER on the remote
control) to confirm the disc to be divided.
“Div.from” and the dividing point (the number of the track to
be the first after dividing) appear on the display.
4.
Select the dividing point by rotating the MULTI JOG
knob (pr/– on the remote control).
5.
Press the MULTI JOG knob (ENTER on the remote
control) to confirm the dividing point.
6.
Press COMPLETE.
The selected disc is divided into two at the selected dividing
point.
Caution
• The HDD can contain up to 999 discs. If the HDD already
contains 999 discs, “Disc No.Full” appears on the display.
Note
• The disc numbers following the divided disc will be up-numbered
by one. However, if there is any unused disc number, only the
discs up to that number will be up-numbered.
DISC EDITING
Disc to be divided
GROUP
L
R
dB
–30 –10
–6
–2
0
D i v i d e
0 0 1 ?
Track to be the first after dividing
GROUP
L
R
dB
–30 –10
–6
–2
0
D i v . f r o m
4 ?
Disc Pack
You can re-organize the disc numbers by eliminating unused disc
numbers that have been created by changing disc numbers or
erasing discs.
1.
Select and confirm “Disc Pack” in step 5 for “DISC
EDITING” on page 46.
The following message appears on the display.
2.
Press COMPLETE.
The disc numbers are re-organized by eliminating unused disc
numbers.
L
R
dB
–30 –10
–6
–2
0
P a c k
?
1
3
4
6
1
2
3
4
5
6
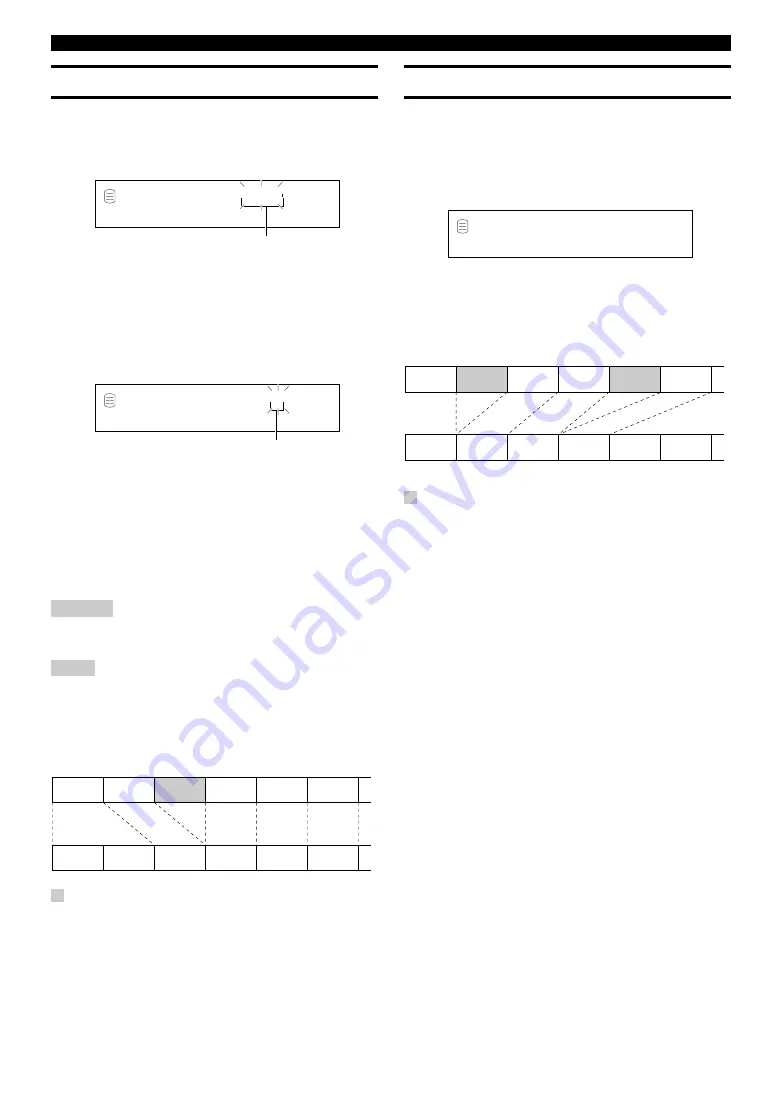
Before “Disc Pack” is performed
After “Disc Pack” has been performed (Unused disc numbers
have been eliminated.)
: Unused disc numbers
1
2
4
5
6
1
2
3
4
5
6
Before “Disc Divide” is performed
Divided into two
After “Disc Divide” has been performed (dividing a disc into two)
: Space not being used


