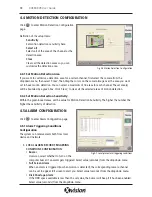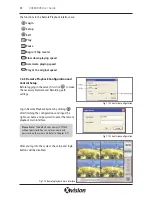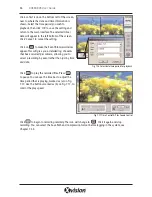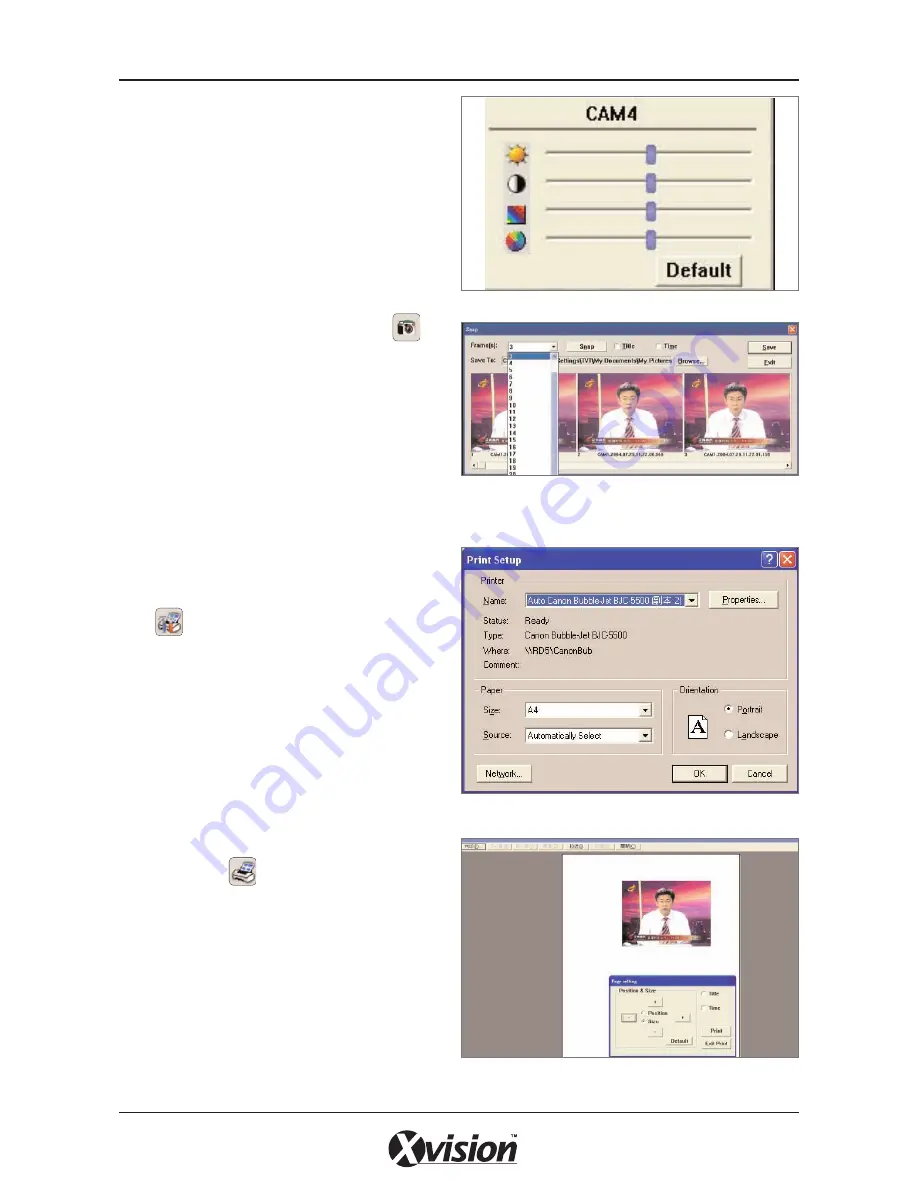
When in single channel playback pause mode, the
Colour Control Panel (Fig 6.7) will appear
automatically, in which you can make colour
adjustments for the current channel, including
brightness, contrast, saturation and hue. Press
‘Default’ to recover to the original settings.
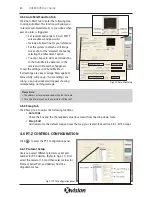
When in single channel pause mode, click and to
enter the
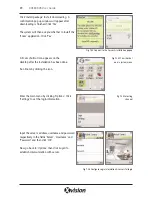
Snapshot
menu. You can capture
multiple images in sequence by selecting the
number of frames to capture.
Select the path you wish to save the snapshot
image to and click ‘Save’ to save the picture.
You can also print the images that have been
captured.
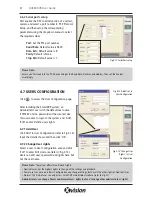
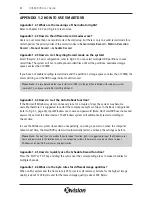
Click to enter the
Print Setup
menu.
Use this area to assign a printer to the application
and configure your printer settings.
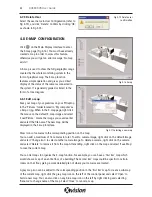
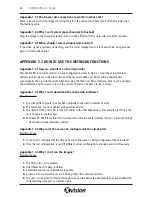
You can see a print preview of the snapshot before
you print. Select and to go into the
menu.
• Select ‘Position’ and use the ‘+’ and ‘-’ buttons
to move the picture up, down, left and right.
• Select ‘Size’ and use the ‘+’ and ‘-’ buttons to
zoom in and out the image.
• Select ‘Title’ and/or ‘Time’ to include the
camera name and recording time in the print.
• Press ‘Default’ to return to the original setting.
• Press ‘Print’ to print the image.
29
XUSB4DVR User Guide
Fig 6.9 Colour Control Panel
Fig 6.10 Snapshot
Fig 6.11 Print Setup
Fig 6.12 Print Preview
Содержание XUSB4DVR
Страница 48: ...Function Trees 48 XUSB4DVR User Guide APPENDIX 3...
Страница 49: ...Function Trees continued 49 XUSB4DVR User Guide...
Страница 50: ...Function Trees continued 50 XUSB4DVR User Guide...
Страница 51: ...Notes 51 XUSB4DVR User Guide APPENDIX 4...


