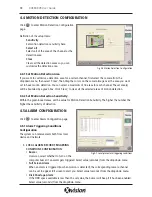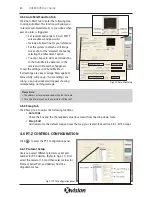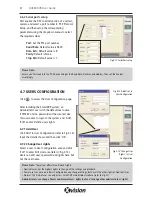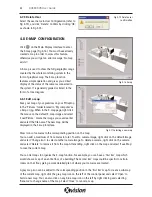
Click on the CONFIGURATION button to enter the main System Setup page. The buttons shown at
the bottom of the screen are:
Basic Configuration
Schedule Configuration
Video Configuration
Motion Detection Configuration
Alarm Configuration
P.T.Z Configuration
User Configuration
Return
4.1 BASIC CONFIGURATION
Click to enter the Basic Configuration page where you can setup the system or just use the defaults.
NOTE: You can Click to return to the main display interface at any time. Below are the options
available in the Basic Configuration screen:
Dwell Interval
Set the dwell time between images for Auto
Dwell display mode. Select from dropdown.
Caption
There are four options to select for all the
channels. Select from dropdown.
• ‘None’ means no title;
• ‘ID’ means camera numbers, i.e. 1, 2, 3, 4
• ‘Name’ means camera names, i.e. Cam1,
Cam2 etc
• ‘ID/Name’ means both camera number and
camera name, i.e. 1/Cam1, 2/Cam2 etc
Resolution
There are two options, 352x288 and 704x576 for you to set the resolution for all the channels. The
video may have interlace lines if the you select 704x576, so you can select the
option to solve this problem. Note:De-Interlacing will use much more of the PC’s processing speed.
Storage Disk
The XUSB4DVR system shows all the available HDD partitions. You can select one or more of the
partitions that will be used in sequence from top to bottom. Check the Recycle option to allow the
16
XUSB4DVR User Guide
4 SYSTEM SETUP
Fig 4.1 Basic Configuration
Fig 4.2 Basic Configuration
Содержание XUSB4DVR
Страница 48: ...Function Trees 48 XUSB4DVR User Guide APPENDIX 3...
Страница 49: ...Function Trees continued 49 XUSB4DVR User Guide...
Страница 50: ...Function Trees continued 50 XUSB4DVR User Guide...
Страница 51: ...Notes 51 XUSB4DVR User Guide APPENDIX 4...


