117
4.
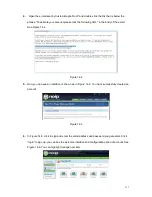
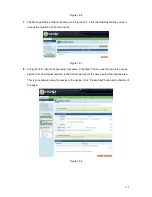
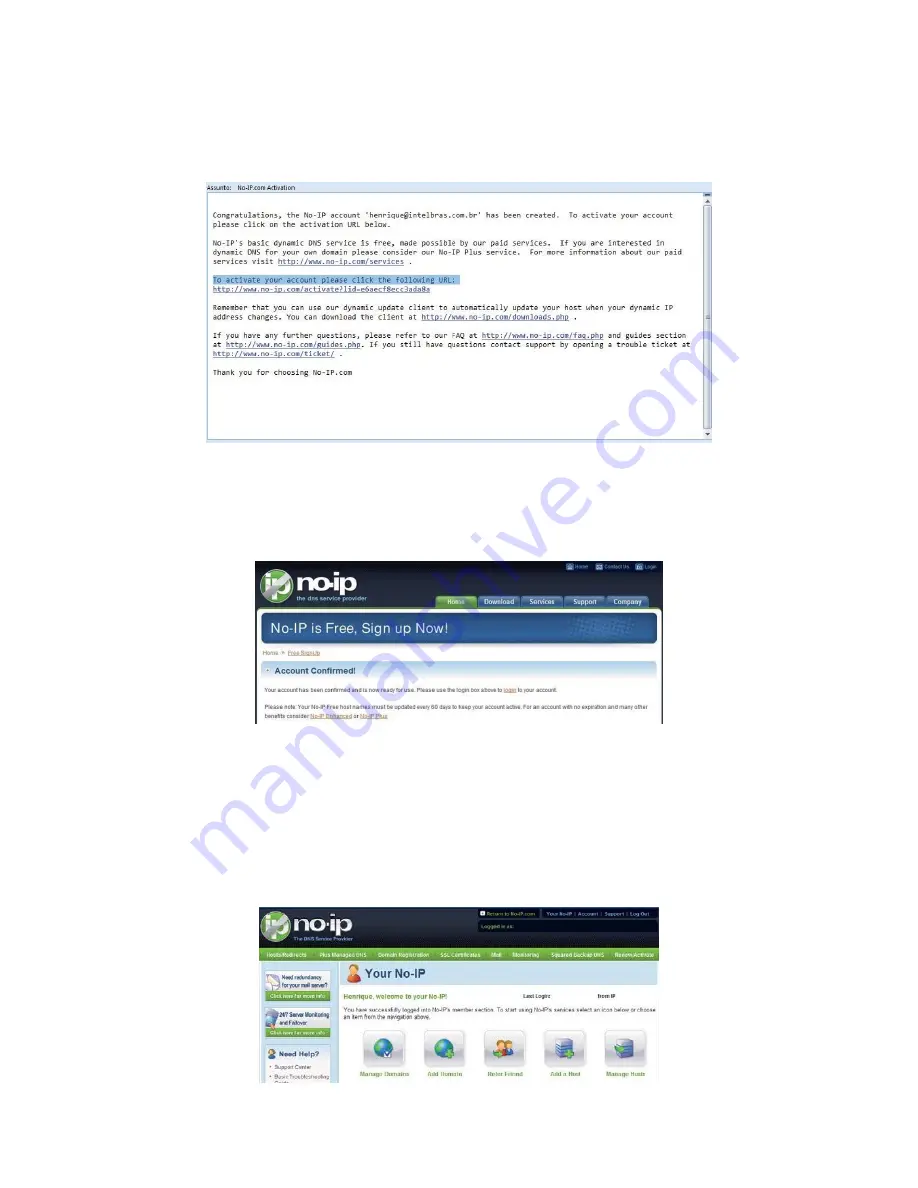
Open the e-mail sent by trusted rmação No-IP and double-click the link that is below the
phrase "To activate your account please click the following URL:" in the body of the email.
See Figure 14-4.
Figure 14-4
5.
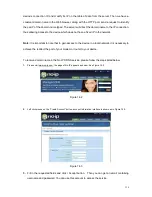
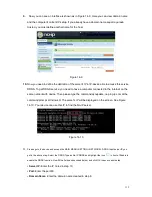
Now you can see an interface is shown as in Figure 14-5. You have successfully created an
account.
Figure 14-5
6.
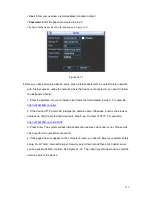
In Figure 14-5, click to sign and enter the email address and password you get earlier. Click
“login” to sign up, you can see the welcome interface and configuration option of account. See
Figure 14-6. You can highlight manage host item.
Содержание X100R
Страница 1: ...X100R X400R XP400R XP400H USER MANUAL ...
Страница 51: ...44 Figure 6 45 Figure 6 46 Figure 6 47 Figure 6 48 ...
Страница 67: ...60 Figure 6 77 ...
Страница 70: ...63 Figure 7 5 ...
Страница 93: ...86 Figure 8 32 UNPN 8 3 2 6 Alarm Alarm setup interface is shown as in Figure 8 33 Figure 8 33 Alarm Setup ...
Страница 103: ...96 Figure 8 44 Account Figure 8 45 Add user Parameter Function User Input the user name of the new established account ...
Страница 120: ...113 Teclast Ti Cool 512M Teclast Ti Cool 1G Teclast Ti Cool 2G ...
Страница 128: ...121 Figure 14 12 ...


