94
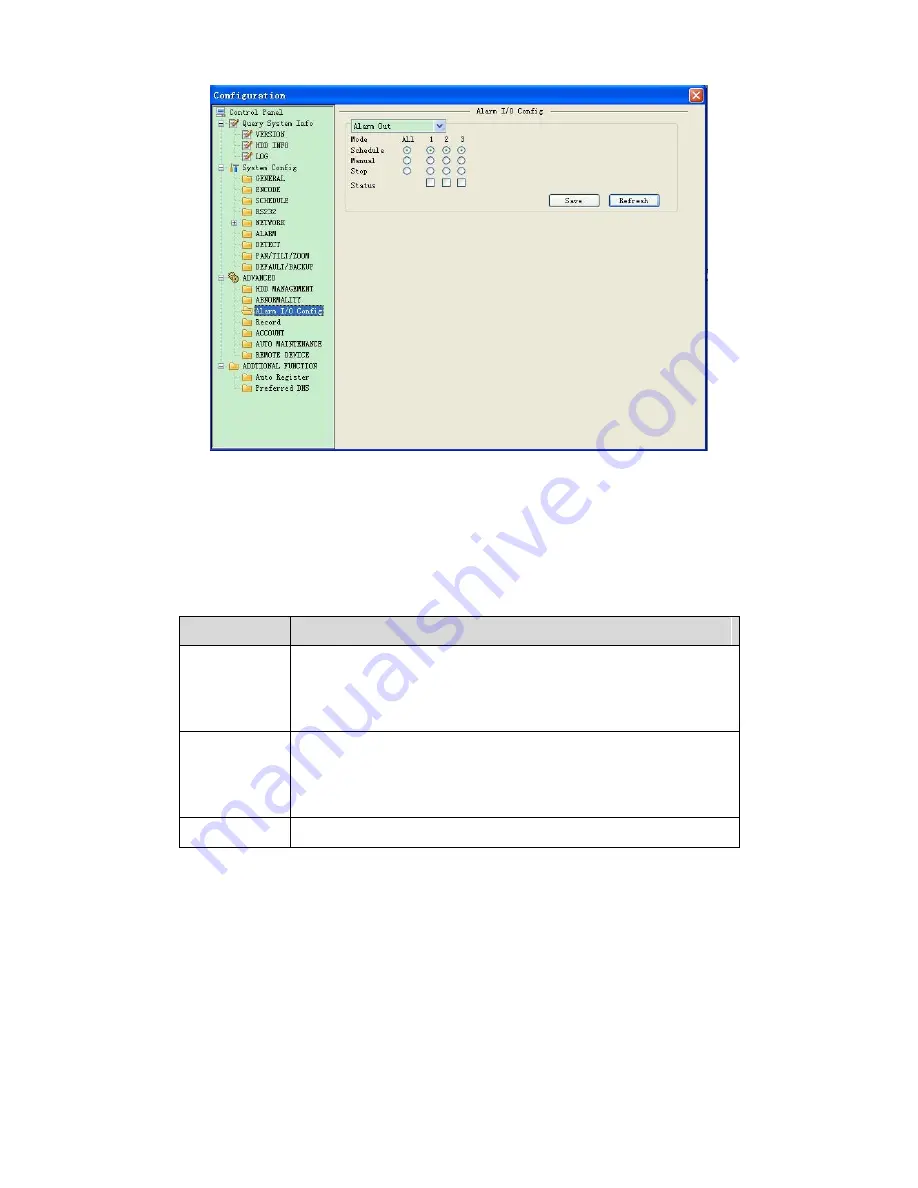
Figure 8-42 Alarm I/O Configuration
Important
The alarm output port should not be connected to high power load directly (It shall be less than 1A)
to avoid high current which may result in relay damage. Please use the co contactor to realize the
connection between the alarm output port and the load.
Please refer to the following sheet for detailed information.
Parameter
Function
Alarm output
The alarm output channel may vary. The interface here is for
reference only.
Please click the corresponding number and then click the trigger
button.
Trigger
Enable/disable alarm output.
Please note once you activate an alarm manually, you need to
click the output channel number again and then click trigger button
to disable it. Otherwise the alarm can not be cancelled.
Refresh
Search alarm output status.
8.3.3.4 Record
Record control interface is shown as in Figure 8-43.
Содержание X100R
Страница 1: ...X100R X400R XP400R XP400H USER MANUAL ...
Страница 51: ...44 Figure 6 45 Figure 6 46 Figure 6 47 Figure 6 48 ...
Страница 67: ...60 Figure 6 77 ...
Страница 70: ...63 Figure 7 5 ...
Страница 93: ...86 Figure 8 32 UNPN 8 3 2 6 Alarm Alarm setup interface is shown as in Figure 8 33 Figure 8 33 Alarm Setup ...
Страница 103: ...96 Figure 8 44 Account Figure 8 45 Add user Parameter Function User Input the user name of the new established account ...
Страница 120: ...113 Teclast Ti Cool 512M Teclast Ti Cool 1G Teclast Ti Cool 2G ...
Страница 128: ...121 Figure 14 12 ...


