© XPAND, All Rights Reserved.
12 www.xpandvision.com
Setup and Configuration
Installation
1.
Before starting the installation process make sure the unit is turned OFF and power is unplugged.
2.
Turn off the projector which will have the XPAND Trinity 3D Superlight Polarizer installed in front.
3.
Position the Trinity Polarizer unit in front of the projector lens. A distance of 2 to 5 mm from the projector should be taken as a
reference. The side of the unit which contains the connectors must be facing towards the projector so the light coming from the
projector enters the unit through the input window, marked with (D) in
Figure 1
. The light should enter the unit
perpendicular to
the input window. This is important to obtain a clear image. Failure to follow this instruction may result in an inverted and
offset “ghost image” to be shown on the screen.
It is strongly recommended that the Trinity Polarizer is mounted onto XPAND’s
Motorized Mount MK3 unit in order to automate the movement in front of and away from the projector. This manual assumes the use
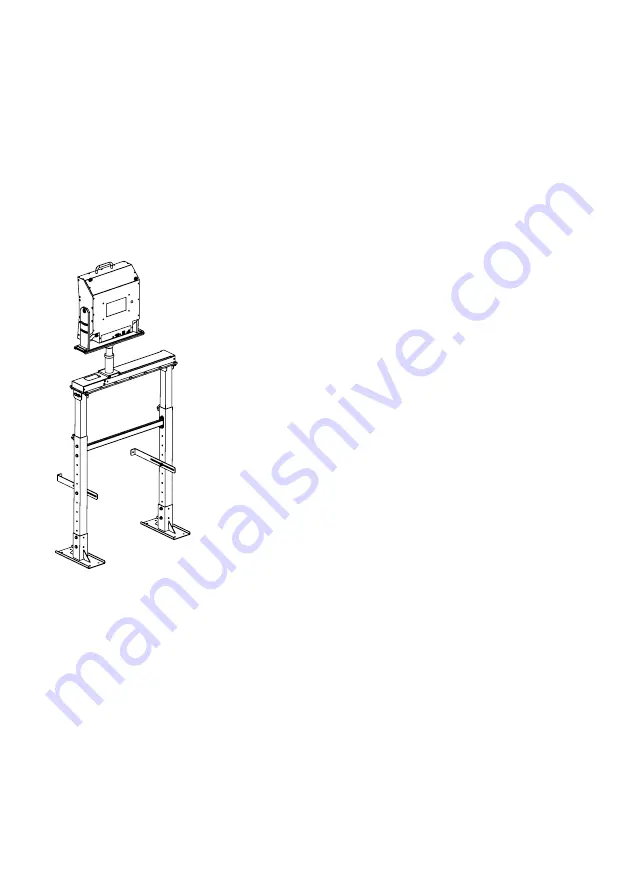
of such a mount. For proper mounting of the system refer to the mount’s user manual. The final setup is shown in
Figure 6
. Before
proceeding, make sure the construction is stable enough for operation.
Figure 6: Final Setup
4.
Connect one of the supplied GPIO cables to the GPIO connector on the projector and to the 9 pin GPIO connector on the back of the
Trinity Polarizer. Two cables are supplied with the unit. Choose the correct one based on the available connectors on the projector.
5.
If the unit will be controlled or configured over the network, first configure its network settings. For information on how to do this see
section
Unit’s Initial Network Settings Configuration
. Then connect the unit to the network using a standard RJ45 Ethernet cable.
Alternatively, it can be connected directly to the projector or digital cinema server by using an Ethernet crossover cable if both are
configured properly. Note that some projectors or digital cinema servers may have more than one RJ45 port and some may be used
for other applications. Make sure to use the one intended for network connection.
6.
If the unit is mounted on a motorized mount, go through the
Motion Control Setup Wizard
described below to properly configure the
way the Trinity Polarizer moves away and in front of the projector. This step enables seamless viewing of 2D content by automatically
moving the Trinity Polarizer out of the way of projector’s light path when no 3D content is being shown.
7.
Connect a 12 V/1A power adapter to the DC input connector on the back of the unit.
8.
Using a 3D calibration Image, fine tune the position of all optical elements within the unit to get a clear and aligned 3D image on
the screen. See section
Adjusting the Image Position
for more information. In order to obtain a clear 3D image it is important that
this step is not left out.


