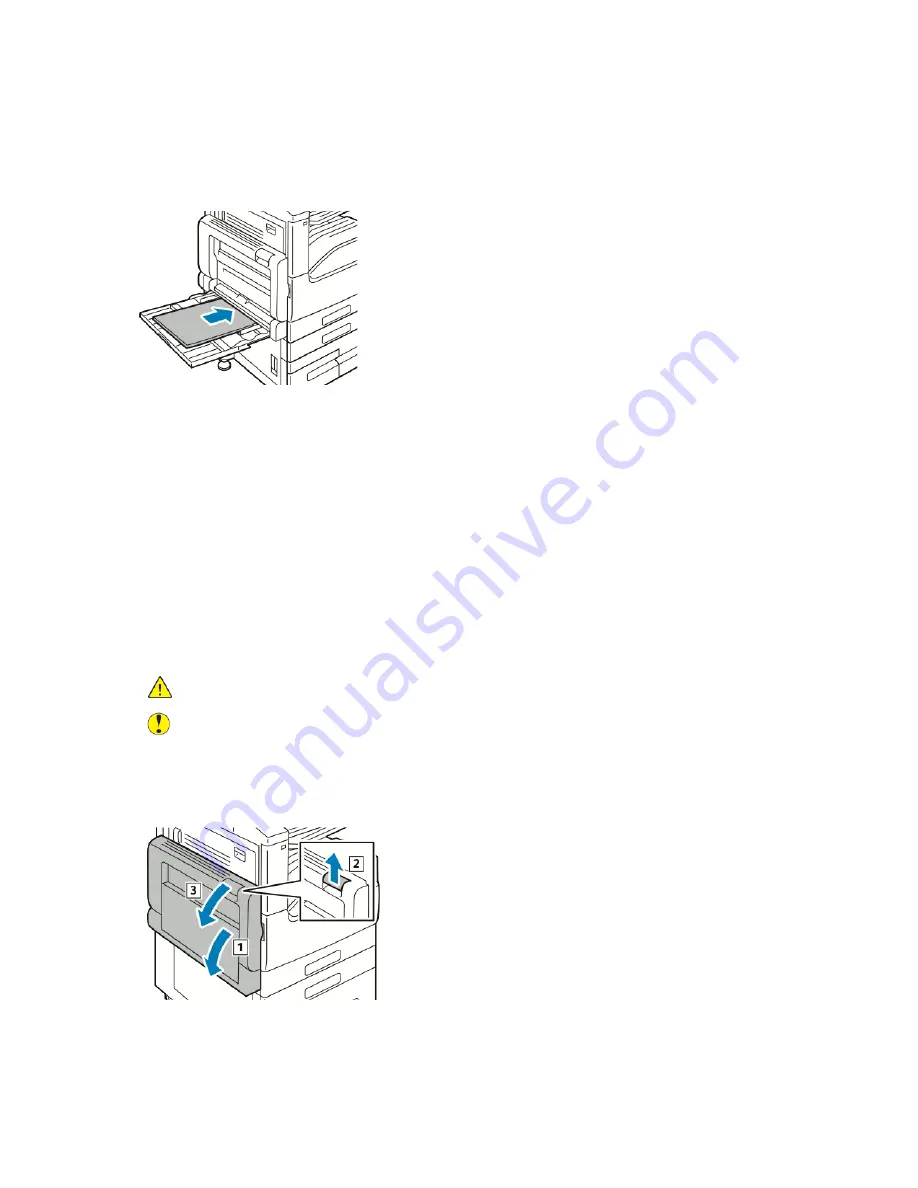
2. If the paper is torn, check inside the printer for torn pieces of paper.
3. Fan the paper that you removed and ensure that all four corners align neatly.
4. Insert the paper into the Bypass Tray with the print side face down. Ensure that the leading edge
of the paper lightly touches the paper-feed entrance.
5. When paper trays are set to Fully Adjustable, you are prompted to verify or change the paper
settings.
• To confirm the same paper size, type, or color, touch
OK
.
• To select a new paper size, type or color, touch the current setting, then select a new setting.
When finished, touch
OK
.
6. To return to the Home screen, press the
Home
button.
Clearing Paper Jams at Doors A, B and C
To resolve the error that appears on the control panel, clear all paper from the paper path.
Clearing Jams at Door A
1. Open the Bypass Tray and Door A.
WARNING:
The area around the Fuser can be hot. Use caution to avoid injury.
Caution:
Do not touch the transfer roller. Touching the roller can reduce image quality.
a.
Open the Bypass Tray.
b.
Lift the release lever.
c.
Open Door A.
210


