Windows 2000/XP Network
Phaser® 7300 Color Printer
24
6.
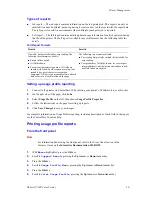
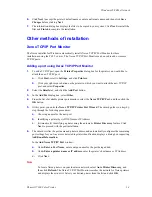
Click
Next
to accept the printer's default name or enter an alternate name, and then click
Save
Changes
before clicking
Next
.
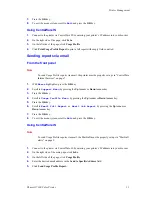
7.
The information dialog box displays the files to be copied to your system. Click
Next
to install the
files and
Finish
to complete the installation.
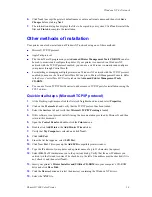
Other methods of installation
Your printer can also be installed on a Windows 2000/XP network using one of these methods:
Microsoft TCP/IP protocol
AppleTalk protocol
You can use Xerox TCP/IP Port Monitor to add or remove TCP/IP ports for installations using the
PCL 5c driver.
The following methods can also be used to install or configure your printer:
The CentreWare DP program on your
Advanced Printer Management Tools CD-ROM
can also
be used to monitor and configure the printer.
If your printer is connected to a Windows 2000/XP network with the TCP/IP protocol enabled,
you can use a web browser to monitor and configure your printer through CentreWare IS.
For installing or managing multiple printers on a Windows 2000/XP network with TCP/IP
protocol enabled, you can use the Xerox CentreWare MC snap-in to Microsoft Management
Console. Refer to the
Xerox CentreWare MC User Guide
on the
Advanced Printer Management
Tools CD-ROM
.
The above methods are not discussed in this section. For more information concerning CentreWare IS,
CentreWare DP, or CentreWare MC, refer to the
Printer Management
section.
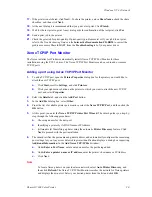
Quick install steps (Microsoft TCP/IP protocol)
Note
For Windows XP, switch to
Classic Look
using the Taskbar and Start Menu Properties
dialog box. Otherwise, Windows XP procedures do not match the steps below.
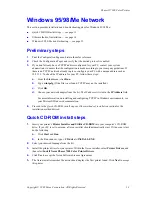
1.
At the Desktop, right-mouse-click the
My Network Places
icon and select
Properties
.
2.
Right-mouse-click the
Local Area Connection
icon inside the
Network and Dial-up
Connections
window. Select
Properties
.
3.
Select the
General
tab and verify that
Internet Protocol (TCP/IP)
is loaded.
4.
If the TCP/IP software is not present, install it using the documentation provided by Microsoft,
and then return to this document.
5.
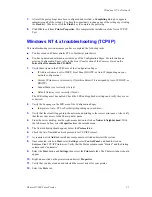
Open the
Control Panel
and double-click the
Printers
icon.
6.
For Windows 2000, double-click
Add Printer
; the
Add Printer Wizard
starts.
For Windows XP, Select the
Printer Tasks
menu and click
Add a Printer
.
7.
Click
Next>
.

