02/2000
2-50
DocuPrint N2025/N2825
RAP 52
Initial Issue
Status Indicator Repair Analysis Procedures
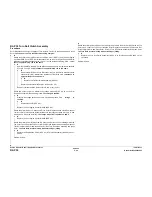
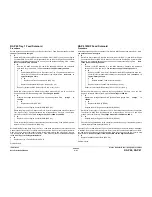
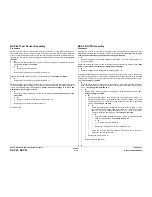
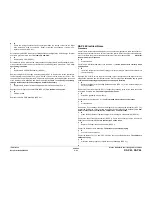
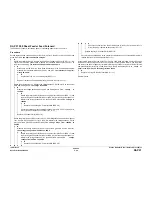
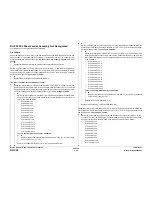
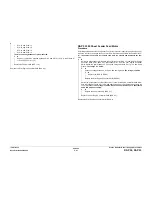
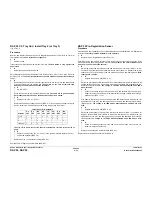
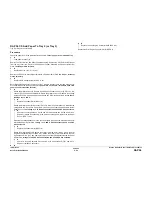
RAP 52 500 Sheet Feeder Assembly Not Recognized
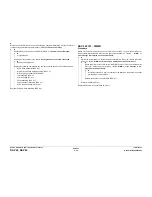
Controller does not recognize the Feeder Assembly.
Procedure
Check the alignment of the printer to the 500 Sheet Feeder and the alignment of the top 500
Sheet Feeder to the second 500 Sheet Feeder, if installed. Ensure that the connectors are
properly aligned and properly connected. All connectors are properly aligned and con-
nected.
Y
N
Reseat the feeders and printer to obtain proper alignment and connection.
Switch the printer power off. Remove the Left Side Cover (REP 1.1) and the Print Engine Con-
troller PWB Cover (REP 8.5). Disconnect P/J13 from the Print Engine Controller PWB. Switch
the printer power on. Check the voltage between P13 pin 10 on the Print Engine Controller
PWB and frame ground. The voltage is 1.0VDC.
Y
N
Replace the Print Engine Controller PWB (REP 8.5).
The printer contains only one 500 Sheet Feeder.
Y
N
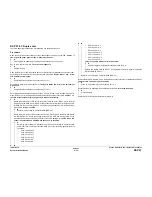
Switch the printer power off. Remove the Left Side Cover (REP 11.3) from the top 500
Sheet Feeder. Disconnect P/J136 from the Feeder PWB. Reconnect P/J13 to the Print
Engine Controller PWB. Switch the printer power on. Check the voltage between P13 pin
10 on the Print Engine Controller PWB and frame ground. The voltage is 1.9VDC.
Y
N
Switch the printer power off. Disconnect P/J13 from the Print Engine Controller PWB
and P/J132 from the Feeder PWB. Check for the continuity between each of the Pins
on P13 and P132 as follows:
•
P13-1 and P132-1
•
P13-2 and P132-2
•
P13-3 and P132-3
•
P13-4 and P132-4
•
P13-5 and P132-5
•
P13-6 and P132-6
•
P13-7 and P132-7
•
P13-9 and P132-8
•
P13-10 and P132-9
•
P13-11 and P132-10
•
P13-12 and P132-11
•
P13-13 and P132-12
•
P13-14 and P132-13
•
P13-15 and P132-14
There is continuity between all pins measured.
Y
N
Repair or replace the harness between P/J13 and P/J131 (PL 9.1) or between
P/J131 and P/J132 (PL 11.2).
Replace the Feeder PWB (REP 11.8) in the top 500 Sheet Feeder.
Switch the printer power off. Reconnect P/J136 to the top 500 Sheet Feeder. Switch the
printer power on. Check the voltage between P13 pin 10 on the Print Engine Controller
PWB and frame ground. The voltage is 0.68VDC.
Y
N
Switch the printer power off. Remove the Left Cover (REP 11.3) from the lower 500
Sheet Feeder. Disconnect P/J136 from the top Feeder PWB and P/J132 from the
lower Feeder PWB. Check for the continuity between each of the Pins on P136 and
P132 as follows:
•
P136-1 and P132-1
•
P136-2 and P132-2
•
P136-3 and P132-3
•
P136-4 and P132-4
•
P136-5 and P132-5
•
P136-6 and P132-6
•
P136-7 and P132-7
•
P136-8 and P132-9
•
P136-9 and P132-10
•
P136-10 and P132-11
•
P136-11 and P132-12
•
P136-12 and P132-13
•
P136-13 and P132-14
There is continuity between all pins measured.
Y
N
Repair or replace the harness between P/J13 and P/J131 (PL 9.1) or between
P/J131 and P/J132 (PL 11.2).
Replace the Feeder PWB (REP 11.8).
Replace the Print Engine Controller PWB (REP 8.5).
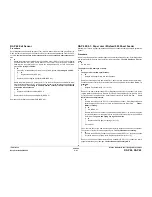
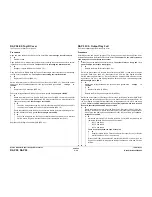
Switch the printer power off. Reconnect P/J13 to the Print Engine Controller PWB. Switch the
printer power on. Check the voltage between P13 pin 10 on the Print Engine Controller PWB
and frame ground. The voltage is 1.6VDC.
Y
N
Switch the printer power off. Remove the 500 Sheet Feeder Left Cover (REP 11.3). Dis-
connect P/J13 from the Print Engine Controller PWB and P/J132 from the Feeder PWB.
Check for the continuity between each of the Pins on P13 and P132 as follows:
•
P13-1 and P132-1
•
P13-2 and P132-2
•
P13-3 and P132-3
•
P13-4 and P132-4
•
P13-5 and P132-5
•
P13-6 and P132-6
•
P13-7 and P132-7
•
P13-9 and P132-8
•
P13-10 and P132-9
•
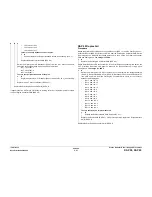
P13-11 and P132-10
A
A
B
B
C
Содержание DocuPrint N2025
Страница 12: ...02 2000 1 2 DocuPrint N2025 N2825 Initial Issue Service Call Procedures...
Страница 20: ...02 2000 2 2 DocuPrint N2025 N2825 Initial Issue Status Indicator Repair Analysis Procedures...
Страница 64: ...02 2000 2 46 DocuPrint N2025 N2825 RAP 46 RAP 47 Initial Issue Status Indicator Repair Analysis Procedures...
Страница 72: ...02 2000 2 54 DocuPrint N2025 N2825 RAP 56 Initial Issue Status Indicator Repair Analysis Procedures...
Страница 76: ...02 2000 2 58 DocuPrint N2025 N2825 RAP 59 RAP 60 Initial Issue Status Indicator Repair Analysis Procedures...
Страница 86: ...02 2000 3 2 DocuPrint N2025 N2825 Initial Issue Image Quality Repair Analysis Procedures...
Страница 114: ...02 2000 4 4 DocuPrint N2025 N2825 Introduction Initial Issue Repair Adjustment...
Страница 120: ...02 2000 4 10 DocuPrint N2025 N2825 REP 1 8 REP 1 9 Initial Issue Repair Adjustment...
Страница 128: ...02 2000 4 18 DocuPrint N2025 N2825 REP 2 10 REP 2 11 Initial Issue Repair Adjustment...
Страница 134: ...02 2000 4 24 DocuPrint N2025 N2825 REP 3 7 Initial Issue Repair Adjustment...
Страница 144: ...02 2000 4 34 DocuPrint N2025 N2825 REP 5 5 Initial Issue Repair Adjustment...
Страница 152: ...02 2000 4 42 DocuPrint N2025 N2825 REP 7 6 REP 7 7 Initial Issue Repair Adjustment...
Страница 160: ...02 2000 4 50 DocuPrint N2025 N2825 REP 8 9 Initial Issue Repair Adjustment...
Страница 186: ...02 2000 4 76 DocuPrint N2025 N2825 REP 11 21 REP 11 22 Initial Issue Repair Adjustment...
Страница 204: ...02 2000 4 94 DocuPrint N2025 N2825 REP 12 29 Initial Issue Repair Adjustment...
Страница 206: ...02 2000 4 96 DocuPrint N2025 N2825 ADJ 1 1 Initial Issue Repair Adjustment...
Страница 208: ...02 2000 5 2 DocuPrint N2025 N2825 Initial Issue Parts list...
Страница 234: ...02 2000 6 2 DocuPrint N2025 N2825 Initial Issue General Procedures Information...
Страница 236: ...02 2000 6 4 DocuPrint N2025 N2825 GP 1 1 Initial Issue General Procedures Information...
Страница 257: ...02 2000 6 25 DocuPrint N2025 N2825 GP 3 3 General Procedures Information Initial Issue Figure 2 Password Menu...
Страница 258: ...02 2000 6 26 DocuPrint N2025 N2825 GP 3 3 Initial Issue General Procedures Information Figure 3 Tray Menu...
Страница 259: ...02 2000 6 27 DocuPrint N2025 N2825 GP 3 3 General Procedures Information Initial Issue Figure 4 PCL Menu...
Страница 260: ...02 2000 6 28 DocuPrint N2025 N2825 GP 3 3 Initial Issue General Procedures Information Figure 5 System Menu...
Страница 262: ...02 2000 6 30 DocuPrint N2025 N2825 GP 3 3 Initial Issue General Procedures Information Figure 8 USB Menu...
Страница 263: ...02 2000 6 31 DocuPrint N2025 N2825 GP 3 3 General Procedures Information Initial Issue Figure 9 Ethernet Menu...
Страница 264: ...02 2000 6 32 DocuPrint N2025 N2825 GP 3 3 Initial Issue General Procedures Information Figure 10 Token Ring Menu...
Страница 265: ...02 2000 6 33 DocuPrint N2025 N2825 GP 3 3 General Procedures Information Initial Issue Figure 11 Novell Menu...
Страница 274: ...02 2000 6 42 DocuPrint N2025 N2825 GP 3 5 Initial Issue General Procedures Information...
Страница 282: ...02 2000 6 50 DocuPrint N2025 N2825 GP 4 8 Initial Issue General Procedures Information...
Страница 324: ...02 2000 6 92 DocuPrint N2025 N2825 GP 5 23 Initial Issue General Procedures Information...
Страница 326: ...02 2000 6 94 DocuPrint N2025 N2825 GP 6 1 GP 6 2 Initial Issue General Procedures Information...
Страница 328: ...02 2000 6 96 DocuPrint N2025 N2825 GP 7 1 Initial Issue General Procedures Information...
Страница 330: ...02 2000 6 98 DocuPrint N2025 N2825 GP 8 1 Initial Issue General Procedures Information...
Страница 332: ...02 2000 7 2 DocuPrint N2025 N2825 Initial Issue Wiring Data...
Страница 336: ...02 2000 7 6 DocuPrint N2025 N2825 Base Engine Initial Issue Wiring Data Wiring Diagram Notations...
Страница 361: ...02 2000 7 31 DocuPrint N2025 N2825 Base Engine Wiring Data Initial Issue Figure 16 Figure 17...

