2-23
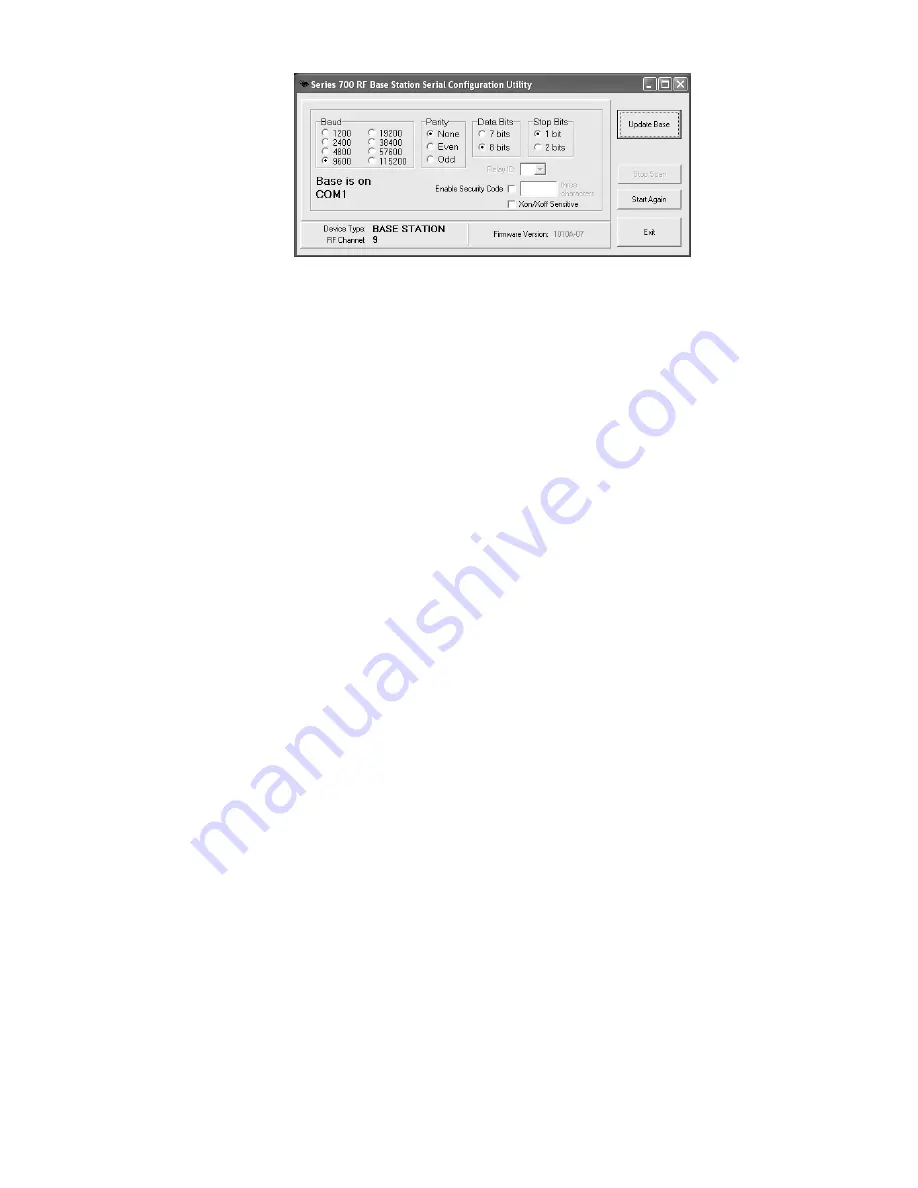
The program will look for the Base or Relay and determine its current
configuration. Once the program finds it, it will display the Device Type
(BASE or RELAY), the RF Channel (default is 01) and the Firmware
Version (
xxxxx-pp
). The first five characters are for the main processor's
firmware, which can be updated by you from the latest firmware always
available on our website. The last two last two characters are the firmware
version of the radio processor; this is not field updateable. If these two
characters don't show, (you see only
xxxxx
), it means your radio processor is
not responding and you need to call us to authorize a repair.
If you want to change any of the settings (
Baud
,
Parity
,
Data Bits
and
Stop Bits
), you can do so by clicking the desired setting.
If you are configuring a Relay, the first Relay should be configured as
Relay ID
"0", which is the default. If you have more than one Relay, then
select the desired Relay ID for this unit.
You can enable a
Security Code
for either a Base or a Relay. The Security
Code needs to be three characters and when enabled, requires anyone wanting
to make a change to the Base or Relay to enter this 3-character code.
"
Xon/Xoff Sensitive
" should be checked ONLY if your system has
XON/XOFF specified for handshaking on the serial port in use. Typically
in Windows, handshaking will be set to "None" and you should leave this
setting unchecked. See "
Addressing a Terminal not Signed In
" and "
Base
Station Initialized Message
" in
Chapter 6
for details.
Once you have made any and all changes, click on the "
Send Settings
"
button. Your Base or Relay is now configured!
Testing the RF link between base station and host
Use the following command to test the transmission of data from host to
Base and back again to the host:
@@*Edataaaaaaaa<EOT>
where
dataaaaaaaa
is any string of data, terminated by EOT. This string
should be sent from the host to the Base Station. If the data is received by
the Base, it is echoed back to the host in the format:


