


Using LabQuest
®
3 as a Data Sharing Source
40
Vernier Software & Technology
VI. USING LABQUEST 3 AS A DATA SHARING SOURCE
LabQuest 3 can serve as a Data Sharing source that can wirelessly stream sensor data to Vernier
Graphical Analysis™ or Vernier Graphical Analysis™ Pro apps running on computers,
Chromebook™ notebooks, or mobile devices such as iOS, iPadOS
®
, and Android™ tablets and
smartphones.
How Data Sharing Works
Set up an experiment with Vernier sensors and LabQuest 3.
Use Graphical Analysis app to wirelessly connect to the LabQuest 3 unit using Wi-Fi. Both
devices must be on the same Wi-Fi network; however, the Wi-Fi network does not require
internet connectivity.
Data collected on LabQuest 3 are shared with the connected devices. The data can be
streamed live during data collection or transferred in full after data collection is complete.
Each recipient of the data can perform an individual analysis of the shared data on their
device. Data analysis done on LabQuest 3 or any connected device is not shared with the
other devices.
Connecting to a Wi-Fi Network
To set up LabQuest as a Data Sharing source, you need to connect LabQuest to a Wi-Fi
Network and enable Data Sharing.
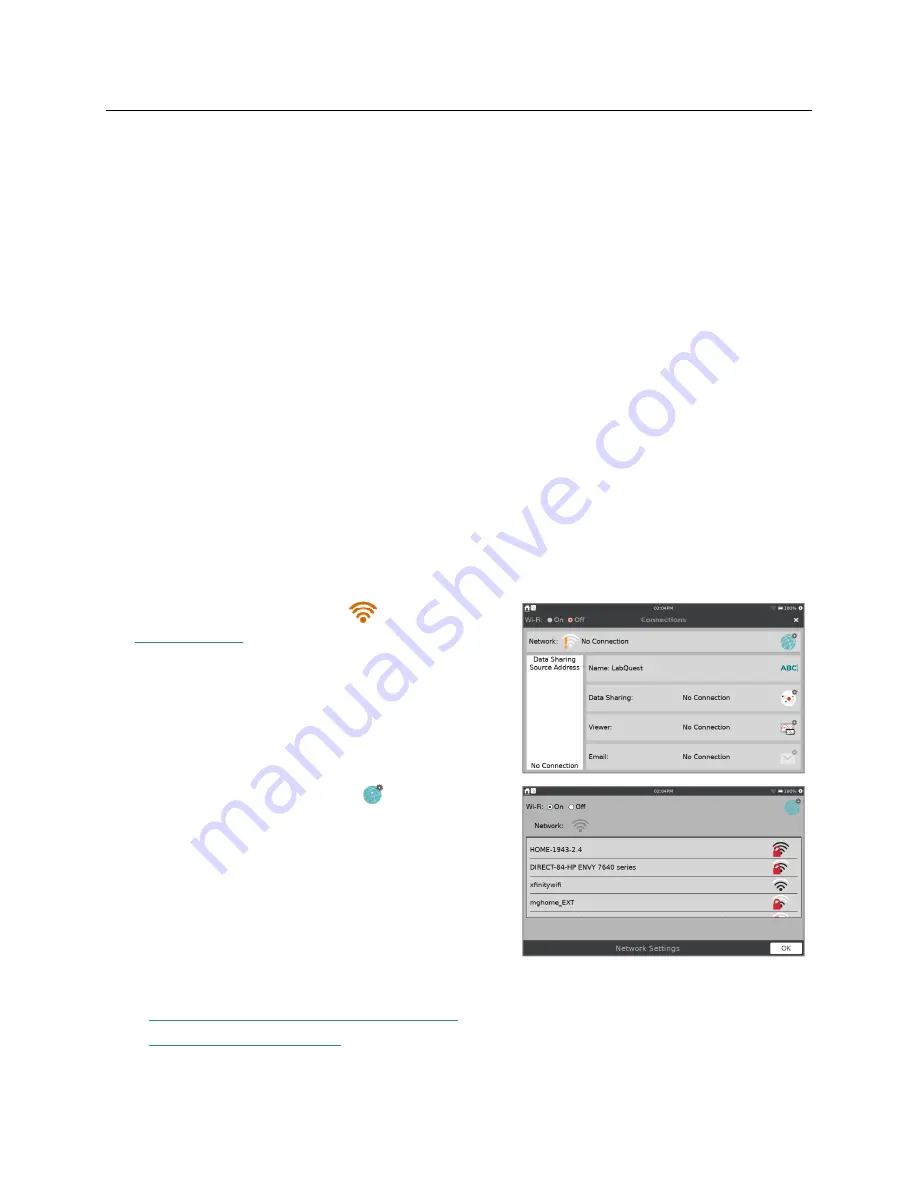
1. Launch the Connections app,
, from the
Settings screen
. Verify Wi-Fi is on.
2. Tap the Network Settings icon, , to open the
Network Configuration dialog box. This dialog
lists any 2.4 GHz networks within range, as well as
options to manually join or create a network.
TIP!
LabQuest 3 cannot detect or connect to
5 GHz networks.
3. Select a network. Choose from the following options:
Existing Network (Infrastructure Network)
LabQuest Hosted Network


