M
AINTENANCE
ProStar 335 Photodiode Array Detector
97
6. Re-install the door (see page 75).
7. Perform a lamp calibration (see page 100).
Replacing the visible lamp
Your new replacement lamp is delivered to you pre-tested and
requires no alignment procedures after it has been installed.
Follow the steps given below for removal of the old lamp, and
installation of the new one.
WARNING:
Turn off the lamp and let the lamp housing cool before removing the lamp.
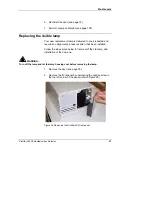
1. Remove the door (see page 76).
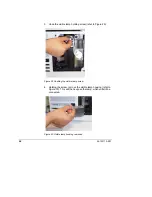
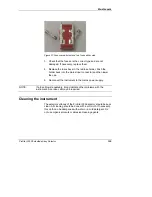
2. Remove the front panel by unscrewing the captive screw in
the top left corner of the panel (refer to Figure 28).
Figure 28 Removing the ProStar 335 front panel
Содержание ProStar 335
Страница 4: ......
Страница 92: ...86 85 102113 00 1 This page is intentionally left blank...
Страница 114: ...108 85 102113 00 1 This page is intentionally left blank...
Страница 120: ...114 85 102113 00 1 This page is intentionally left blank...


