64
85-102113-00:1
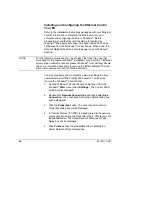
Installing and Configuring the Ethernet Card in
Your PC
Refer to the installation instructions packaged with your Ethernet
card for information on installing the Ethernet card in your
computer and configuring the card in Windows
®
. Before
proceeding, your Ethernet card should be recognized by
Windows
®
(the appropriate driver has been loaded and can be
configured from the Windows
®
Control Panel). When done, the
Network Neighborhood icon should appear on your Windows
®
desktop.
NOTE:
For the following procedure, the use of disks other than the ones that
were used for the original Windows
®
installation may result in an Ethernet
driver version mismatch that will prevent Windows
®
from starting. Should
this occur, it might be necessary to remove the Ethernet Board from the
computer to remove the incorrect Ethernet drivers.
You must configure your computer’s network settings to allow
communication with the ProStar 335 detector. You do so by
running the Windows
®
Control Panel.
1. Run the Windows
®
Control Panel by selecting it from the
Windows
®
Start menu (under Settings). The Control Panel
window will be displayed.
2. Double-click
Network Connections and then Local Area
Connection. The Local Area Connection Status dialog box
will be displayed.
3. Click
the
Properties button. The Local Area Connection
Properties dialog box will be displayed.
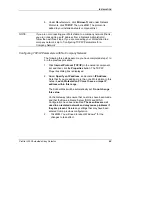
4. If
‘Internet Protocol (TCP/IP)’ is already listed in the network
component list, skip to the Note after step 6. Otherwise, click
the Install button. The Select Network Component Type
dialog box will be displayed.
5. Click
Protocol, then click the Add button to display the
Select Network Protocol dialog box.
Содержание ProStar 335
Страница 4: ......
Страница 92: ...86 85 102113 00 1 This page is intentionally left blank...
Страница 114: ...108 85 102113 00 1 This page is intentionally left blank...
Страница 120: ...114 85 102113 00 1 This page is intentionally left blank...

