92
03-914648-00:7
4
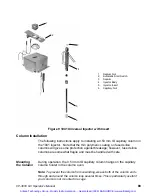
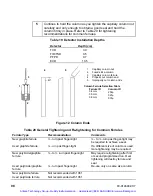
Manually insert the syringe that will be used with the column into
the 1041 injector, checking that the syringe goes into the injector
completely with no binding or interference. If interference occurs,
repeat the above column insertion procedure until the syringe
moves smoothly into the injector.
5
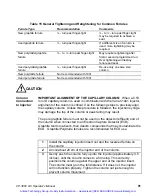
Continue to hold the column firmly in place as you tighten the
column nut carefully and only enough to hold the column firmly in
place and obtain a good seal. Remove the syringe from the
injector.
6
After the column is installed at the injector end, make several dry
injections to ensure that the needle enters the column easily.
7
Refer to the Detector section of this manual for column connection
to the installed detector.
Setting the
Carrier Gas
Flow
The 1041 injector is supplied with Electronic Flow Control as standard. Type
3 EFC is used with the 1041 and 1061 injectors.
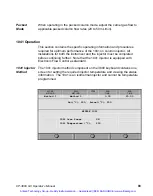
With type 3 Electronic Flow Control equipped injectors a flow range of 0 –
100 mL/min may be set from the 3800 keyboard. Press the Flow/Pressure
key and select from the menu of available injectors. The only user settable
parameter with the 1041 type of EFC is the desired flow rate.
Flow Rates
for
Operation
Recommended flow rates differ, depending on the operating mode used.
Refer to the appropriate paragraph for your operational mode.
Capillary
Mode
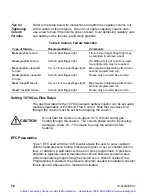
When operating the injector in the capillary mode, the following carrier gas
flow rates are recommended:
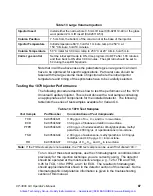
Table 16 Carrier Gas Flow Rates for 1041
Carrier Gas
Column Flow Rate
(Optimum)
Column Flow Rate
(Typical)
Nitrogen
1.5 mL/min
3 - 15 mL/min
Helium
2.4-4.0 mL/min
4 - 15 mL/min
Hydrogen
4.0-8.0 mL/min
8 - 20 mL/min
Adjust the make-up gas flow to give a total of 30 mL/min.
Artisan Technology Group - Quality Instrumentation ... Guaranteed | (888) 88-SOURCE | www.artisantg.com

