34
Installation and maintenance manual atmoCRAFT
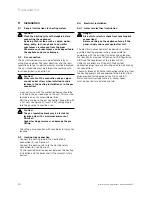
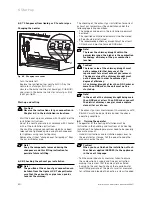
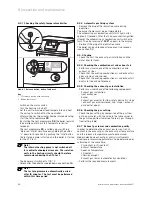
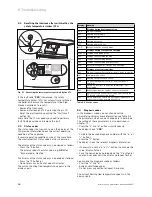
8.3.1 Checking the safety temperature limiter
1
2
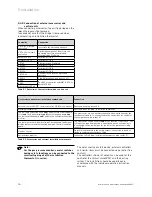
Abb. 8.1 Release button, button fault reset
Key
1
STL release button with cover cap
2 Button fault reset
• Switch on the mains switch.
• Turn the heating circuit off.
• Set the unit to maximum feed temperature and heat
the unit up to switch-off by the controller.
• After waiting for two minutes (temperature balancing)
start the test programme
P.5
.
By starting the test programme
P.5
the boiler remains
in operation until the safety temperature limiter
responds.
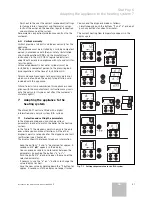
The test programme
P.5
is called up by switching
“Mains on” whilst simultaneously holding the button
“+” down for 5 seconds. By pushing the “Info” button
the test programme is started and the boiler is started
for the STL test.
Note!
The internal heating pump is not switched off
for control technological reasons. The isolation
units in the heating circuits should therefore
remain closed during the STL test.
• The boiler must switch off at 110 ºC.
• Unlock after the boiler has cooled down (see Section 9.3).
Note!
The test programme is automatically exited
after 15 minutes. The test must be performed
within this time period.
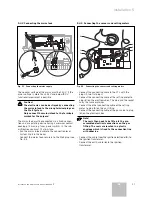
8.3.2 Automatic gas firing system
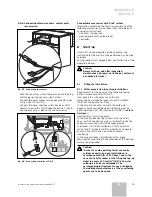
• Remove the plug of the ionisation cable during
operation.
The burner flames must go out immediately.
The automatic gas combustion unit starts again after
approx. 30 seconds. After the third unsuccessful ignition
attempt the automatic gas combustion unit switches to
fault. The error message
“F.29”
appears in the display.
• Re-insert the plug of the ionisation cable.
The boiler can be unlocked after approx. five seconds
(see Section 9.3).
8.3.3 Sealing
• Check the unit, the exhaust gas installation and the
water lines for leaks.
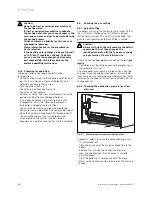
8.3.4 Checking the combustion air and exhaust air
• Perform a visual check of the combustion air and
exhaust air lines.
• Check that the existing combustion air and exhaust air
grids are clean and in order.
• Check that the existing combustion air and exhaust air
ducts are free and not blocked.
8.3.5 Checking the exhaust gas installation
Perform a visual check of the following components:
- Exhaust gas installation
- Heat exchanger
- Burner
- Exhaust gas diverter for flow safety device (1st stage
= exhaust gas diverter closed, 2nd. stage = exhaust
gas diverter open)
8.3.6 Checking the gas setting
• Check the gas setting by comparison of the gas flow
on the gas meter with the value in the table values in
the gas through-flow table (see Table 6.2 gas through-
flow setting table).
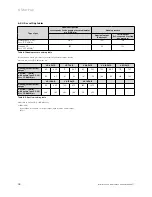
8.3.7 Exhaust gas losses and combustion quality
In order to determine the exhaust gas losses, t
h
e CO
2
content in the exhaust gas, the exhaust gas temperature
and the room air temperature must be measured.
Modern electronic exhaust gas analysis instruments
allow several measuring parameters to be determined or
calculated at the same time.
- CO
2
content (or O
2
content)
- Exhaust temperature
- Room air temperature
- CO content
- Chimney draught
- Exhaust gas losses (automatically calculated)
• Perform the required measurements.
8 Inspection and maintenance
Содержание atmocraft
Страница 1: ...VK 654 9 1654 9 atmoCRAFT DE AT GB...
Страница 2: ......
Страница 44: ...835553_02 DEATGB 092006...

