9
9
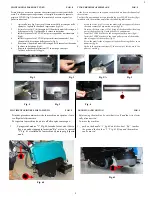
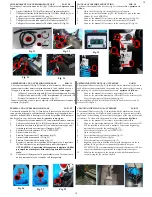
MONTAGGIO SPAZZOLE TYNEX PAR. 8
Prima di tutto è necessario spazzare ed aspirare la polvere dai canali della
scala. Per effettuare questa operazione si consiglia di montare le spazzole
grigie in TYNEX (fig.1) fornite con la macchina ed occorre seguire le se-
guenti indicazioni:
1.
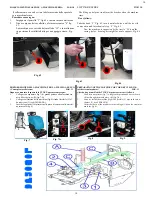
Agire sulla leva (fig.2) posta sul fianchetto mobile di sostegno delle
spazzole e togliere la canalina di aspirazione (fig.2/A).
2.
Svitare le tre viti (V) di fissaggio del il fianchetto mobile di sostegno
delle spazzole (fig.3) utilizzando la chiave in dotazione.
3.
Infilare le spazzole in TYNEX nei perni esagonali di trascinamento
(fig.4).
4.
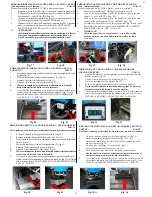
Infilare le spazzole in TYNEX nei perni di trascinamento del fian-
chetto mobile di sostegno delle spazzole (fig.5).
5.
Riavvitare il fianchetto mobile di sostegno delle spazzole utilizzando
la chiave in dotazione (fig.6).
6.
Riporre la canalina di aspirazione (T) in un luogo sicuro per
l’utilizzo nella fase di lavaggio.
Fig. 1
Fig. 2
Fig. 2/A
Fig. 3
Fig. 4
Fig. 5
Fig. 6
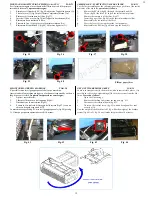
TYNEX BRUSHES ASSEMBLAGE PAR. 8
At the first is necessary to sweep and to suck the dust from the channels of
the escalator.
To effect this operation advise to assemble the grey TYNEX brushes (fig.1)
furnished with the machine and follow the following indications:
1.
Act on the lever (fig.2) sets on the mobile side of support of the bru
shes and remove the aspiration stripe (fig.2/A).
2.
Unscrew the three screws (V) of fixing of the the mobile side of sup-
port of the brushes (fig.3) using the key in endowment.
3.
Insert the TYNEX brushes in the hexagonal puller pivots (fig.4).
4.
Insert the TYNEX brushes in the conic puller pivots of the mobile
side of support of the brushes (fig.5).
5.
Screw the mobile side of support of the brushes using the key in en-
dowment (fig.6).
6.
Put back the aspiration stripe (T) in a sure place for the use in the
phase of washing.
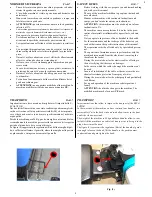
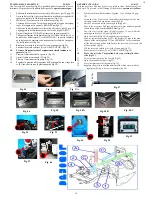
MOVIMENTAZIONE E SPOSTAMENTO PAR. 9
Prima di procedere assicurarsi che la macchina sia spenta e il cavo
scollegato elettricamente
Per spostare la macchina da un sito all’altro agire come segue:
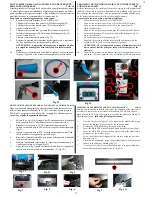
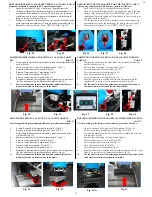
1. Spingere sul manico “1” Fig. 60 facendo forza verso il basso
fino a quando si appoggia la ruotina “Rp” a terra, le spazzole
“2” Fig. 61 si sollevano e la macchina è pronta per gli sposta-
menti.
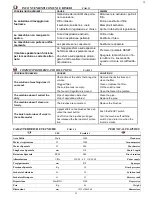
HANDLING AND MOVING PAR. 9
Before using the machine be sure that it is off and that it is electri
cally disconnected.
To move the machine:
1. push on the handle “1” fig. 60 until the wheel “Rp” touches
the ground, the brushes “2” Fig. 61 lift up and the machine
can be moved.
Fig. 60
Fig. 61
Содержание X51
Страница 3: ...3 3 PAR 1 PAR 1...
Страница 4: ...4 4 PAR 2 PAR 2...
Страница 5: ...5 5 PAR 3...
Страница 6: ...6 6 PAR 4 PAR 4...
Страница 21: ...21 21 IMPIANTO IDRICO PAR 36 WATER SYSTEM...
Страница 22: ...22 22 NOTE NOTES...
Страница 23: ...23 23...


