


1-3-28
2DA/2DB
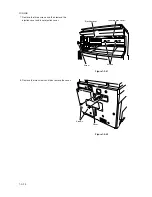
21. Attach the front ejection cover and rear ejection
cover using the TP bind screw M3
×
06 each.
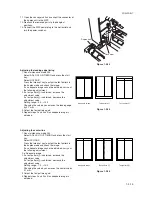
22. Open the front cover.
23. Attach the staple cover as it is fitted to the staple unit
from the ejection side and then secure it using the TP
bind screw M3
×
06.
24. Attach the inner cover that has been removed by
Procedure 3 to its original position.
25. Close the front cover.
TP bind screw
M3
×
06
TP bind screw
M3
×
06
Front ejection cover
Rear ejection cover
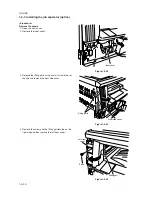
Staple cover
TP bind screw M3
×
06
Figure 1-3-50
Figure 1-3-51
Содержание cd 1116
Страница 1: ...Service Manual Copy CD 1116 CD 1120 Rev 1 ...
Страница 2: ...Service Manual Copy DC 2116 DC 2120 Rev 1 ...
Страница 4: ...This page is intentionally left blank ...
Страница 247: ...2DA 2DB 1 2 3 2 Figure 2 3 2 Power source PCB silk screen diagram 220 240 V AC 120 V AC ...
Страница 264: ...2DA 2DB 1 2 3 19 Figure 2 3 10 Operation unit PCB silk screen diagram ...


