UTD2000M
User
Manual
3
、
Select
“Bitmap”
to
enter
into
“Bitmap
Exportation
Menu”,
see
Table
2
‐
20
Remark:
Bitmap
format
file
can
only
be
exported
into
a
U
‐
disk.
Table
2
‐
20
Bitmap
Exportation
Menu
Menu
Setting
Description
Bitmap
——
Export
the
waveform
being
display
into
U
‐
disk
in
the
format
of
bitmap.
Export
See
Table
2
‐
21
Enter
into
USB
menu
Table
2
‐
21
USB
Menu
Menu
Setting
Description
File
Name
——
Use
both
“MULTIPURPOSE”
knob
and
“F1”
key
to
set
the
name
of
the
file,
which
is
to
be
imported
from
U
‐
disk.
Confirmation
——
Once
confirmed,
return
to
the
“Settings
Storage
Menu”.
If
there
is
a
connected
U
‐
disk,
export
the
same
from
U
‐
disk,
otherwise,
a
prompt
message,
“function
is
not
available,
please
insert
U
‐
disk”
will
appear.
4
、
One
key
Screen
Insert
a
U
‐
disk
into
the
Oscilloscope
and
then
press
PrScrn
key.
The
screen
image
will
be
saved
into
U
‐
disk
readily
under
a
default
file
name
of
DSO***.BMP.
2.8
Auto
Measuring
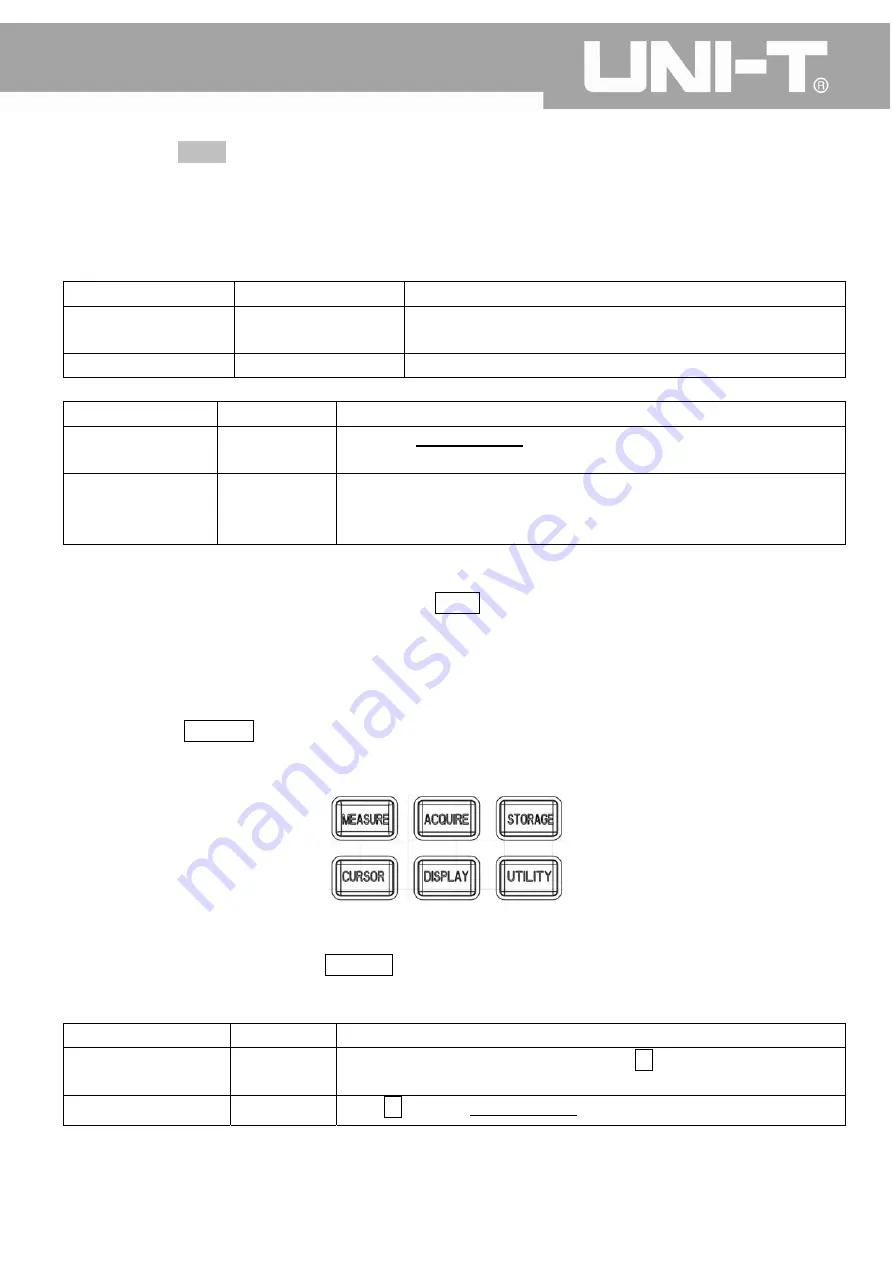
As
shown
below,
MEASURE
key
is
for
auto
measuring
function.
The
following
introduction
will
help
you
get
familiar
with
the
powerful
auto
measuring
function
provided
by
this
UTD2000CM
series
digital
storage
oscilloscope.
Fig.
2
‐
34
Measuring
Function
Menu
Operational
Instructions:
Operational
instructions:
First
to
press
MEASURE
key,
the
screen
will
display
four
functional
options,
as
shown
in
Table
2
‐
22:
Table
2
‐
22
Measuring
Menu
(1)
Menu
Setting
Description
All
Parameters
——
Display
all
measuring
parameters;
Pressing
F5
key
will
auto
shut
off
all
measuring
parameters.
Customized
——
Press
F2
key,
use
“MULTIPURPOSE”
knob
to
select
all
the
required
50
Содержание UTD2000M
Страница 1: ...UTD2000CM User Manual ...
Страница 77: ...UTD2000M User Manual Fig 3 16 Pass Fail Detection Setting 1 Fig 3 17 Pass Fail Detection Setting 2 76 ...
Страница 92: ...UTD2000M User Manual This user manual may be revised without prior notice 91 ...
Страница 93: ...UTD2000M User Manual 92 ...
Страница 94: ...UTD2000M User Manual 93 ...


