61
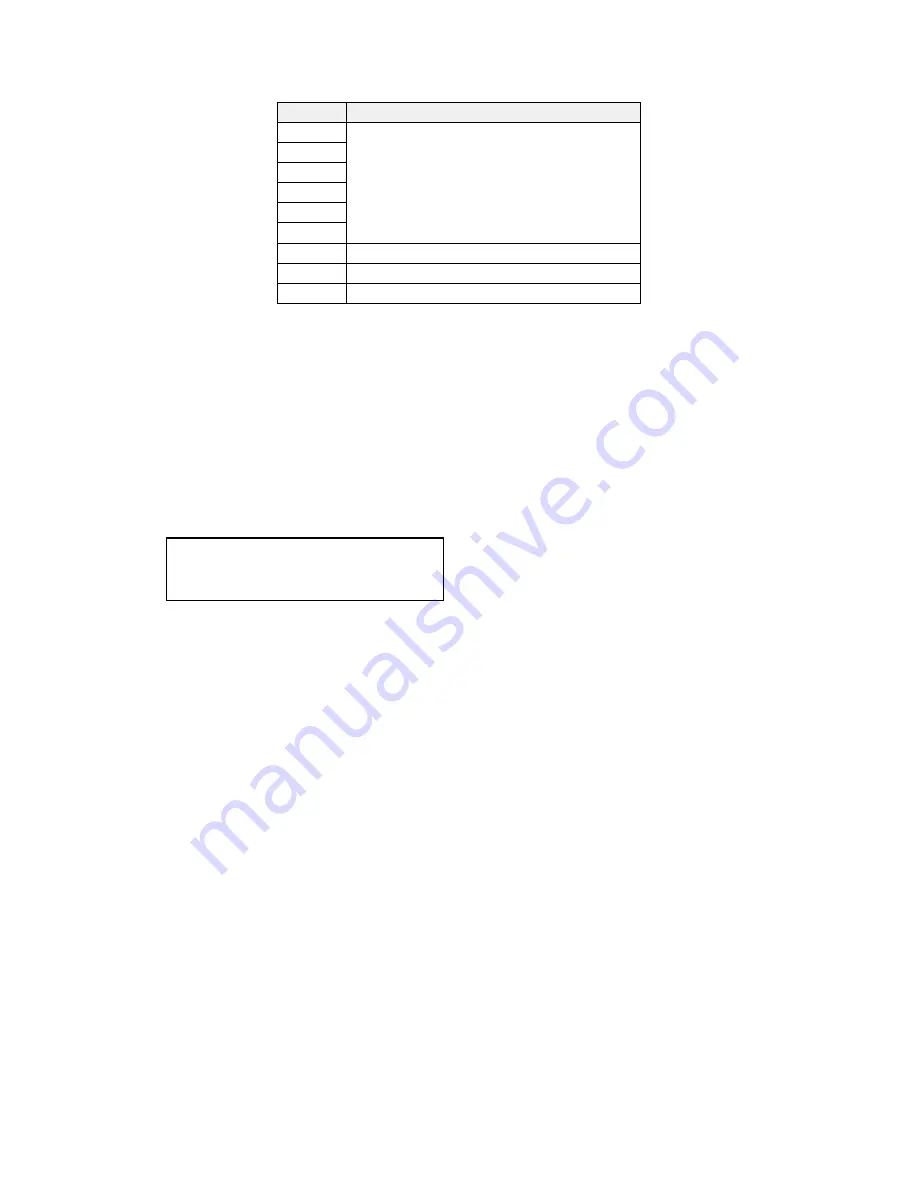
EDID
Usage
Mem1
Mem2
Mem3
Mem4
Mem5
Mem6*
User-definable – see ‘EDID capture’
HDMI*
Default HDMI EDID data for your unit
DVI
Default DVI EDID data for your unit
Mon
The attached monitor’s EDID data
*Your unit will have either Mem6 or HDMI, but not both.
If you change this value, you’ll need to store your settings and then re-boot
the CORIO2 unit at least once to ensure that the source sees that the EDID
data has changed.
It should also be noted that some graphic cards will require your PC to be re-
booted before they see that a change has occurred.
If your unit allows ‘HDMI’ to be selected, this can also enable certain audio
features depending on the abilities of your unit.
This menu provides a simple way of capturing EDID data from an attached
DVI or HDMI monitor and storing it in one of the user-definable EDID memory
data blocks (Mem1 to Mem6) – see previous menu.
To capture a different display's EDID, perform the following:
1. Connect that display to the DVI output of the CORIO2 unit - the
CORIO2 unit will then read it automatically and store it in the ‘Mon’
EDID entry.
2. Select which EDID memory (Mem1 to Mem6) to copy this information
to.
3. Select 'Grab' and click on it - this will copy the current monitor's
information to that EDID memory.
4. Change 'EDID to use' to that memory location (Mem1 to Mem6).
5. Store your unit’s settings (see earlier in this manual on how to do this).
6. Re-boot (turn off and on again) the CORIO2 unit to ensure that the
graphic card uses this new EDID data (you may need to re-boot your
computer as well).
Using the above, up to 6 custom EDID settings can be stored in the CORIO2
unit, ready for recall later. This is useful to simulate another display being
attached to a graphic card.
Source: DVI1
EDID capture [ 1] Grab
Содержание C2-7100
Страница 150: ......


