3.10 Paper Handling
3-82
8
Press the
Z
key and proceed to
Setting the Paper Weight
.
Setting the Paper Weight
You can set the paper thickness for your custom paper type to be customized.
1
Display the custom paper type (see
section 3.10.9 Creating Custom Paper Type on
page 3-81
) and press the
Z
key.
2
Press the
U
or
V
key repeatedly until
>>Paper Weight
appears.
3
Press the
ENTER
key. A blinking question mark (
?
) appears.
4
Press the
U
or
V
key to display the desired paper thickness. The display changes as
shown below. For details of the default setting for each paper type, see
Chapter 2
Handling Paper, section 2.5 Paper Type on page 2-21
.
Light
Normal 1
Normal 2
Normal 3
Heavy 1
Heavy 2
Heavy 3
Extra Heavy
5
When the desired paper thickness displayed, press the
ENTER
key.
6
Press the
MENU
key. The display returns to
Ready
.
If the optional duplexer is installed on the printer, duplex printing can be enabled and
disabled. See
Setting the Duplex Path
on the following page.
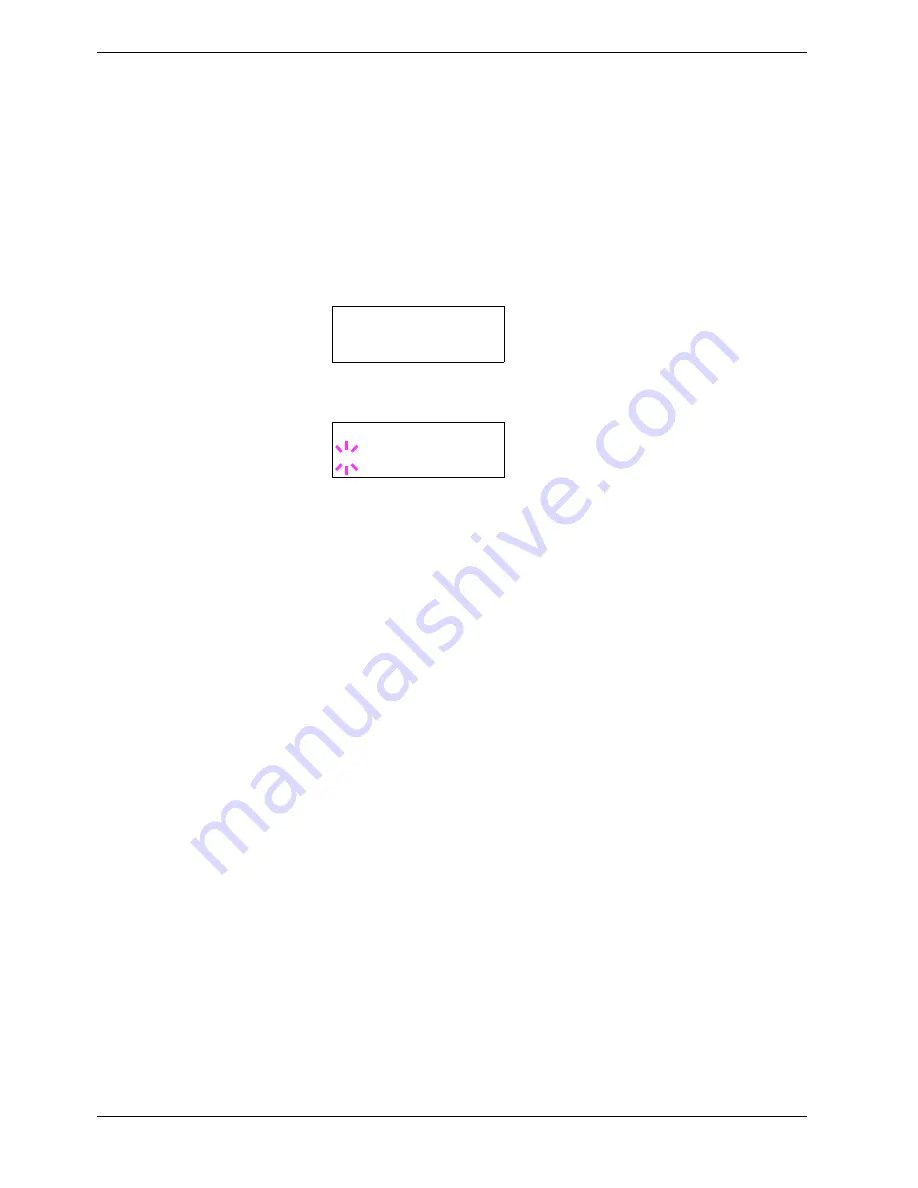
>>Paper Weight
Normal 1
>>Paper Weight
? Normal 1
Содержание CLP 4516
Страница 1: ...Instruction Handbook CLP 4516 Colour Printer ...
Страница 2: ......
Страница 63: ...3 3 Menu Map and Status Pages 3 16 Figure 3 3 MENU MAP CLP 4516 ...
Страница 210: ...Appendix C Technical Specifications The technical specification may be changed for improvement purpose ...
Страница 217: ...Index 4 W Waste toner box location 1 6 location and replacement 5 8 ...
Страница 218: ...UTAX GmbH Ohechaussee 235 22848 Norderstedt Germany ...


