


22
OSD Operation
(continued)
History
The
History
page provides a record of each time that a port was accessed.
• If there are more entries than there is room on the screen, a scroll bar appears to let you scroll up and down to see the entire record.
• To clear the records and start over, click the
Clear History
button at the bottom right corner of the page.
Note: You can access a port in the
History
page by double clicking it, or highlighting it and pressing
[Enter]
. When accessing the KVM switch
via web browser, you can sort the results by clicking on any of the column headers.
Connections
(continued)
The chart below describes the attributes that are listed for each port.
Attribute
Description
Port Number
The KVM switch port that the computer or KVM is connected to
Port Name
If a port is assigned a name, it is displayed here
Device Name
The name of the KVM switch that the port is on
Status
Current status of the computer or KVM connected to the port; Online or Offline
Connect
A
Connect
icon will be located underneath the port list. Highlight a port and click
Connect
to open up a remote session
with the selected port displayed.
Note: When accessing the KVM via web browser, this page can be sorted by any attribute by clicking on the column header.
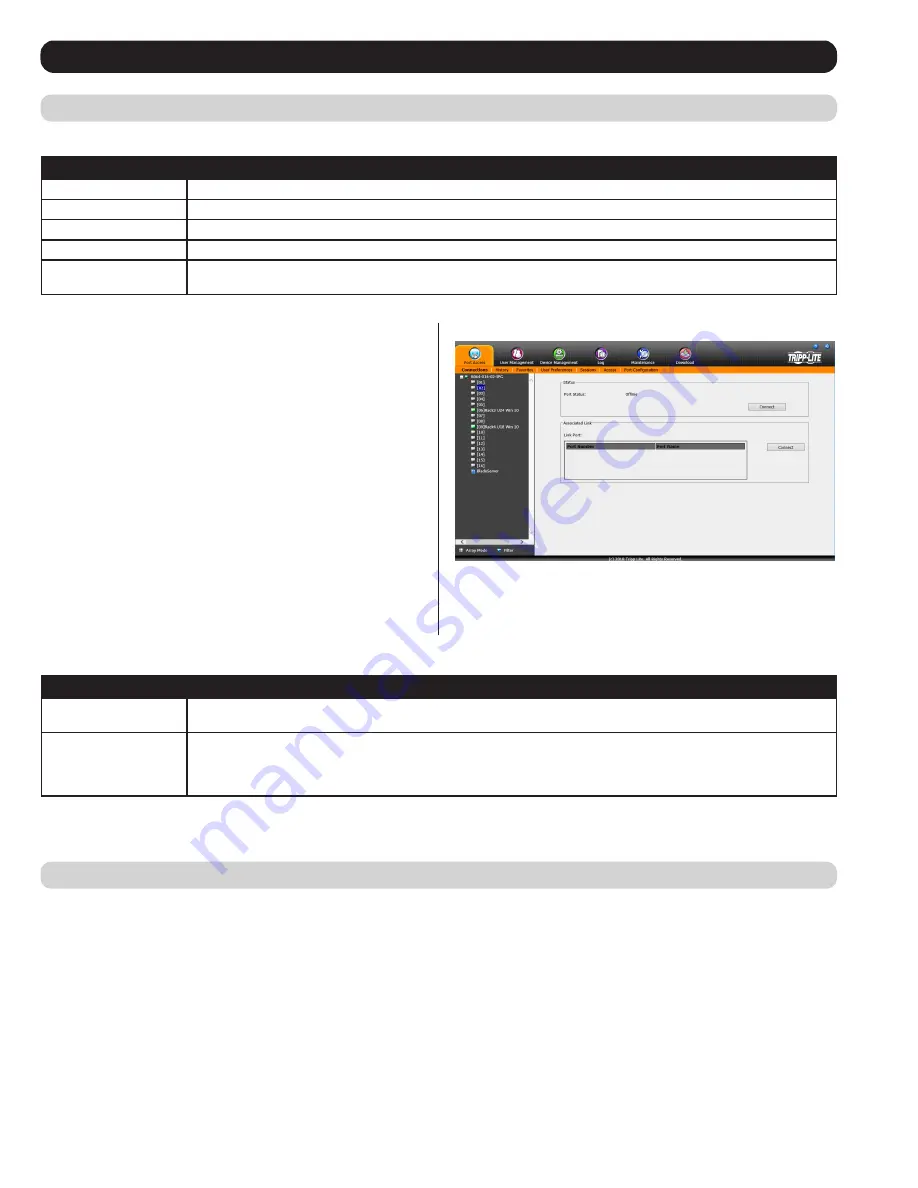
Port Level
When a port is selected in the
Sidebar
tree, the
Connections
sub-
section will display port connection and configuration options.
The chart below describes the sections that are displayed on this page.
Section
Description
Status
This displays the
Port Status;
whether it is online or offline, and whether virtual media can be mounted to it. Click on the
Connect
button to open a remote session with the selected port displayed.
Associated Link
Each port can have additional ports associated with it, so that the user can access multiple ports via one connection
page.
Associated Links
can be added/removed from the
Port Configuration
sub-section (see
Port Configuration
section
under
OSD Operation
for details). When ports are available in the
Associated Link
section, simply highlight one and
click the
Connect
button to open a remote session with that port displayed.


