TL-WR941ND
Wireless N Router
4. Click “
Access Control
→
Rule
” in the left to return to the Access Control Rule
Management page. Select “
Enable Internet Access Control
” and choose "Deny the
packets not specified by any access control policy to pass through the Router".
5. Click
Add New...
button to add a new rule as follows:
z
In
Rule Name
field, create a name for the rule. Note that this name should be
unique, for example Rule_1.
z
In
Host
field, select Host_1.
z
In
Target
field, select Target_1.
z
In
Schedule
field, select Schedule_1.
z
In
Action
field, select Allow.
z
In
Status
field, select Enable.
z
Click
Save
to complete the settings.
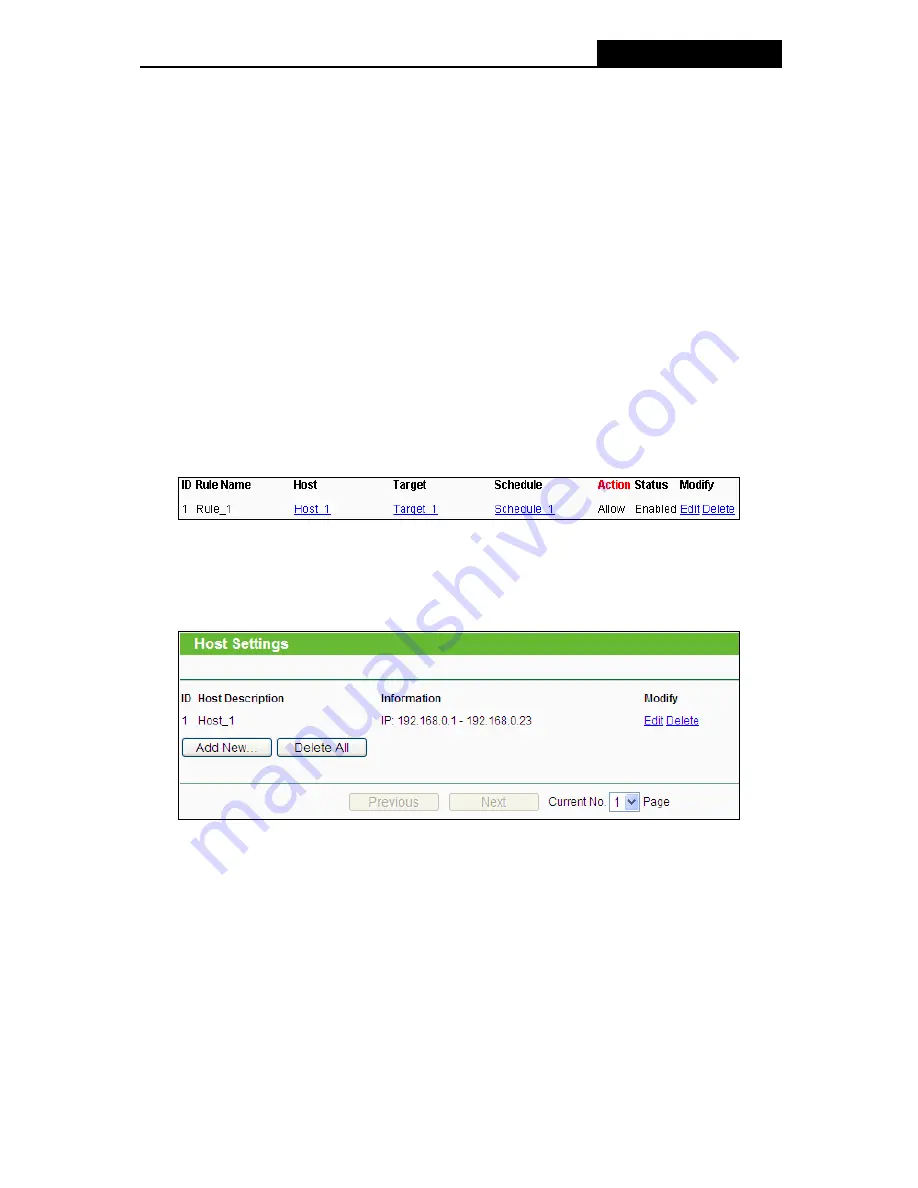
Then you will go back to the Access Control Rule Management page and see the following list.
4.11.2 Host
Choose menu “
Access Control
→
Host
”, you can view and set a Host list in the screen as
shown in Figure 4-47. The host list is necessary for the Access Control Rule.
Figure 4-47 Host Settings
¾
Host Description -
Here displays the description of the host and this description is unique.
¾
Information -
Here displays the information about the host. It can be IP or MAC.
¾
Modify -
To modify or delete an existing entry.
To add a new entry, please follow the steps below.
1. Click
the
Add New…
button.
2. In
the
Mode
field, select IP Address or MAC Address.
z
If you select IP Address, the screen shown is Figure 4-48.
1) In
Host Description
field, create a unique description for the host (e.g. Host_1).
-66-
Содержание TL-WR941ND - Wireless Router
Страница 1: ...TL WR941ND Wireless N Router Rev 1 1 0 1910010567...
Страница 5: ...IV...
Страница 16: ...TL WR941ND Wireless N Router Figure 2 1 Hardware Installation of the TL WR941ND Wireless N Router 7...
Страница 25: ...TL WR941ND Wireless N Router Figure 3 13 Quick Setup Finish 16...
Страница 110: ...TL WR941ND Wireless N Router Figure B 4 101...


