36
Chapter 7
Wireless Settings
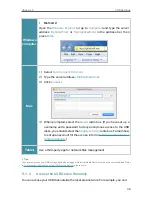
7 3 2 Connect via the Router’s PIN
Select
Router’s PIN
in
Method 1
to enable
Router’s PIN
. You can use the default PIN or
generate a new one.
Note:
PIN (Personal Identification Number) is an eight-character identification number preset to each router. WPS supported
devices can connect to your router with the PIN. The default PIN is printed on the label of the router.
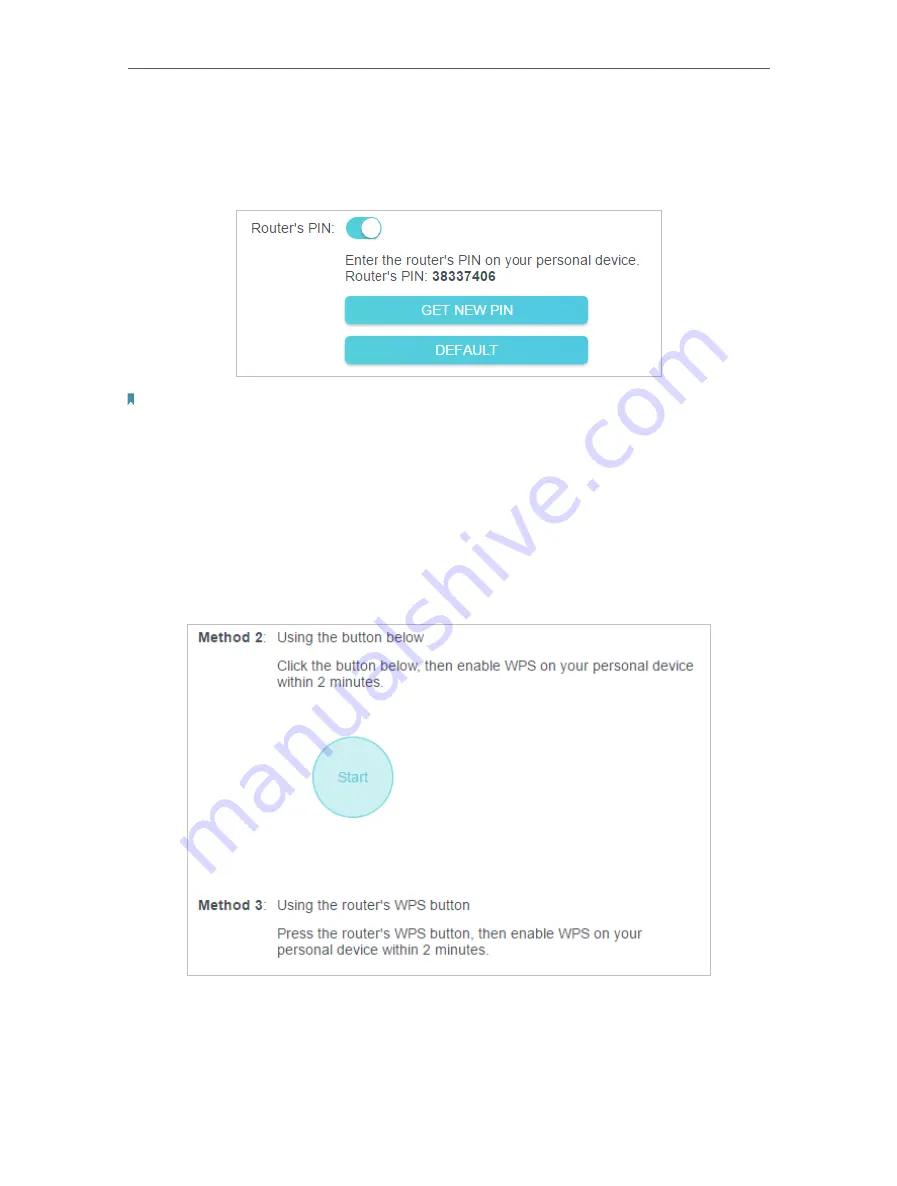
7 3 3 Push the WPS Button
Click
Start
on the screen or directly press the router’s WPS button. Within two minutes,
enable WPS on your personal device.
Success
will appear on the screen and the WPS
LED of the router should change from flashing to solid on, indicating successful WPS
connection.
7 4 Advanced Wireless Settings
Check advanced wireless settings for your device.
Содержание Archer AX73
Страница 1: ...2022 TP Link 1910013167 REV1 2 0 User Guide AX5400 Wi Fi 6 Router Archer AX73...
Страница 15: ...Chapter 3 Log In to Your Router...
Страница 31: ...Chapter 6 Network Map...
Страница 33: ...29 Chapter 6 Network Map Click Mesh Devices to view the devices that form a mesh network with the router...
Страница 49: ...45 Chapter 8 Guest Network 4 Click SAVE Now you can ensure network security and privacy...
Страница 99: ...95 Chapter 14 VPN Server Client Done Now the devices you specified can access the VPN server you enabled...


