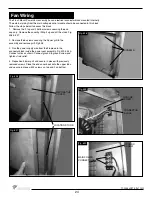
The gas control system is located beneath the fi replace, below an access panel in the fi rebox
bottom and the secondary fl oor (if installed). The fi replace is operated via a wall switch and
a hand held remote control unit.
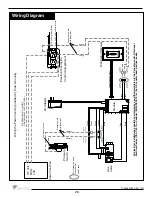
The wall control is connected to the fi replace by a 25 ft. communication cable supplied with the
fi replace. The communication cable can be extended with an optional 25 ft. extension kit.
Installation
1. Place the fi replace in the desired location.
2. Remove the window from the fi replace.
3. Remove access panel from fl ue side of the fi rebox bottom(Fig. #16).
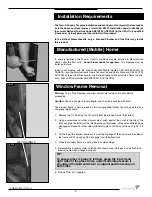
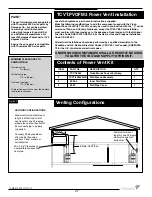
4. Connect a 110 V. AC electrical supply to the outlet installed inside the control box
(Fig.
#17).
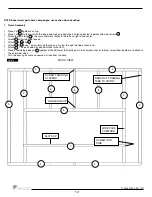
5.
Connect a 110 V. AC switched electrical supply to the electrical blocks installed inside
the control box for the lighting. Block A is for the upper lights installed in all units. Block
B is for the lighting in the secondary fl oor that comes with the optional black diamond
burner kit. (Fig. #18)
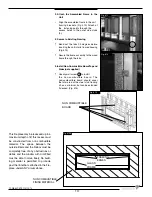
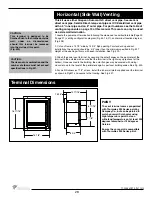
6. Connect the gas supply to the valve (Fig. #19).
7.
Plug the A/C adaptor into the outlet (Fig. #19).
8. Attach the electrical box for the supplied wall control to the framing in the desired
location (up to 50 ft. away). (25 ft. is supplied with fi replace. An additional 25 ft. can
be achieved by using the optional kit (Part # 5005.064) available from your
dealer).
Fig. #19
Fig. #18
Fig. #17
GAS CONNECTION
A/C ADAPTER
Fig. #16
BLOCK “A”
ELECTRICAL OUTLET BOX
BLOCK “B”
ACCESS PANEL
15
TCWS.54CSTE 110712-72
Maestro Control
Plumbing and Electrical
Содержание TCWS54ST SERIES D
Страница 70: ...70 TCWS 54CSTE 110712 72 ...

