6
PREPARATION
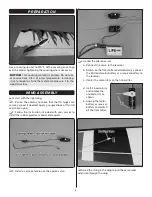
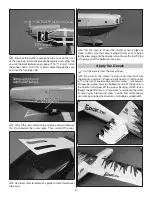
Use a covering iron set to 300° F with a covering sock to go
over the model, tightening the covering where necessary.
NOTICE:
This covering material is printed. Do not use
excessive heat. Start at a low temperature, increasing
it just enough to shrink the material and secure it to the
wood structure.
WING ASSEMBLY
Let’s start with the right wing.
❏
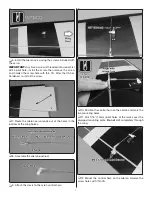
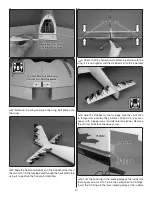
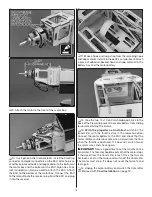
1. Pull on the ailerons to check that the CA hinges are
securely glued. If needed, apply a couple drops of thin CA
and check again.
❏
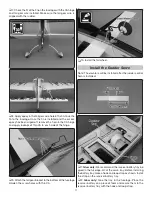
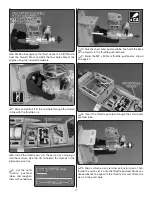
2. Follow the instruction included with your servos to
install the rubber grommets and metal eyelets.
❏
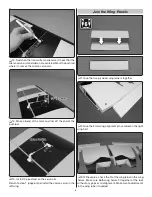
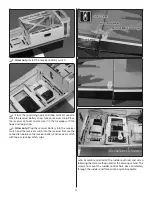
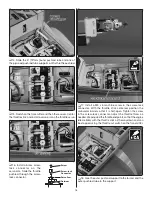
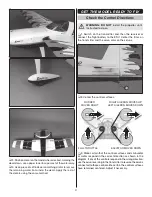
3. Install a servo extension on the aileron servo.
❏
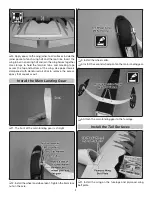
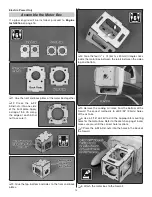
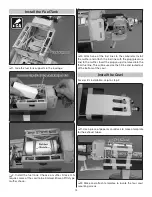
4. Center the aileron servo;
a. Connect the servo to the receiver.
b. Switch on the transmitter and temporarily connect
the ESC and motor battery or a receiver battery to
the receiver.
c. Center the aileron trim on the transmitter.
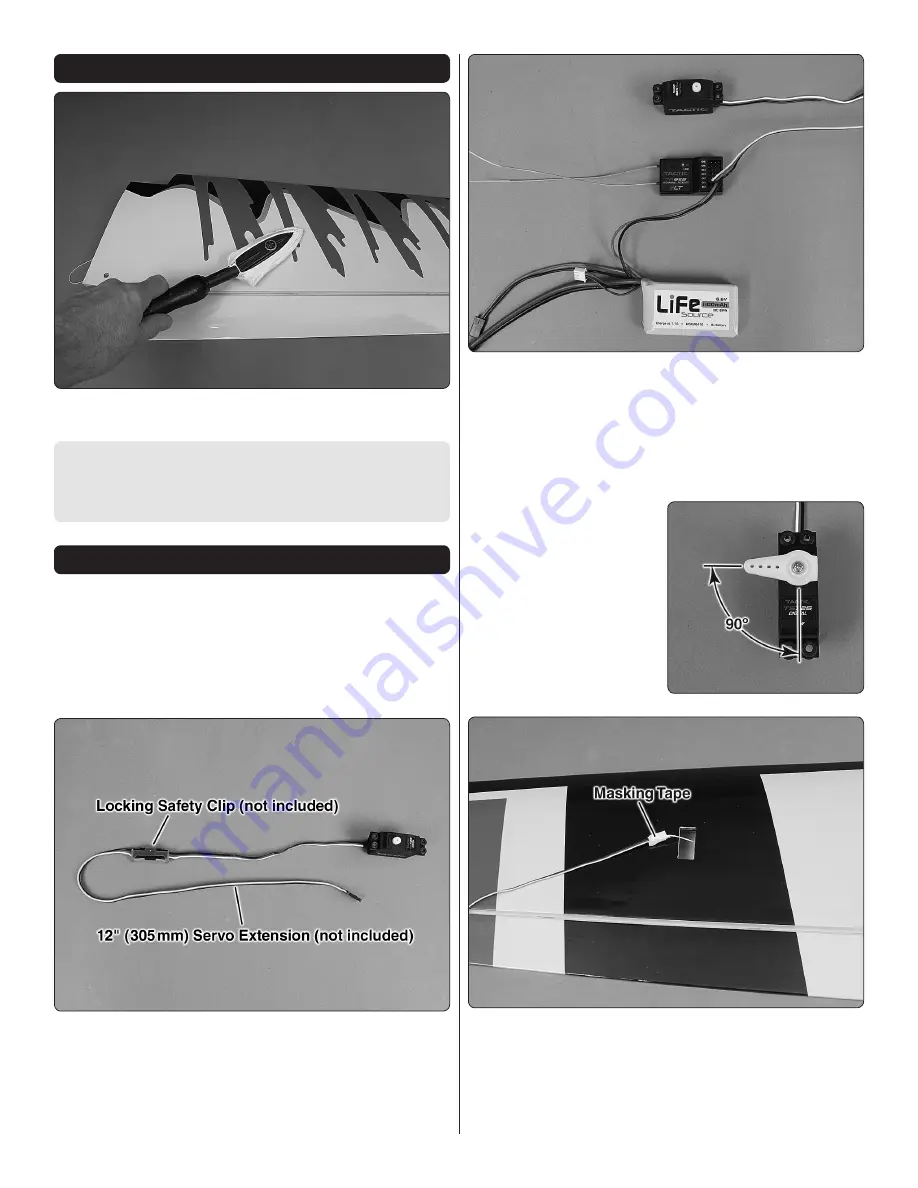
d. Install a servo arm
and remove the
unused arms as
shown.
e. Unplug the motor
battery or receiver
battery and switch
off the transmitter.
❏
5. Use the string in the wing to pull the servo lead
extension through the wing.


