20
❏
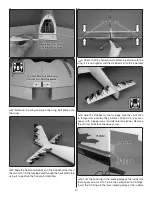
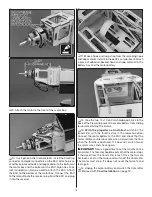
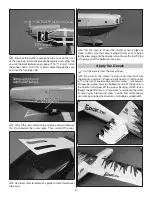
3. Remove the muffl er and position the cowl on the front
of the fuselage. Install the spinner backplate and center the
cowl on the backplate leaving a gap of 1/16" [1.5 mm]. Install
the canopy hatch. Drill 1/16" (1.5 mm) holes through the cowl
and into the fuselage side.
❏
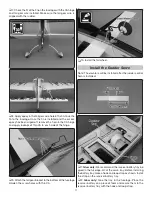
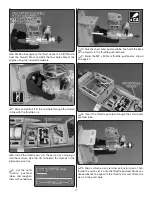
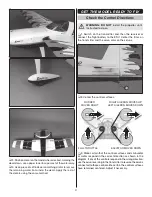
4. Attach the cowl. Remove the screws and cowl and use
thin CA to harden the screw holes. Then, reinstall the cowl.
❏
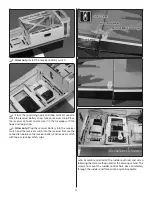
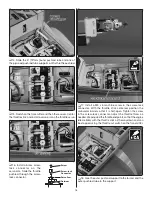
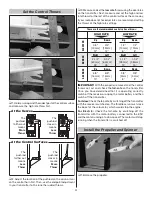
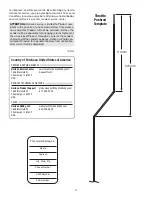
5. Use the muffl er template as a guide to mark the exhaust
tube exits.
❏
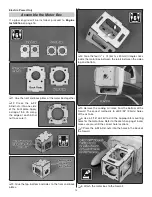
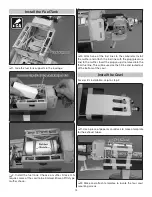
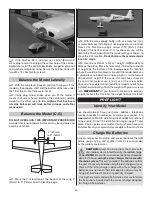
6. Trim the cowl to fi t over the muffl er exhaust tubes or
stock muffl er. Use the same method to trim access holes
for the glow plug and the needle-valve. Route the fuel fi ll line
with plug out of the bottom of the cowl.
Apply the Decals
❏
1. Cut the decals from the decal sheet.
❏
2. Be certain the model is clean and free from oily
fi ngerprints and dust. Prepare a dishpan or small bucket
with a mixture of liquid soap and warm water – ½ teaspoon
of soap per gallon of water. Submerse one of the decals in
the solution and peel off the paper backing. NOTE: Even
though the decals have a “sticky-back” and are not the water
transfer type, submersing them in soap and water allows
accurate positioning and reduces air bubbles underneath.

