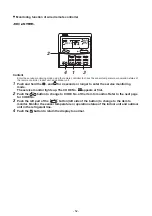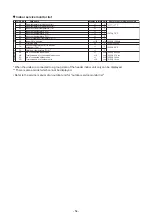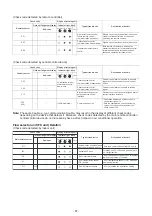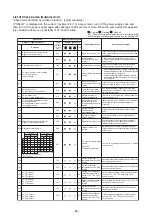
NOTE
<In the case of combining with outdoor units of Super Modular Multi System u series (SMMS-u)>
• Turn ON DIP switch 1 of SW100 on the header outdoor unit interface P.C. board the lowest system
address number.
• After finishing all the settings above, set the address of the central control devices. (For the setting of the
central control address, refer to the installation manual of the central control devices.)
<In the case of combining with outdoor units other than Super Modular Multi System u series (SMMS-u)>
• Set a system address for the header outdoor unit of each line with SW13 and 14 of their interface P.C. boards.
• Turn off dip switch 2 of SW30 on the interface P.C. boards of all the header outdoor units connected to
the same central control, except the unit that has the lowest address. (For unifying the termination of the
wiring for the central control of indoor and outdoor units)
• Connect the relay connectors between the [U1, U2] and [U3, U4] terminals on the header outdoor unit of
each refrigerate line.
• After finishing all the settings above, set the address of the central control devices. (For the setting of the
central control address, refer to the installation manuals of the central control devices.)
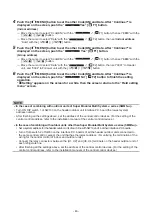
4
Push the [
MENU] button to set the other Code(DN) and Data. After “Continue?” is
Ye
s
Yes” [
F1
F1] button.
displayed on the screen, push the “
(Indoor address)
<
<” [
F1
F1] button, then set “
0013
” with the
→
Move the cursor to select “Code(DN)” with the “
[
] / [
] button.
→
Move the cursor to select “Data” with the “
>
>” [
F2
F2] button, then set
Indoor address
“Data” with the [
] / [
] button.
5
Push the [
MENU] button to set the other Code(DN) and Data. After “Continue?” is
Ye
s
Yes” [
F1
F1] button.
displayed on the screen, push the “
(Group address)
<
<” [
F1
F1] button, then set “
0014
” with the
>
>” [
F2
F2] button, then set “0001” to Header
→
Move the cursor to select “Code(DN)” with the “
[
] / [
] button.
→
Move the cursor to select “Data” with the “
unit, and “0002” to Follower unit with the [
] / [
] button.
6
Push the [
MENU] button to set the other Code(DN) and Data. After “Continue?” is
displayed on the screen, push the “
No
No” [
F2
F2] button to finish the setting
operation.
“ Setting” appears on the screen for a while, then the screen returns to the “Field setting
menu” screen.
- 43 -


