


– 100 –
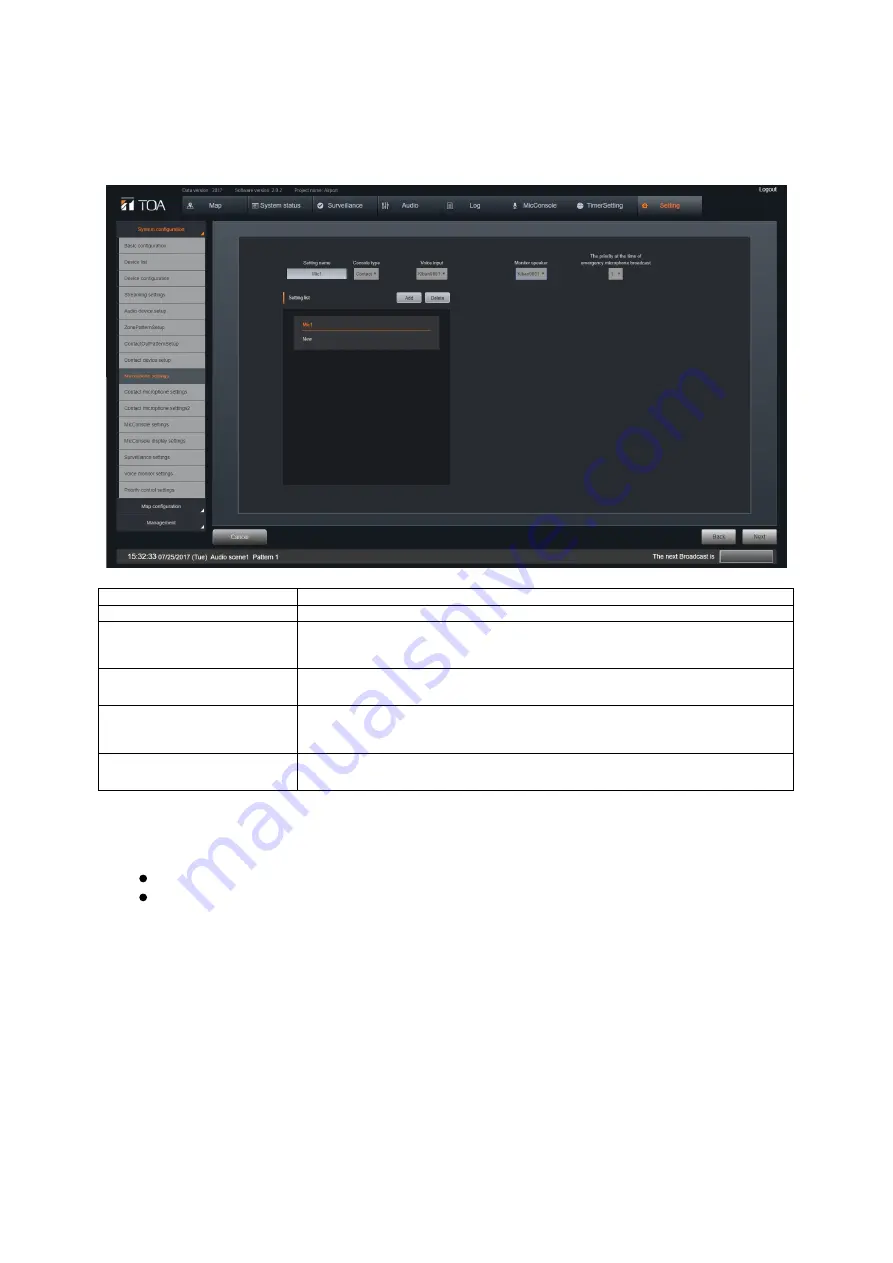
Microphone Settings
Set whether to use the microphone as a ‘contact microphone’ or ‘web microphone’
for the equipment’s audio input.
Item
Description
Microphone Name
Enter an arbitrary name
Microphone Classification
Select either ‘Contact’ or ‘Web.’
Contact: Select when using the IP-300RM or the IP-3010AF’s contact input.
Web: Select when using the microphone console screen.
Audio Input
Select the audio input channel of the component to be used as a microphone
input. In the case of the IP-300RM, select audio input channel 3.
Monitor Output
Select the audio output channel of the component to be used as a monitor
speaker. This output is also used for monitoring the chime tone.
In the case of the IP-300RM, select audio output channel 4.
Priority when emergency
broadcast is initiated
Select the priority.
Setting Method
1. Select the microphone from the Setting List box.
Microphones are added to the list when the ‘Add’ button is clicked.
When the ‘Delete’ button is clicked, the selected microphone is deleted
from the list.
2. Set the microphone.
Selecting the microphone from the Setting List box allows settings to be
performed on the upper screen.
Operation Buttons
Cancel:
Reverts to the Home screen without saving any setting.
Next:
Advances to the ‘Contact Microphone Settings’ screen.
Return:
Reverts to the ‘Contact-Activated Equipment Settings’ screen.
Содержание IP-3000SM
Страница 7: ... 7 CHAPTER 1 SYSTEM SUMMARY ...
Страница 17: ... 17 CHAPTER 2 INSTALLATION AND CONNECTIONS ...
Страница 25: ... 25 IP 3001AF Interface Audio Input Output Signal Terminal Wiring Method Detachable Terminal Plug Connections ...
Страница 26: ... 26 IP 300XI Module Settings Note AX 0120 0240 FS 9250DA and DA 520H are products sold only for regions ...
Страница 33: ... 33 CHAPTER 3 FUNCTIONS AND OPERATION ...
Страница 80: ... 80 CHAPTER 4 SYSTEM SETTINGS ...


