


10
Chapter 2
Overview and Setup
2.6
Benchtop (Local Mode) Operation Basics
2.6.1
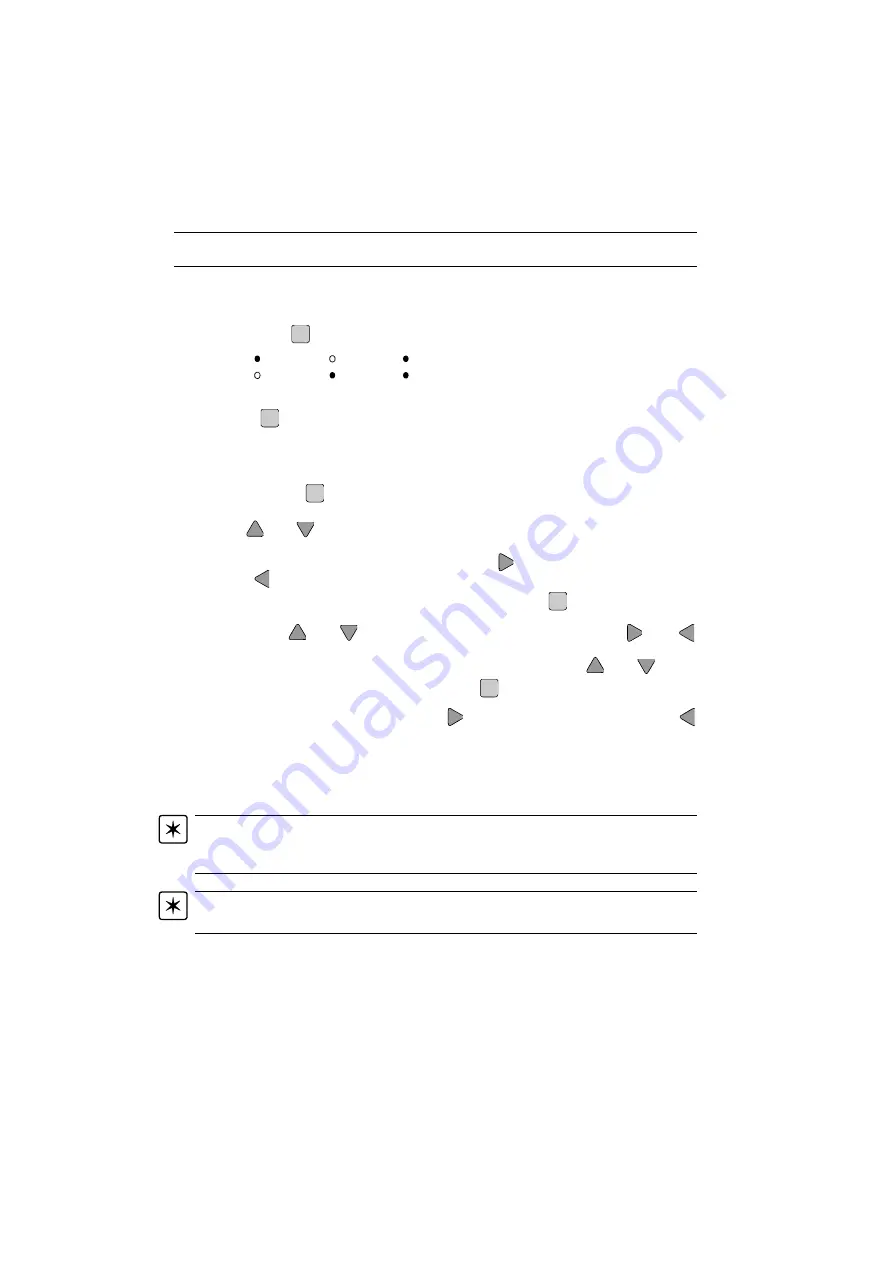
Changing the Channel Selection
When making move commands and parameter changes, channel selection is made
by pressing the
key. Repeated pressing results in the following sequence:
In this way, moves can be initiated on one or both drive channels.
Note. The
key and associated LEDs are not present on single channel units.
2.6.2
Menu Navigation
As default, the display shows the present position of the motors. To access the ‘Setup’
mode, press the
key. The display then shows the parameter most recently
selected.
Use the
and
keys to scroll through the parameter list. Parameters with a sub
menu are indicated by a ‘>’ symbol in the right hand side of the display (e.g. Vel.
Settings >). To access the sub menu press the
key and to leave a sub menu
press the
key.
Once the required parameter has been selected, press the
key to enter the ‘Edit’
mode. For value parameters, the least significant digit is highlighted. To change this
digit, press the
and
keys. To select other digits to edit, use the
and
keys to navigate to the digit of choice. For other types of parameter, the first letter of
the current setting is highlighted. To select other options, use the
and
keys.
After editing the selected parameter, press the
key to enter the ‘Change’ mode.
The unit asks whether you want to save the change by displaying ‘
Change
Setting?
< No Yes >
’. Press the
key to save the change or use the
key to leave the value unchanged.
Refer to the Benchtop (Local Mode) Tutorial (Chapter 3) for examples on changing
both numerical and textual parameter types.
Note. Parameters are set on a per channel basis. If both channel LEDs are lit, then the
unit displays ‘
Select Ch1 or Ch2
’ to prompt the user to select a specific channel
on which to perform the setting changes.
Note. If no keys are pressed, the display reverts to the operation mode after several
seconds .
Chan
Press 1
1
2
Press 2
1
2
Press 3
1
2
Chan
Menu
Save
Menu
Save
Menu
Save


