TELOS 2101 USER’S MANUAL
3
Detailed Configuration & Reference
w
IMPORTANT!
Unless otherwise indicated, the following instructions apply to both the Series 2101 Studio
Interface and the Telos TWO dual hybrid. Additional information on the Telos TWO is
included in the manual shipped with that product.
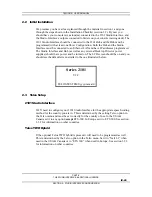
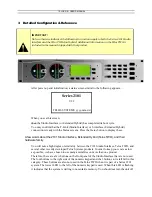
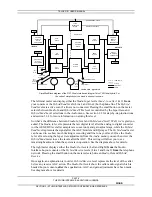
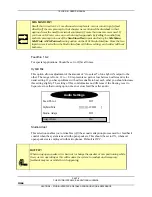
After power-up and initialization, a status screen similar to the following appears…
Series 2101
V2.2
TELOS SYSTEMS yyyy-mm-dd
When you see this screen;
then the Studio Interface (or Extended Hybrid) has completed its boot cycle.
You may confirm that the T-Link (Studio Interface) or S interface (Extneded Hybrid)
connection is ready with the Status screens. Press the Status button to display these.
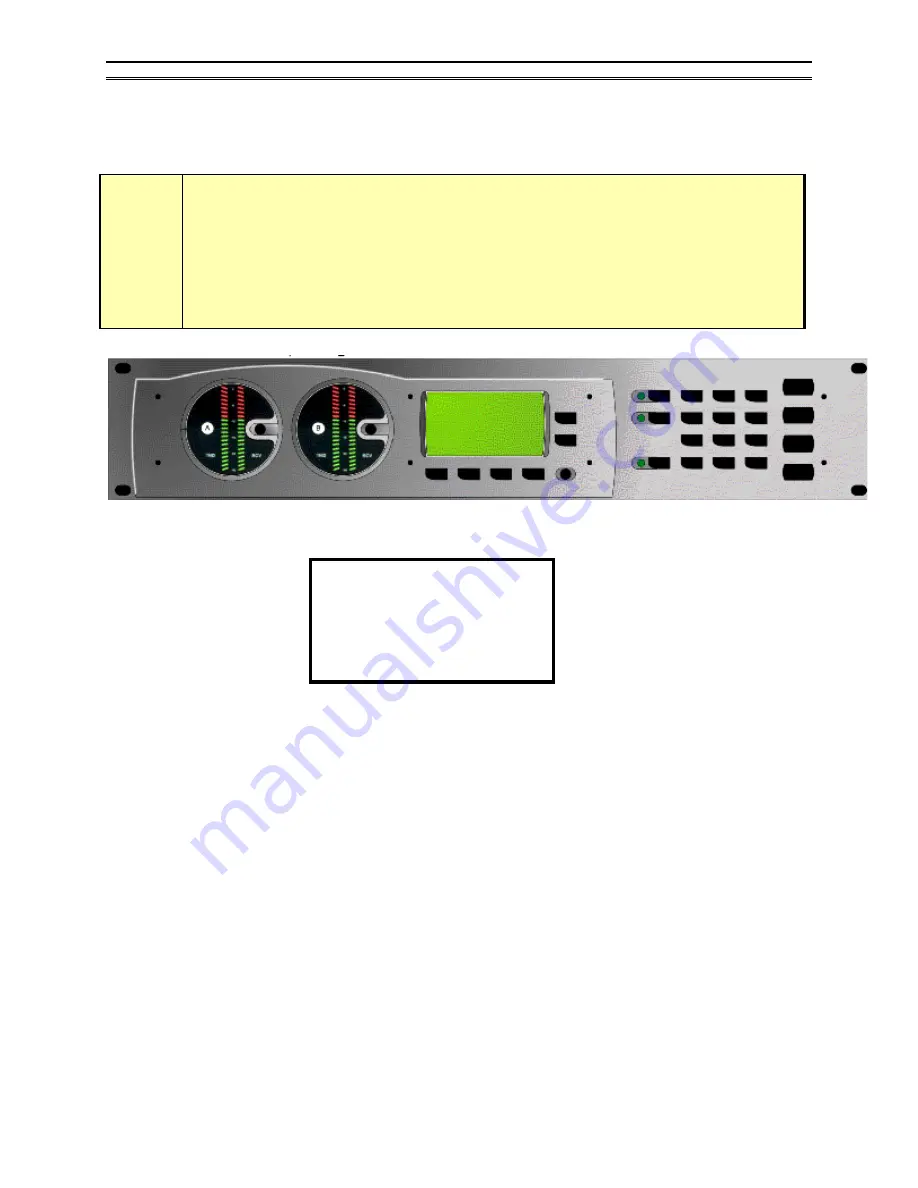
A few words about the 2101 Studio Interface, Extended Hybrid (Telos TWO), and their
hardware family
You will note a high degree of similarity between the 2101 Studio Interface, Telos TWO, and
several other recently developed Telos Systems products. In order to keep your costs as low
as possible, we have chosen to use many assemblies on more than one product.
Therefore, there are a few buttons on the front panel of the Studio Interface that are not used.
The four buttons to the right side of the numeric keypad and the 3 buttons to its left fall in this
category. These buttons are also not used in the Telos TWO when it is part of a Series 2101
system. The lowest LED to the left of the numeric keypad is used. When this LED is flashing
it indicates that the system is writing to nonvolatile memory. You should not turn the unit off

