6
Using Color
6-20
Phaser 240 Drivers and Utilities
PC and workstation users
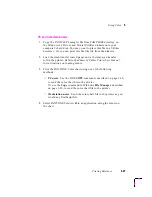
1.
Copy the color sampler chart files you want to use from the
SAMPLERS directory on the Windows 3.1 Driver and Printer
Utilities diskette onto your computer’s hard disk. You may want
to place these files in a Utilities directory. Or, you can print these
files directly from the diskette.
2.
Make sure the printer is loaded with the type of paper and transfer
roll you want to use for printing the chart.
3.
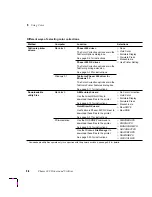
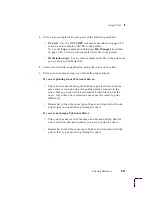
Select a color correction from the following table:
■
PC users
: Use the DOS COPY command, described on page 3-19,
to send a color correction utility file to the printer.
Or, use the Copy command in Windows File Manager, described
on page 3-20, to send a color correction utility file to the printer.
■
Workstation users
: Send a color correction file to the printer as you
would any PostScript file.
4.
Select a print quality mode from the following table, then repeat
Step 2 for downloading the utility file to the printer.
PC color correction
utility file name
Notes
■
DISPLAY.PS
■
VIVDCOLR.PS
■
SIMPRESS.PS
■
NOCORECT.PS
The downloadable color correction utility files
operate only in conjunction with the printer’s
switches; see
page 6-8
for details.
PC print quality mode utility file
■
STANDARD.PS
■
ENHANCED.PS
■
HIGHRES.PS

