H.264 Hybrid DVR
20
3.2.3.
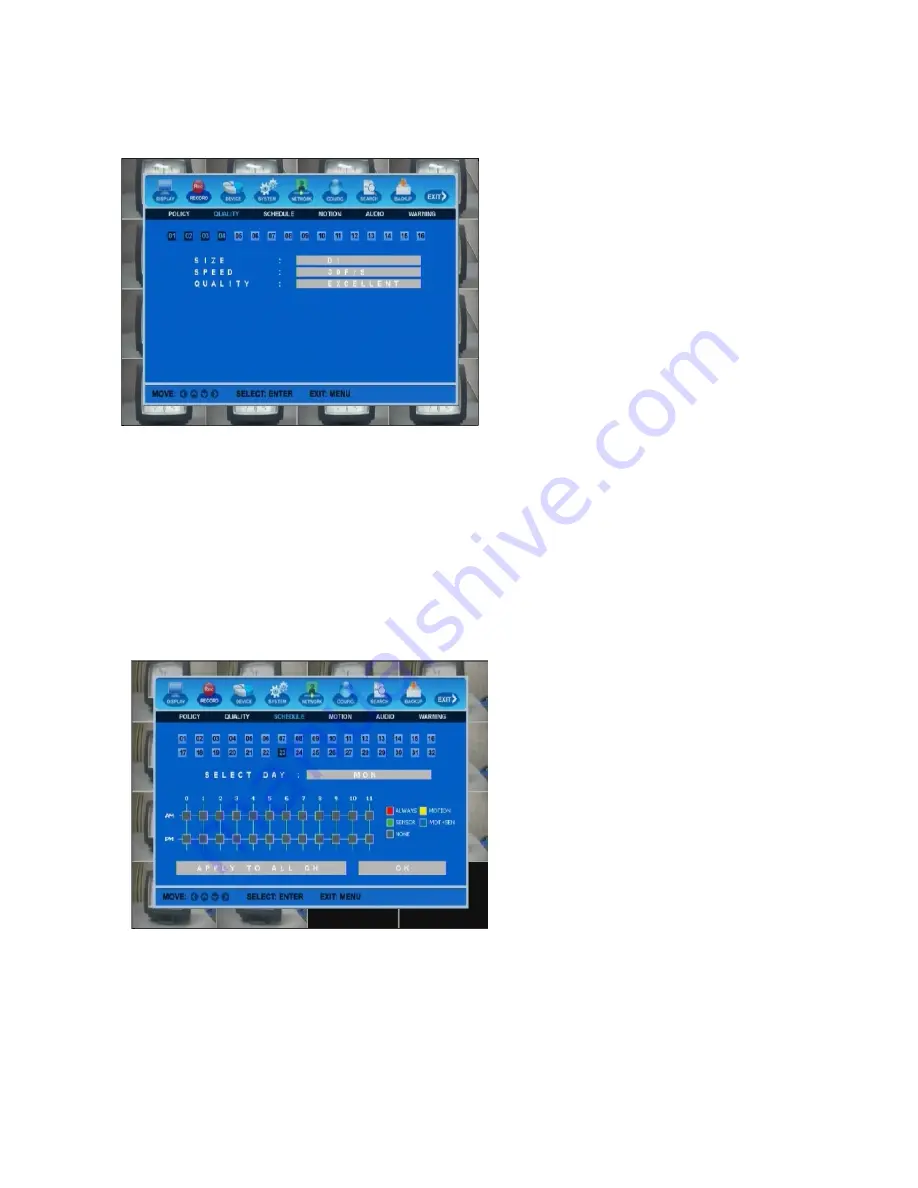
SCHEDULE
RECORD
SETUP
This
menu
allows
you
to
create
own
recording
schedule
and
trigger
type
.
To
enable
this
feature,
schedule recording
feature
at
RECORD
‐
>POLICY
‐
>SCHEDULE
menu
must
be
turned
“ON”.
Using
direction
keys
and
ENTER
button,
choose
preferred
record
types
(such
as
ALWAYS,
MOTION,
SENSOR
or
MOT+SEN
)
on
the
selected
time
and
date.
Important:
Schedule
record
is
superior
than
other
recording
policy.
If
you
set
SENSOR
recording
on
certain
day
and
time,
the
DVR
will
not
start
recording
even
though
your
set
MOTION
recording
is
enabled
during
that
period.
Manual
recording
is
available
at
all
times
if
RECORD
‐
>POLICY
‐
>MANUAL
is
“ON”.
3.2.2.
RECORD
QUALITY
Setup
the
record
quality
parameters
for
each
camera.
(see
picture
as
below)
1)
CAMERA
Select
channel
for
schedule
recording.
2)
SELECT
DAY
[DAILY
/
SUN
– SAT]
Select
the
desired
day
for
schedule
recording.
3)
TIME
Move
the
curser
to
desired
time
and
press
ENTER
key
to
set
it
highlighted.
Press
ENTER
again
to
change
schedule
recording
option
by
color.
You
can
set
different
recording
schedule
and
type
for
each
camera
(channel)
or
you
can
apply
current
schedule
setting
to
all
other
cameras
by
pressing
APPLY
TO
ALL
CH
button.
1)
SIZE
[D1,
Half
D1
and
CIF]
There
are
three
recording
resolution
modes
you
can
choose
from.
D1
is
the
highest
resolution.
2)
SPEED
(F/S)
[NTSC:
30
/
15
/
10
/
7
/
6
/
5
/
4
/
3
/
2
/
1]
Select
recording
speed
in
frame
(image)
per
second.
Higher
F/S
requires
more
HDD
spaces.
3)
QUALITY
[Basic
/
Normal
/
Good
/
Very
Good
/
Excellent]
Select
recording
video
quality. Higher
video
quality
requires
more
HDD
space.
Important:
Same
record
quality
will
be
set
for
a
group
of
four
channels
(cameras).
Channel
#1~#4
(#5~#8,..)
will
have
the
same
value
of
record
quality.


