EN-13
DRAFT
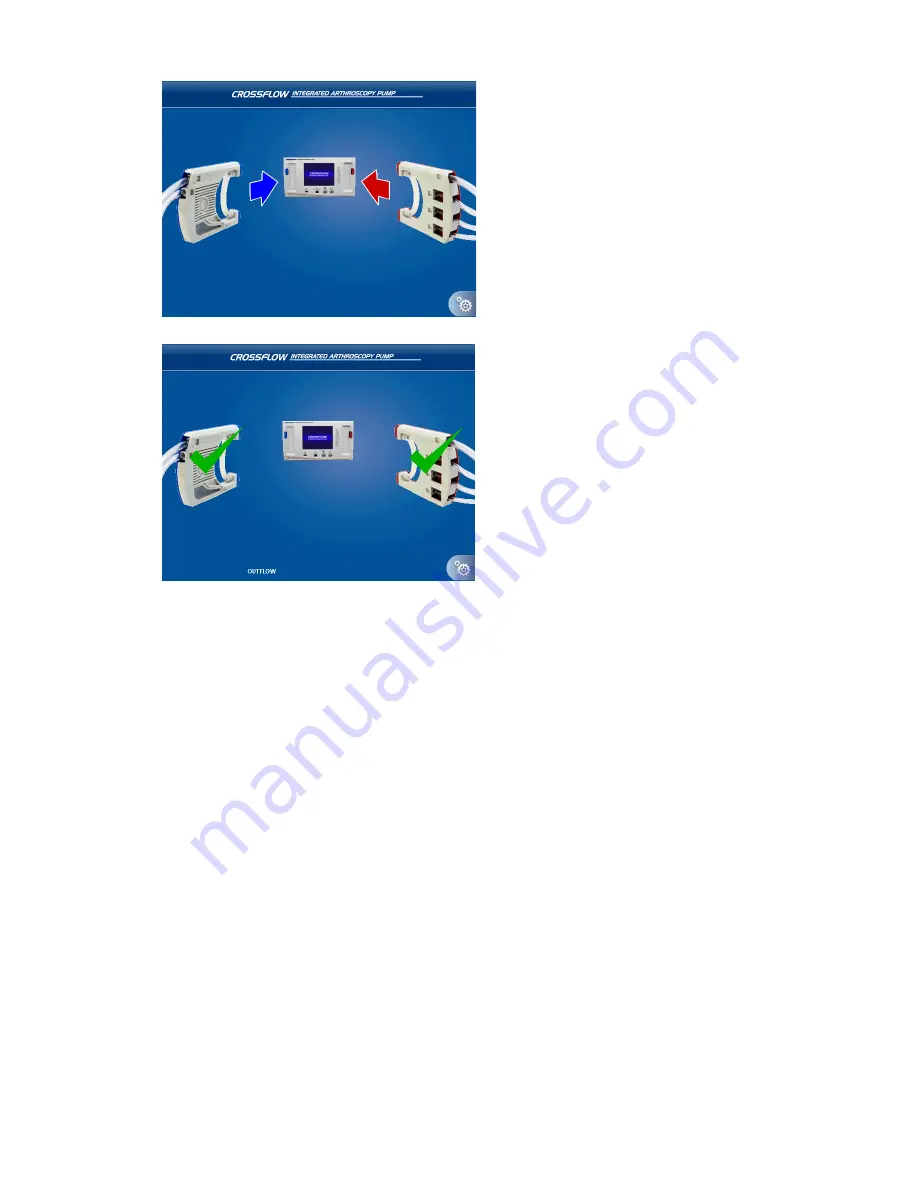
1� Align the colored side of the cassette(s)
with the colored button(s) on the pump as
depicted in the diagram� The Inflow Cassette
is blue and the Outflow Cassette is red�
2� Insert the cassette(s)� Push with your thumb
until it clicks into place�
• When the Inflow Cassette is inserted,
a green check mark will appear on the
cassette, and the screen will advance to
the User Preference File Selection screen�
• When the Outflow Cassette is inserted,
“Outflow” will appear at the bottom of the
screen� A green check mark will appear
on the cassette if it is inserted before the
Inflow Cassette (depicted in this scenario)�
3� Connect the tubing:
• For the Inflow and Outflow Cassette
Tubing, refer to the instructions in the
CrossFlow Inflow and Outflow Cassette
Tubing manual�
• For the Day-Use Inflow Cassette
and Patient-Use Tubing, refer to the
instructions in the CrossFlow Day-Use
Inflow Cassette and Patient-Use Tubing
manual�
Select the User Preference File
User preference files can be selected through the CrossFlow Pump interface� Select from “Standard Settings”
provided with the pump, or contact your Stryker representative to program your own, including settings for
pressure and flow rate and button assignments for the hand control and footswitch�
Содержание CrossFlow
Страница 1: ...DRAFT 0450000000 CrossFlow Integrated Arthroscopy Pump DRAFT ...
Страница 2: ...DRAFT ...
Страница 4: ...EN 2 DRAFT Electromagnetic Compatibility 37 Regulatory Information 38 Symbols and Terminology 40 ...
Страница 46: ...EN 44 DRAFT ...
Страница 47: ...DRAFT ...


