12
2. Insert disk #1 into the <A> drive.
(Use the <B> drive depending on your
computer.)
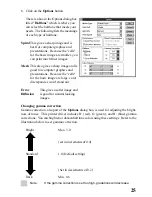
3. In the Windows Program Manager,
choose Run from the file menu.
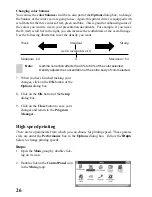
4. In the Command Line box, type
"A:\setup" and press <Return>,
if A: is the letter of the drive containing
the software program. You can also se-
lect this by clicking on the Browse...
button and selecting the drive in which
the software program floppy is located.
Select setup.EXE and click OK.
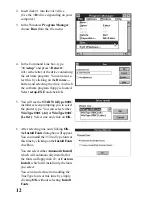
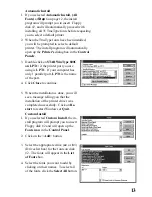
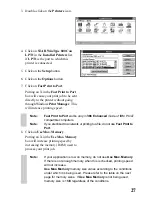
5. You will see the STAR WinType 800C
installer screen prompting you to select
the printer type. You can select either
WinType 800C (A4) or WinType 800C
(Letter). Select one and click on OK.
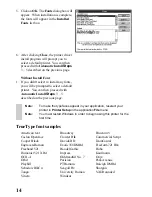
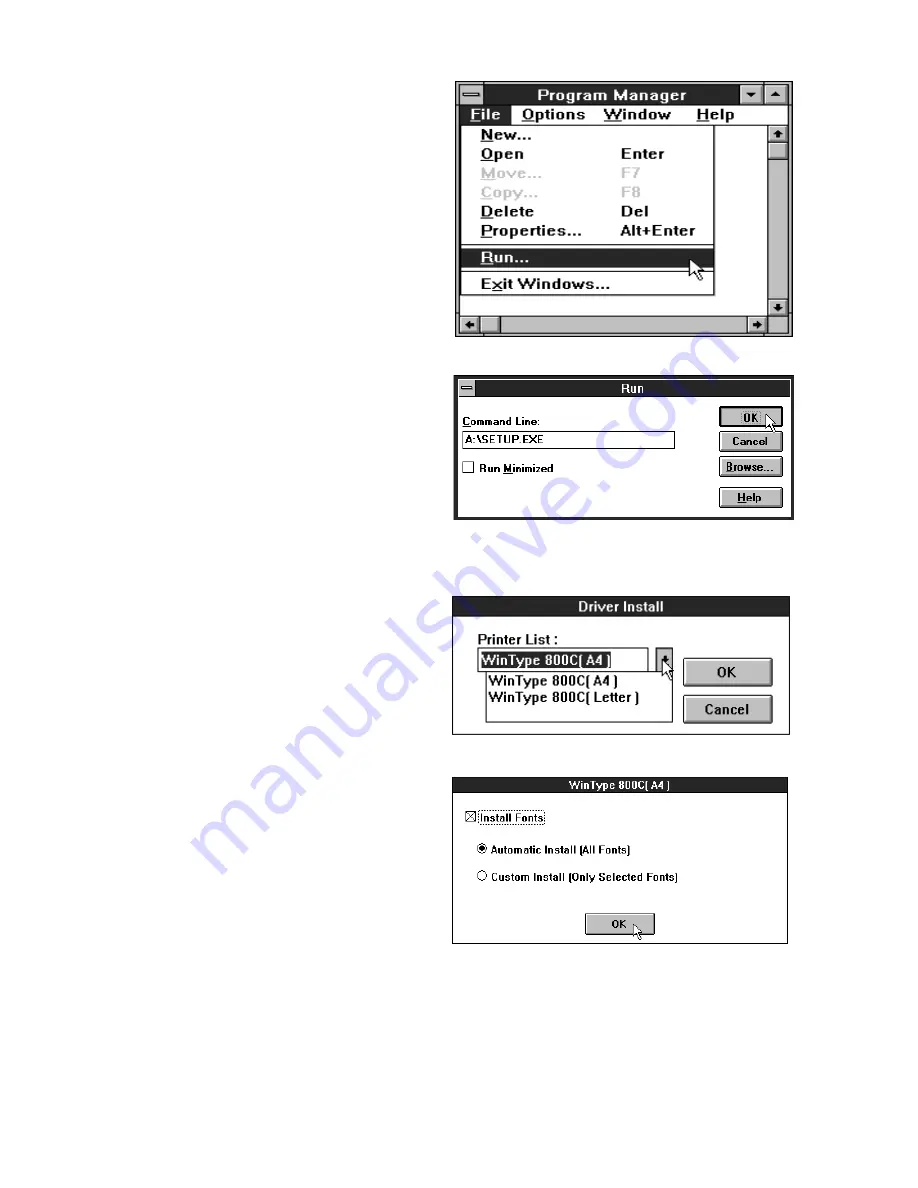
6. After selecting one and clicking OK,
the Install Fonts dialog box will appear.
You can install the 35 TrueType fonts at
this time by clicking on the Install Fonts
checkbox.
You can select either Automatic Install,
which will automatically install all of
the fonts on floppy disk #2; or Custom
Install, which will install only the fonts
you select.
You can also decline from adding the
TrueType fonts at this time by simply
clicking OK without selecting Install
Fonts.
Содержание WinType 800C
Страница 1: ...The Windows Color Presentation Printer WinType 800C Users Manual 80825100 ...
Страница 19: ...10 ...
Страница 49: ...40 ...


