CP390i and CPF390i
Page 35
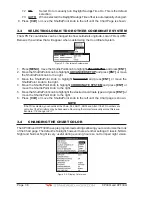
1. Press
[MENU]
, move the ShuttlePoint knob to highlight
SETUP MENU
and press
[ENT]
.
2. Move the ShuttlePoint knob to highlight
GENERAL SETUP
and press
[ENT]
or move
the ShuttlePoint knob to the right.
3. Move the ShuttlePoint knob to highlight
CURSOR SPEED
and press
[ENT]
or move the
ShuttlePoint knob to the right.
4. The menu now shows two selections, Chart and Menu which allow the Cursor Speed
to be selected as High, Medium or Low on the Chart Page or within the menus.
5. With
CHART
or
MENU
selected, press
[ENT]
or move the ShuttlePoint knob to the right.
Move the ShuttlePoint knob to the desired setting and press
[ENT]
or move the
ShuttlePoint knob to the right.
6. Press
[CLR]
until the menu disappears or an easier method is to press the ShuttlePoint
knob to the left a few times.
7. Move the cursor on the Chart Page and see if the speed is to your liking.
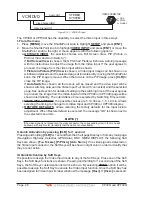
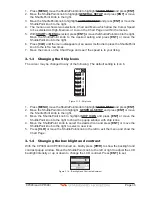
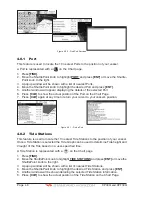
3.1.3 Changing the Ship Icons
The cursor may be changed to any of the following. The default setting is Icon 6.
Icon 1
Icon 2
Icon 3
Icon 4
Icon 5
Icon 6
Icon 7
Figure 3.1.3 - Ship icons
1. Press
[MENU]
, move the ShuttlePoint knob to highlight
SETUP MENU
and press
[ENT]
.
2. Move the ShuttlePoint knob to highlight
GENERAL SETUP
and press
[ENT]
or move
the ShuttlePoint knob to the right.
3. Move the ShuttlePoint knob to highlight
SHIP ICON
and press
[ENT]
or move the
ShuttlePoint knob to the right to show the popup window with ship icons.
4. Move the ShuttlePoint knob to select the desired icon and press
[ENT]
or move the
ShuttlePoint knob to the right to select a new icon.
5. Press
[CLR]
or move the ShuttlePoint knob to the left to exit the menu and show the
Chart Page.
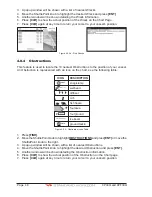
3.1.4 Changing the backlight and contrast
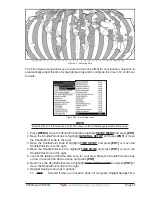
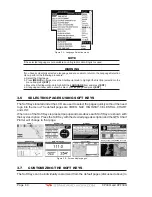
With the CP390i and CPF390i turned on, briefly press
[PWR]
to show the backlight and
contrast popup window. Move the ShuttlePoint knob to the left or right to adjust the LCD
backlight intensity or up or down to change the LCD contrast. Press
[ENT]
to set.
Figure 3.1.4 - Backlight and Contrast adjustment
Содержание CP390i
Страница 1: ......
Страница 5: ...Page 6 CP390i and CPF390i ...
Страница 15: ...Page 16 CP390i and CPF390i ...
Страница 29: ...Page 30 CP390i and CPF390i ...
Страница 43: ...Page 44 CP390i and CPF390i ...
Страница 53: ...Page 54 CP390i and CPF390i ...
Страница 67: ...Page 68 CP390i and CPF390i ...
Страница 75: ...Page 76 CP390i and CPF390i ...
Страница 83: ...Page 84 CP390i and CPF390i ...
Страница 87: ...Page 88 CP390i and CPF390i ...
Страница 109: ...Page 110 CP390i and CPF390i ...
Страница 145: ...Page 146 CP390i and CPF390i Figure 17 16 C Card Restore settings ...
Страница 147: ...Page 148 CP390i and CPF390i ...
Страница 153: ...Page 154 CP390i and CPF390i ...
Страница 157: ...Page 158 CP390i and CPF390i ...
Страница 168: ......


