50
Step 4:
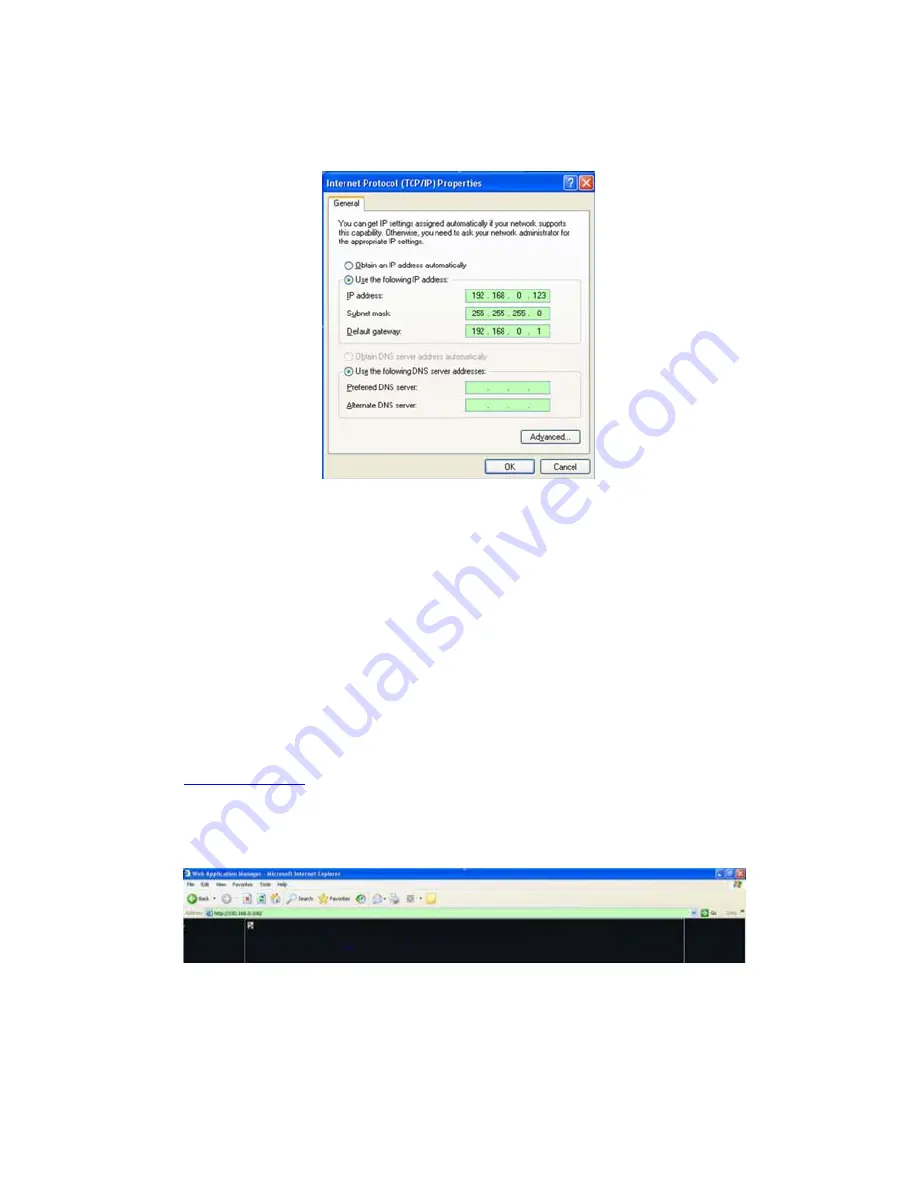
Double-click “Internet protocol (TCP/IP)” from the “This connection uses the
following items” list in the center of the window(see preceding figure).
Step 5:
Examine the IP address, subnet mask, and default gateway on the PC.
Step 6:
Set the corresponding IP address, subnet mask, and default gateway on the DVR (for
detailed instructions, refer to Section 5.5.5 Network Setup). If the subnet mask and default
gateway on DVR are the same as those of the computer, then the IP address is most likely in the
same network segment. However, they must not be exactly the same as the ones on the DVR,
as this will cause IP address conflicts. Taking the preceding figure as an example, the IP address
should be: 192.168.0.X, where X cannot be 40 or 1 (including other IP addresses currently
being used), and cannot exceed 255, as the subnet mask is 255.255.255.0, and the gateway is
192.168.0.1.
6.4 Control Download and Installation
After the aforementioned settings have been adjusted and saved, open the Internet browser,
enter
http://192.168.1.X
:P (192.168.1.X is the set IP address of the DVR, P is the WEB port)
and confirm. And the network will download and install the control automatically.
After connecting to the internet, Internet Explorer (or other Internet browser being used) will
automatically download the file to the computer as follows.
The system will automatically enter the GUI as follows.
Содержание PKDIG
Страница 1: ......


