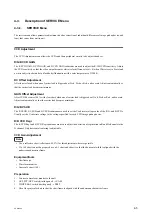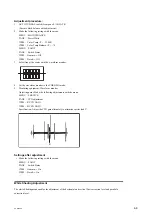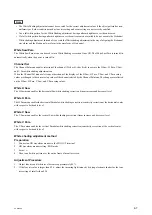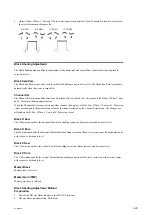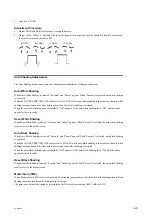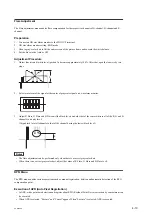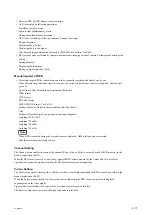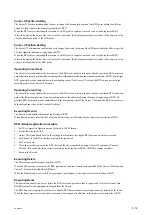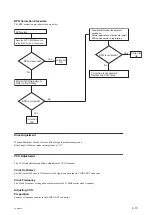
• Detected RPN by APR adds to correction target.
• APR is executed by following operations.
Start from [Service] menu
Execute from [Maintenance] menu
During auto black balance execution
• APR is not executed by following condition. Change the setting.
During recording
Displaying the color bar
Displaying the test saw signal
[Rec Format] in operation menu [Format] is [SStP SR-Lite] (Before Ver.Up2.0)
• RPN setting can be performed by input picture that is only imaging screen of camera. Followings need change the
setting.
During playback
Displaying the thumbnail
During external input (Pool Feed)
Manual register of RPN
• Correction target RPN by concealment can also be manually registered and deleted one by one.
When the following conditions apply to even one, the correction point is not correctly recognized, a button does
gray out.
Op Setting of [Rec Format] in operation menu [Format] is
1080i format
720P format
DVCAM format
MPEG IMX 50 format (Ver.Up2.0)
Setting of [Slow & Quick] in operation menu [Rec Function] is
[On]
Setting of [Output Format] in operation menu [Input/Output] is
Including 1280 x 720P
Including 720x486i
Including 720x480i
Including 720x576i
Note
When APR is executed during the cross-hairs cursor displayed, APR is failed and not corrected.
Hide the cross-hairs cursor and execute.
Channel Setting
The Channel menu enables selection of the channel (Rch or G-ch or B-ch) to execute Record of RPN pixel on, in the
manual registration of RPN.
When the RPN cursor is moved to an already-registered RPN correction point by the Cursor Next or Cursor Prev
operation, the correction mode selected for the RPN point is displayed automatically.
Cursor Setting
The Cursor menu enables turning On or Off the crosshair cursor display indicating the RPN correction position in the
manual registration of RPN.
When the Cursor menu is turned On, the crosshair cursor indicating the RPN correction position is displayed
superimposed on the video signal.
Signal of the pixel located at the center of the crosshair cursor is replaced by black.
The Cursor setting is always turned Off when the power is turned On.
PXW-X500
4-11
Содержание PXW-X500
Страница 1: ...SOLID STATE MEMORY CAMCORDER PXW X500 SERVICE MANUAL 1st Edition ...
Страница 4: ......
Страница 8: ......
Страница 10: ......
Страница 39: ...4 Set the date and time of the internal clock Refer to the operating instructions PXW X500 1 29 ...
Страница 54: ......
Страница 87: ...3 Remove the tape AS Tape AS PXW X500 2 33 ...
Страница 107: ...2 Remove the two screws and draw the duct box assembly PSW2 x 5 PSW2 x 5 Duct box assembly PXW X500 2 53 ...
Страница 109: ...4 Install the removed parts by reversing the steps of removal PXW X500 2 55 ...
Страница 158: ......
Страница 183: ......
Страница 184: ...PXW X500 SY PXW X500 CN J E 9 878 582 01 Sony Corporation Printed in Japan 2014 11 08 2014 ...

