3.
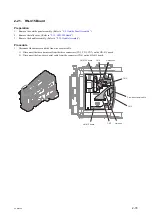
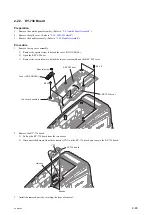
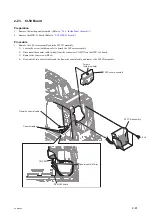
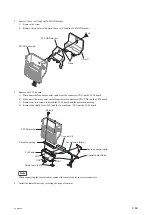
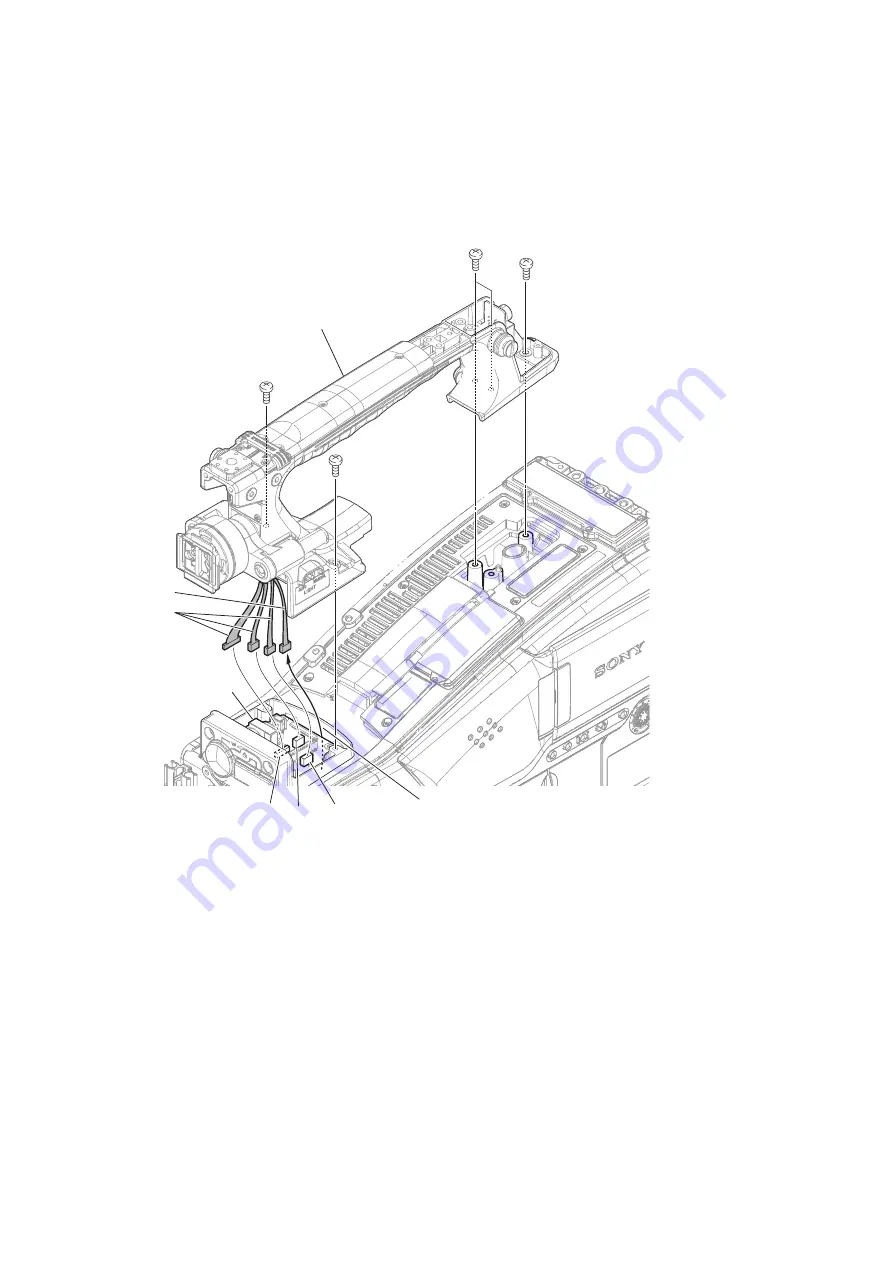
Remove the handle assembly.
1) Remove the five screws.
2) Pull up the handle assembly.
3) Disconnect the three harness from the three connectors (CN5, CN6, CN51) on the HN-415 board.
4) Draw out the harness A from space between the HN-415 board and the main frame, and remove the handle
assembly.
B3 x 8
B3 x 8
B3 x 8
B3 x 8
Handle assembly
Harness A
Harnesses
Main frame
HN-415 board
CN6
CN5
CN51
4.
Install the removed parts by reversing the steps of removal.
PXW-X500
2-77
Содержание PXW-X500
Страница 1: ...SOLID STATE MEMORY CAMCORDER PXW X500 SERVICE MANUAL 1st Edition ...
Страница 4: ......
Страница 8: ......
Страница 10: ......
Страница 39: ...4 Set the date and time of the internal clock Refer to the operating instructions PXW X500 1 29 ...
Страница 54: ......
Страница 87: ...3 Remove the tape AS Tape AS PXW X500 2 33 ...
Страница 107: ...2 Remove the two screws and draw the duct box assembly PSW2 x 5 PSW2 x 5 Duct box assembly PXW X500 2 53 ...
Страница 109: ...4 Install the removed parts by reversing the steps of removal PXW X500 2 55 ...
Страница 158: ......
Страница 183: ......
Страница 184: ...PXW X500 SY PXW X500 CN J E 9 878 582 01 Sony Corporation Printed in Japan 2014 11 08 2014 ...


