42
Camera Setting
Cha
p
te
r 4
Det
a
iled Des
c
ript
ion
s
of
Set
tings
and
Win
d
o
w
s
1
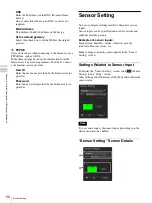
In [IP Camera Information], click [Details].
The “Advanced IP Camera Setting” screen appears.
2
Configure each setting to set the image quality.
For details on each of the items, refer to
“Advanced IP
Camera Setting” screen (page 44)
.
3
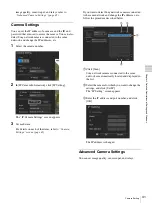
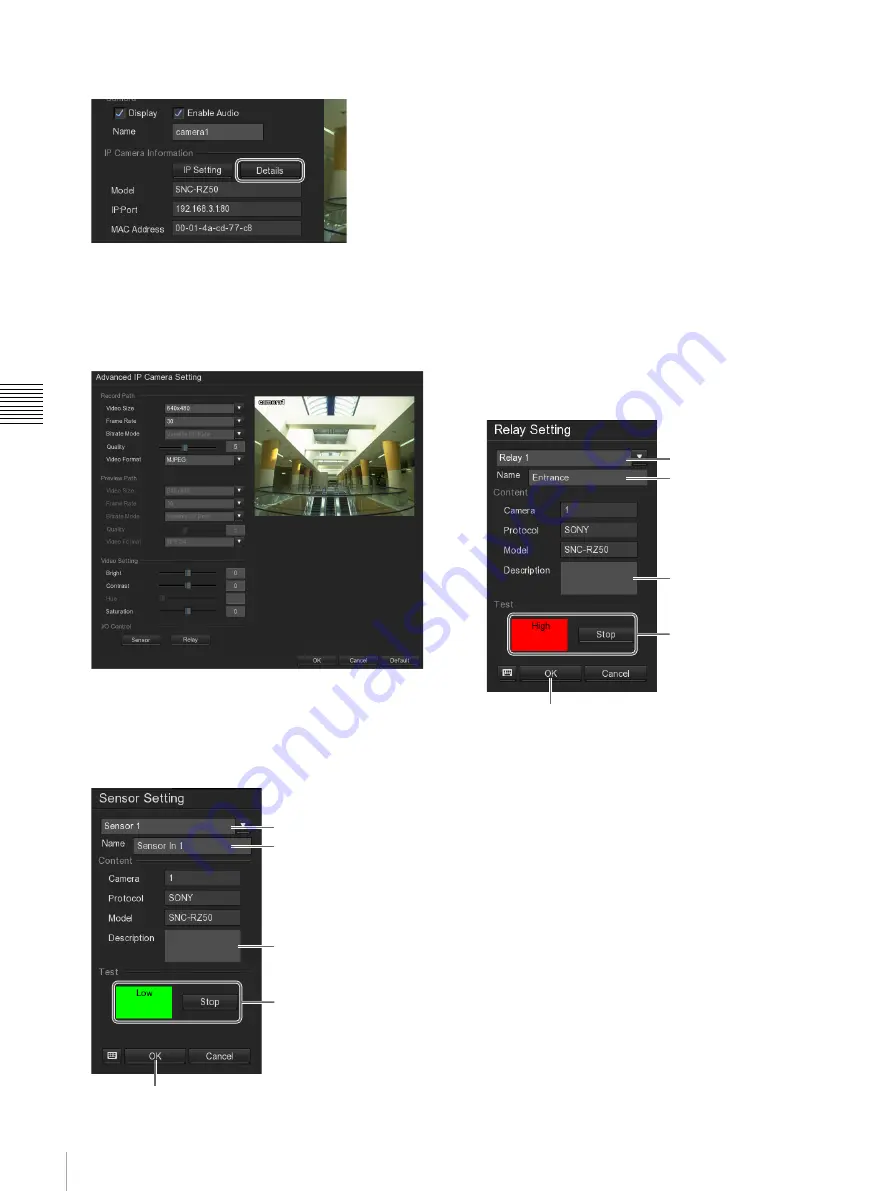
To set sensor input, click [Sensor].
The “Sensor Setting” screen appears.
4
Make the sensor input settings.
1
Select the sensor ID.
2
Enter the sensor name.
Use only alphanumeric characters and symbols
(excluding \ / : * ? " < > |).
3
Enter the sensor description.
4
Click [Test] and confirm the sensor status.
Red indicates “high,” and green indicates “low.”
5
Click [OK].
The settings are saved.
5
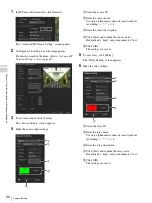
To set a relay, click [Relay].
The “Relay Setting” screen appears.
6
Make the relay settings.
1
Select the relay ID.
2
Enter the relay name.
Use only alphanumeric characters and symbols
(excluding \ / : * ? " < > |).
3
Enter the relay description.
4
Click [Test] and confirm the relay status.
Red indicates “high,” and green indicates “low.”
5
Click [OK].
The settings are saved.
1
2
3
4
5
1
2
3
4
5
Содержание Ipela NSR-S10
Страница 67: ......

