40
Camera Setting
Cha
p
te
r 4
Det
a
iled Des
c
ript
ion
s
of
Set
tings
and
Win
d
o
w
s
E
Login
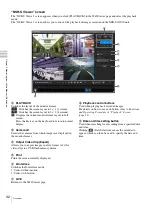
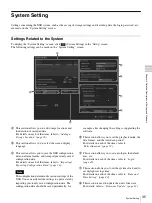
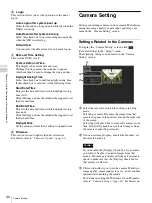
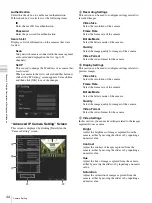
This section allows you set the operation of the unit at
logon.
Auto Login after system boot up
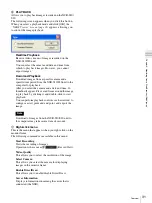
Select this check box to logon automatically when the
NSR is started up.
Auto Record after system boot up
Select this check box to start recording automatically
when the NSR is started up.
Default User
You can select the default user for automatic logon.
F
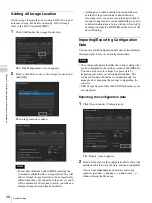
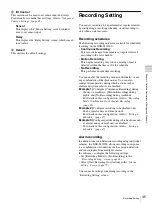
Date and Time Setting
This sets the NSR’s clock.
System Date and Time
This displays the current date and time.
Clicking [Setting] causes the calendar to appear,
which can then be used to change the date and time.
Daylight Saving Time
Select this check box to enable daylight saving time.
If this check box is selected, set the following items.
Start Date/Time
This sets the date and time at which daylight saving
time starts.
Click [Setting], and use the calendar that appears to set
the date and time.
End Date/Time
This sets the date and time at which daylight saving
time ends.
Click [Setting], and use the calendar that appears to set
the date and time.
Daylight Bias
Set the amount of time that is added to standard time.
G
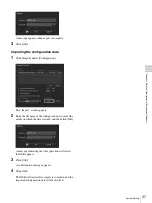
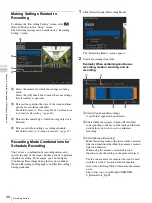
Firmware
This section is used to update the unit’s firmware.
For details, refer to
.
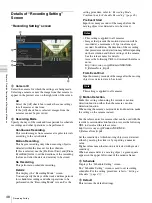
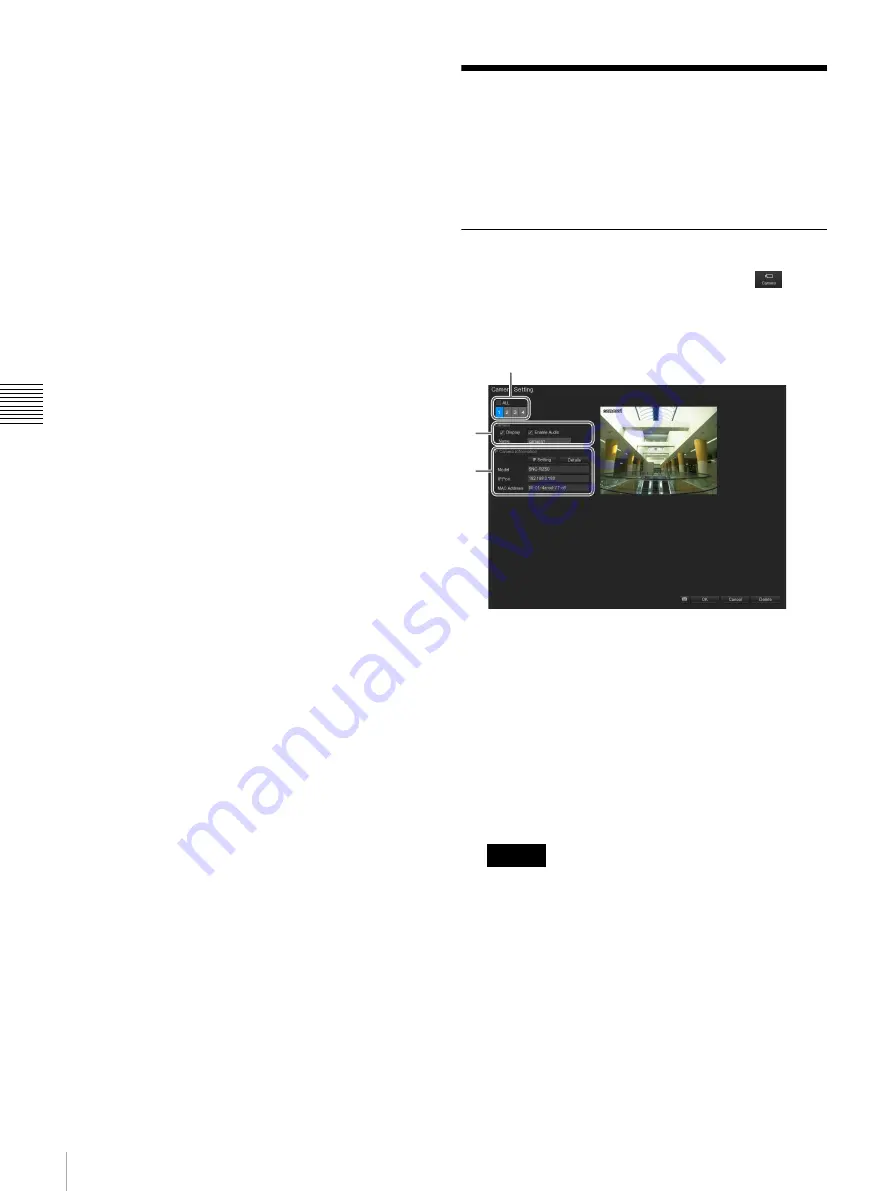
Camera Setting
Settings concerning cameras, such as camera IP addresses
and names, image quality, sensor input, and relays, are
made on the “Camera Setting” screen.
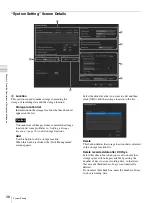
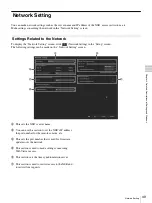
Settings Related to the Cameras
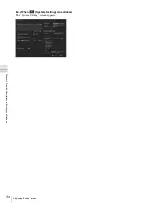
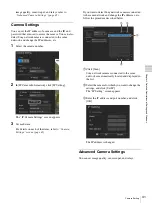
To display the “Camera Setting” screen, click
(Camera Setting) in the “Setup” screen.
The following settings can be made on the “Camera
Setting” screen.
A
Select the camera for which the settings are being
made.
Selecting a camera ID causes the image from that
camera to appear in the preview area on the right side
of the screen.
Select the [All] check box to set for all cameras at one
time. If the [All] check box is selected, images from
the cameras cannot be previewed.
B
You can set image display, enable/disable audio, set
the camera name, etc.
If you deselect the [Display] check box for a camera,
you will not be able to monitor images from that
camera. If no image is displayed from a given camera,
check to make sure that the [Display] check box for
that camera is selected.
C
This section allows you to set the camera IP address,
image quality, sensor input, relays, etc., and to confirm
information concerning the camera.
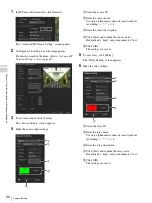
For details on setting the IP address for an IP camera,
refer to
. For details on
Caution
A
B
C
Содержание Ipela NSR-S10
Страница 67: ......

