


6-26
DSC-H50_ADJ
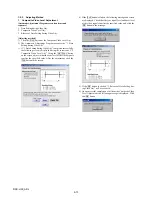
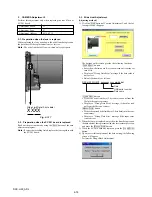
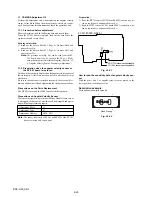
11-3. Preparation when the lens is replaced
Note down the PITCH/YAW data on the replacement lens for repair.
Adjustment Block
11
Adjustment Page
61
Adjustment Address
0E10, 0E11
Note:
The PITCH/YAW data of lens is written only repair parts.
Preparation:
1) Read the PITCH data written on repair parts, and named this
as L
1
.
2) Read the YAW data written on repair parts, and named this as
L
2
.
Fig. 6-1-25
YAW data
t
L
2
PITCH/YAW Data
PITCH data
t
L
1
P.PP / Y.YY
P.PP/ Y
.YY
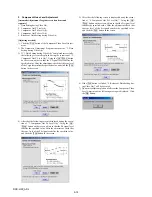
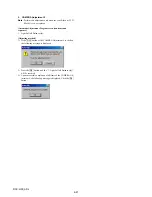
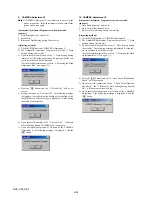
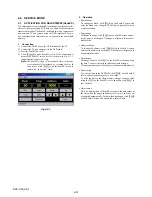
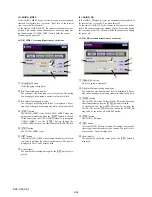
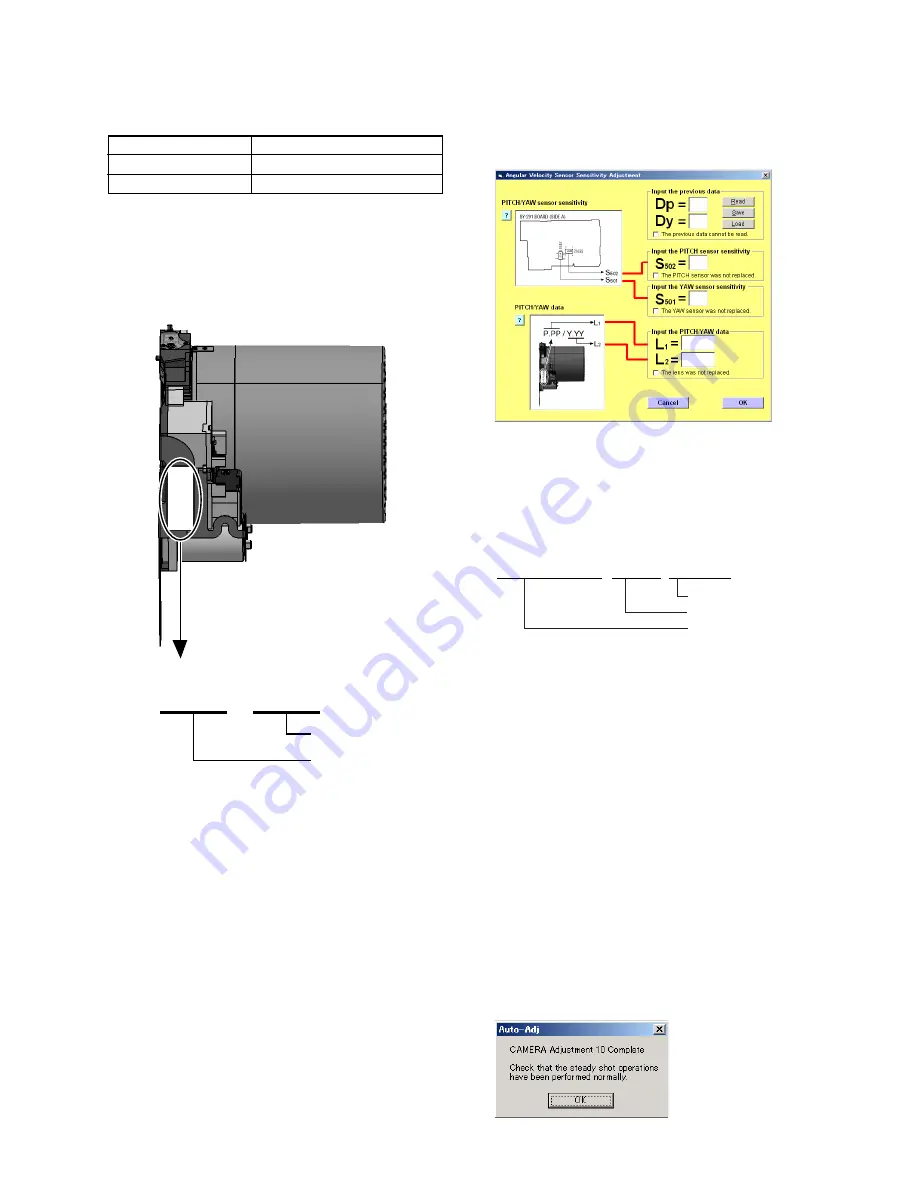
11-4. Angular Velocity Sensor Sensitivity Adjustment
[Adjusting method]
1) Click the
[Start]
button of Camera Adjustment 9, and the fol-
lowing screen will appear.
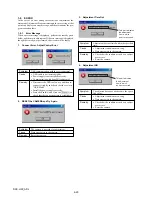
The buttons on this screen provide the following functions.
[Read]
button: Reads and displays the previous data (Dp, Dy)
from the SY-201 board.
[Save]
button: Saves the previous data (Dp, Dy) in the PC as a
file.
[Load]
button: Loads and displays the previous data (Dp, Dy)
from the file saved in the PC.
•
Default file name is as follows:
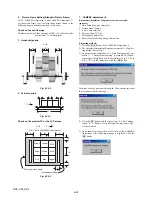
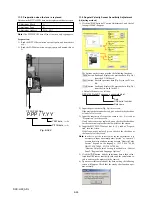
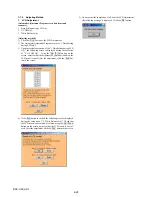
2) Input the previous data (Dp, Dy) into screen.
If the previous data cannot be read, give a check to the checkbox
at lower left of screen.
3) Input the sensitivity of respective sensors (S
501
, S
502
) read at
“Preparation” into the screen.
If only either sensor was replaced, give a check to the checkbox
for the sensor not replaced at the lower left of the screen.
4) Input the PITCH/YAW data of lens (L
1
, L
2
) read at “Prepara-
tion” into the screen.
If the lens was not replaced, give a check to the checkbox at
the lower left of the screen.
Note:
In order to get the correct value for the adjustment, it is
necessary to input a decimal point (“period” or “comma”)
as same format as windows setting because “Numeric Value
Format” depend on the language. (F:123 456 789,00,
GB:123,456,789.00, D:123.456.789,00)
“Numeric Value Format” setting is available in “Control
Panel”-“Regional and Language Options”.
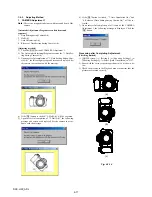
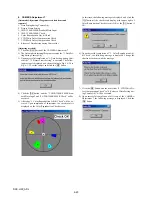
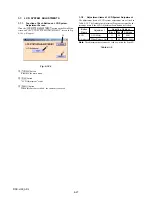
5) Click the
[OK]
button, and the adjustment data is then calcu-
lated from the sensor sensitivity value and the calculation re-
sult is written to the memory in the camera.
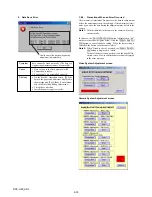
6) Upon successful completion of the data writing, the following
screen will appear. Check that the steady shot function oper-
ates normally.
DSC-H50_D
p
D
y
DT_xxxxxxxx_yyyymmdd.dat
Date
USB serial number
Data name


