


56
|
Quick Start Guide
|
57
Laser Engraving and Cutting
3
4
5
6
2
1
8
7
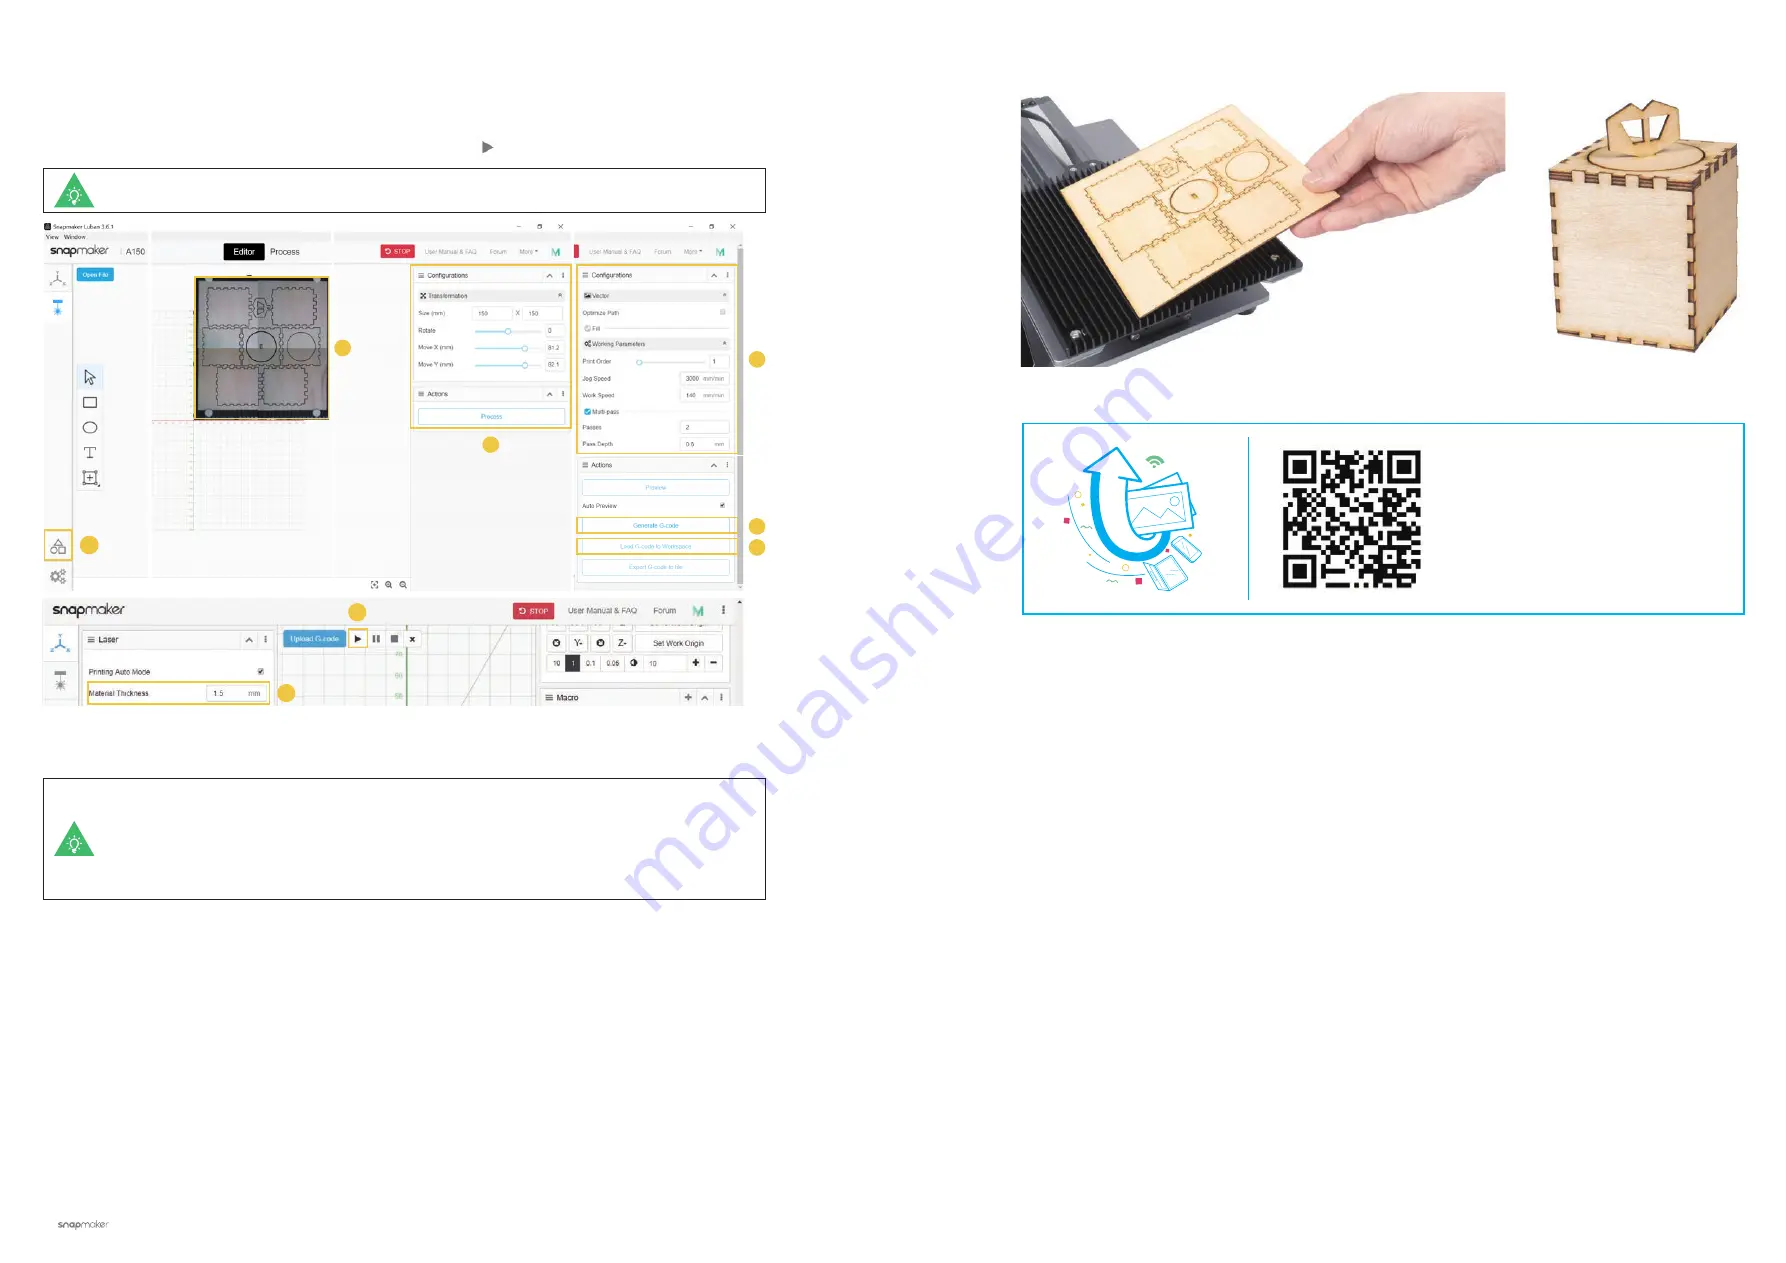
3. ① Open the test file from
Case Library
-> ② Drag the image to where the cutting will be on the captured
platform -> ③ Click
Process
after configuring the settings in
Configurations
section -> ④ Use the default
settings specifically configured for the test file -> ⑤ Generate the G-code file -> ⑥ Load G-code to
Workspace
-> ⑦ Set the thickness of the material -> ⑧
Click
Run
.
You can also start engraving/cutting by using the USB disk, connecting with the USB cable, or
sending G-code files via Wi-Fi. For detailed instructions, please refer to our online user manual.
Unlike the Camera Capture method, you will need to set the work origin if you use the methods
above.
4. Remove the finished work and complete the assembly.
Share!
You can share your finished
work in our Facebook group
and our forum.
You can also upload your own files by clicking
Open File
in
Editor
and configure the file settings.
Содержание A150
Страница 1: ......
Страница 10: ...12 Quick Start Guide 13 Machine Assembly MACHINE ASSEMBLY ...


