NTP Server
Please input the IP address or host name of NTP server here. You
can use default value ‘pool.ntp.org’, or ask your ISP for the IP
address or host name, if they have one.
Enable Daylight
Saving Time
Select ‘Yes’ if your area of residence uses daylight saving; if not,
select ‘No’.
Synchronize to
PC time
Click this button and the IP camera will use the current time setting
of your computer as IP camera’s time setting.
LED Setting
Switch the LED light of this IP camera off, so ‘LAN’ and ‘WLAN’ LED
on the IP camera will stop working, in case you don’t want other
people know the camera is transferring data.
You can click this button again to switch LED lights on again.
Click ‘Apply’ to save settings and make the new settings take effect.
3.11 User Settings
If you wish to allow other people to view the image captured by this camera, but don’t
want to allow them to modify system settings, you can give them user-level user name
and password, so they can only view the image and can not change any system setting.
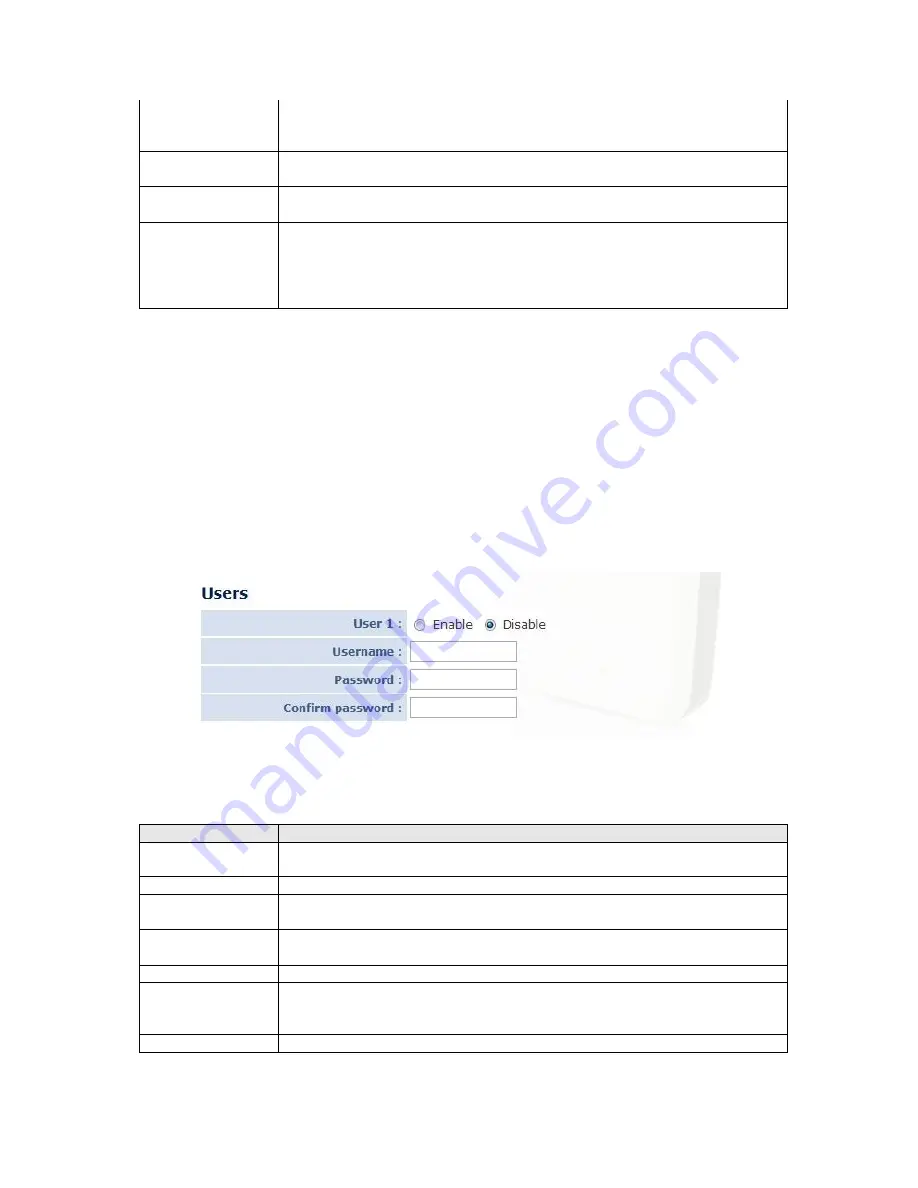
The user settings menu can be accessed by opening the 'Toolbox' menu, and selecting the
'User settings' tab.
This IP camera supports up to 4 user accounts.
The descriptions of every setting in this menu will be given below:
Item
Description
Login
Specify the user name here. Please use alphanumerical characters (0
to 9, A to Z, and a to z). Not using symbols and space.
Password
Specify the password for this user here.
Confirm
Password
Specify the password for this user here again.
Authority
Select ‘Operator’ and this user will be able to change the settings of
IP camera; select ‘Guest’ and this user can only view the image.
Add
Click ‘Add’ to add a new user with the information listed above.
Modify
To modify the information of an existing user, select his / her user
account, change the information, and then click this button to save
changes.
Remove
Select an existing user and click this button to remove it.


