Rev 1.0 Apr.10
37
3
3: Installing and Setting Up the Device
Setting Up the Device
1.
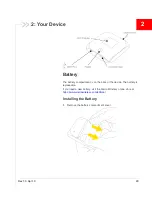
Install the battery, as described in
"Installing the Battery"
on
page 29.
2.
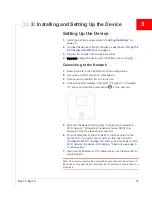
Connect the device to the AC charger, as described in
"Using the
AC Charger with USB Port"
on page 32.
3.
Plug the AC charger into an electrical outlet.
4.
Important:
Charge the device until the battery icon is full (
).
Connecting to the Network
1.
Ensure you are in the CLEAR 3G or 4G coverage area.
2.
If you have a LAN connection, disconnect it.
3.
Ensure your computer's Wi-Fi is turned on.
4.
If the device LCD displays "Charging", "Charged", or "Powered
off", press and hold the power button
for two seconds.
5.
Wait until the device LCD displays "Connect your computer to
Wi-Fi network," followed by the network name (SSID) and
password. This may take several seconds.
6.
On your computer, connect to the Wi-Fi network listed on the
device LCD. If you don't know how to do this, see
"How Do
I Connect to Wi-Fi?" on page 110
. After you’ve connected to the
Wi-Fi network, the device LCD displays "Open any web page to
continue setup."
7.
Open your Web browser. The "Welcome to your Clear Spot 4G+"
window opens.
Note: This window displays the administrator password and the address of
the device home page. Please remember this information or write it down in a
safe place.
Содержание Clear Spot 4G+
Страница 1: ...Clear Spot 4G Personal Hotspot User Guide 2131352 Rev 1 0 ...
Страница 2: ......
Страница 42: ...Clear Spot 4G User Guide 42 2131352 ...
Страница 70: ...Clear Spot 4G User Guide 70 2131352 ...
Страница 135: ......
Страница 136: ......


